A simple but traditional recipe for my favourite Seville orange marmalade made from smaller quantities of citrus fruits, using the traditional method of shredding the orange peel and leaving it overnight to develop stronger pectin.
Why make this recipe
- The traditional method of shredding peel before boiling the sugar and fruit syrup
- Smaller quantities suitable for large saucepan (no need for a specialist equipment)
- Makes a great handmade gift for your friends and family
PIN THIS RECIPE FOR LATER
MORE MARMALADE RECIPES
- Tangerine Marmalade (all in one method) >>
- Orange & Lime Marmalade >>
- Orange Marmalade (reduced sugar) >>
I love that once one festive season finishes another one starts! There is something comforting about spending an afternoon making marmalade, whilst it’s cold and rainy (mostly!) outside.
I love deciding on my marmalade flavour, experimenting with different types of fruit and finally baking my own bread and butter to taste the marmalade when it’s finished. A total bliss!
Every year I find myself putting in my diary ‘marmalade making’ dates to make sure I don’t miss the short Seville orange season. I always buy more than I need and freeze some oranges for later.
Over the years I find that most recipes make large quantities, which are quite difficult to make without a proper muslin pan (e.g. a large pan specifically designed for marmalade & jam making, which has a slightly tilted top inwards to prevent the marmalade overboil).
That is why today I want to share with you a Seville Orange Recipe that fits comfortably into a large saucepan or a soup pan. Obviously the bigger pan you use, the better to make sure that you don’t end up with a burned marmalade on the top of your hob.
MORE JAM & MARMALADE RECIPES
The Seville Orange Marmalade Story
The Seville Orange Marmalade also has a wonderful story behind it and a creative woman who made a success out of a fairly desperate situation. The story goes that in the early 1800s a Dundee grocer Mr Keiler ordered a huge quantity of oranges, which were too bitter for people to eat and nobody wanted to buy them!
His wife decided to create something out of these bitter oranges and boiled them into a healthy marmalade! Her discovery was a great success and they were able to make their money back from buying the wrong oranges.
And what’s more Seville Orange Marmalade is one of the most popular types of marmalade made in the Great Britain.
Marmalade making equipment
- Large saucepan or marmalade making pan
- Jam thermometer
- Small plates (kept in the fridge for testing the jam later)
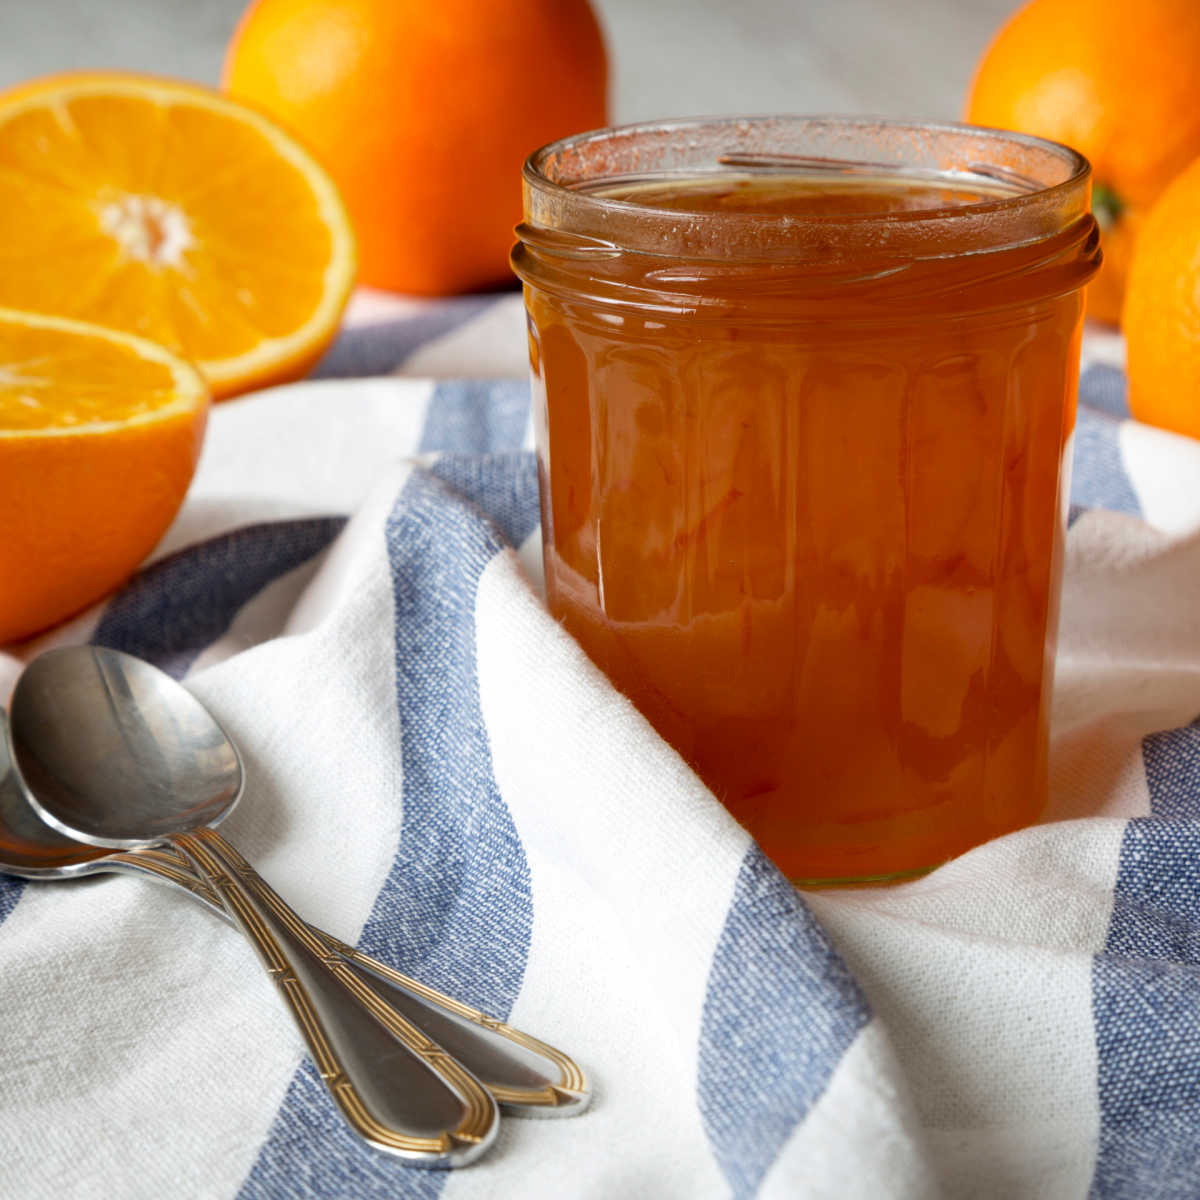
- 3-4 sterilised jam jars with lids
How to prepare your jam jars
If you want your Orange Seville Marmalade to last a long time, don’t skip this step! First of all wash your jam jars thoroughly with a fat dispersing washing up liquid to get rid of any dirt. Don’t worry about drying them just leave them to drip dry on a clean kitchen towel or a dishes rack.
Heat your oven to about 100 C (about 180 F – gas mark 1-2) and place the jam jars on a clean baking tray (facing up). Put in to the oven about 15-20 minutes before you are ready to pot the marmalade, which is about the time that you start to boil your marmalade after the sugar has dissolved.
When you are ready to pot your jam take out the tray from the oven (keeping the jam jars on), fill with marmalade, seal with lids, wipe and leave to cool down completely.
This process sterilises the glass jam jars, getting rid of any potential bacteria, which could be harmful later on and develop into the mould.
It’s also good process to follow, because the jam jars are nice and warm/medium hot from the oven and when the marmalade is poured in, the hot marmalade mixture doesn’t shatter cold glass.
Time saving tip
You can process the orange peel in a mixer or food processor and chop it very roughly (you’ll still want visible pieces of peel, not a peel mush). This saves time, but won’t be able to achieve those long thinly sliced peels that you see in some of the upmarket or homemade marmalades.
I always use a sharp knife to shred my citrus fruit and do about 2-3 layers of peel on top of each other to save a bit of time.
Ingredients
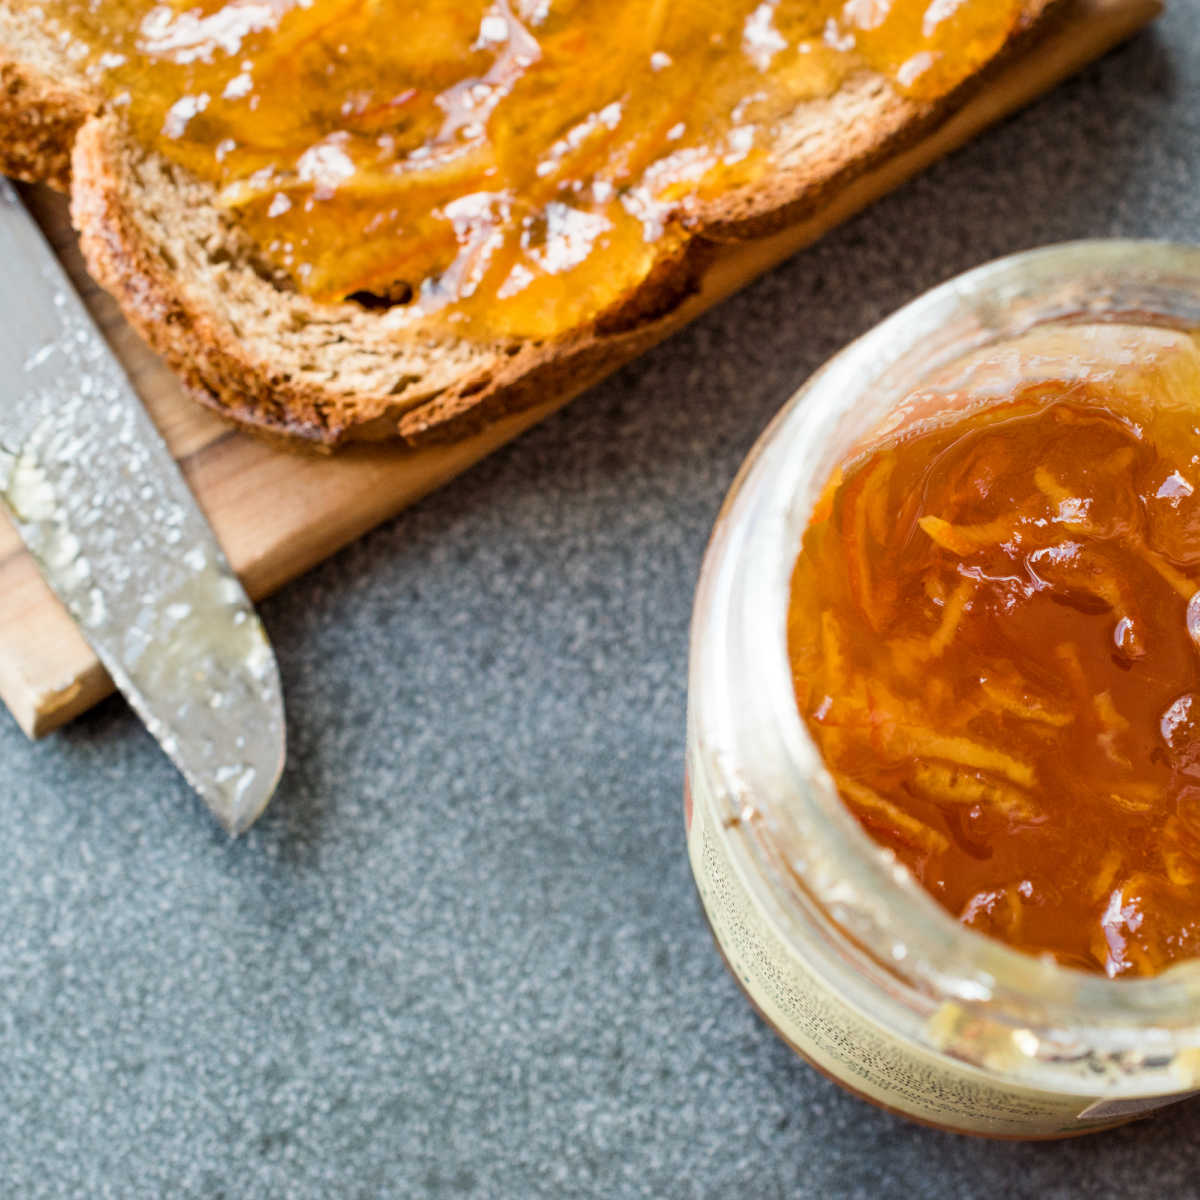
Seville Oranges
You can only buy Seville Oranges in the UK during January and the beginning of February, so it’s worth researching when you can get them locally.
Over the years, I’ve had a better luck in getting them in my local fruit and veg stall than in the supermarket, although Waitrose or Sainsbury’s sometimes stock them too.
If you want to, you can buy large quantities and then either make several batches of marmalade or freeze them and then use them up during the rest of the year.
You can also use any of the Seville Oranges substitutes to make this traditional marmalade recipe.
Lemon
Seville Oranges are quite bitter on their own, but I find that a little bit of lemon juice does help to round the flavour. You could also use lime if you want to.
Sugar
White granulated sugar is the best, but caster sugar is fine to use too. Darker sugars such as coconut sugar alternatives will interfere with the flavour, so I don’t use them for this recipe. And you don’t need to use any kind of special preserving sugar, the regular type will do.
INSTRUCTIONS
The first step (at least 24 hrs before you want to make your marmalade)
Make sure you wash your fruit first and use oranges closest to the 500g. I find that this is only about 3 medium oranges, but it depends on the size.
If you prefer your marmalade to be zingier, use a whole lemon, or just half a one or a small one.
Cut all the fruit lengthways in quarters and using a spoon scoop up all the pith and collect all the orange pips.
Keep any orange juice for later.
Cut all the orange peel in either thin slices or thick ones, depending on what you prefer. This is a fairly tedious job, but I find that doubling up the orange quarters (sort of stocking them up) and then cutting them, saves a bit of time.
Tie all the collected pith and pips into a muslin bag and place to a non-iron or steel bowl (I use a large plastic bowl), with the water and the thinly shredded peel.
Cover and leave for approximately 24 hrs to ensure that the pectin is released and your marmalade sets well in the end.
MORE JAM & MARMALADE RECIPES
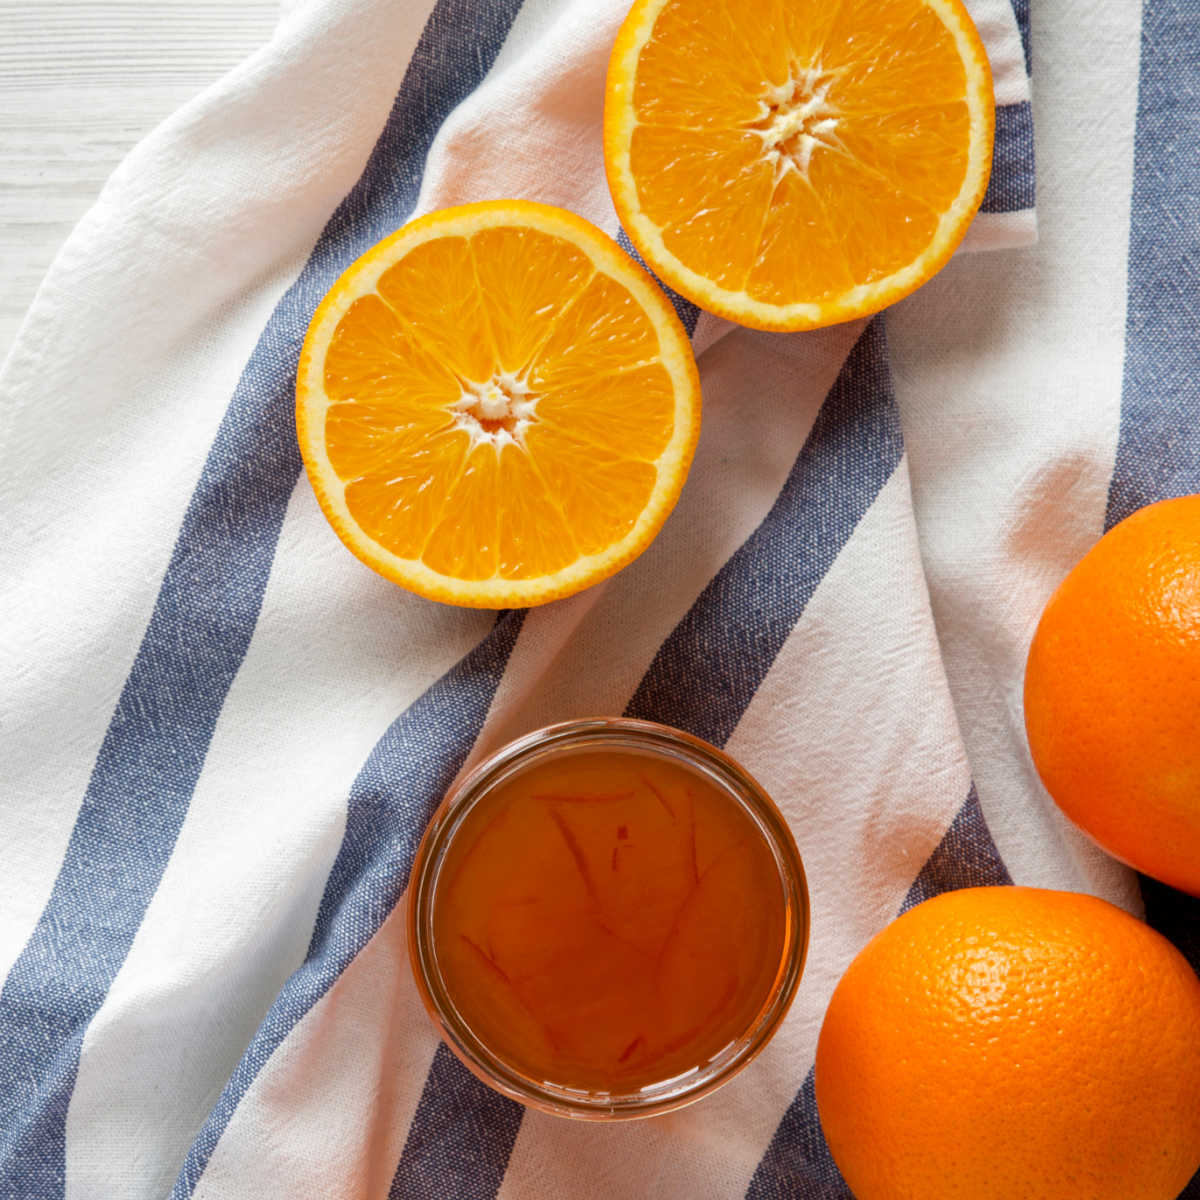
Second step – the next day
The next day, transfer the marmalade mixture to a large saucepan and on a medium heat simmer gently until the orange peel is soft and the water content is reduced by about half. You can test if the peel is right by tasting it. The orange peel will also look slightly see-through and will sort of go more opaque.
When the peel is soft, check that you have about 500ml of water/liquid left. If not, simply top up the water with more water or the orange juice you collected yesterday.
Take out the muslin bag with orange pips and discard.
The next step is to add the sugar and let it dissolve properly. Check on the back of a soup spoon that all the sugar crystals have dissolved before you move to the next step.
Once the sugar has dissolved, bring the marmalade to boil and boil for about 10-15 minutes or until you reach the setting point.
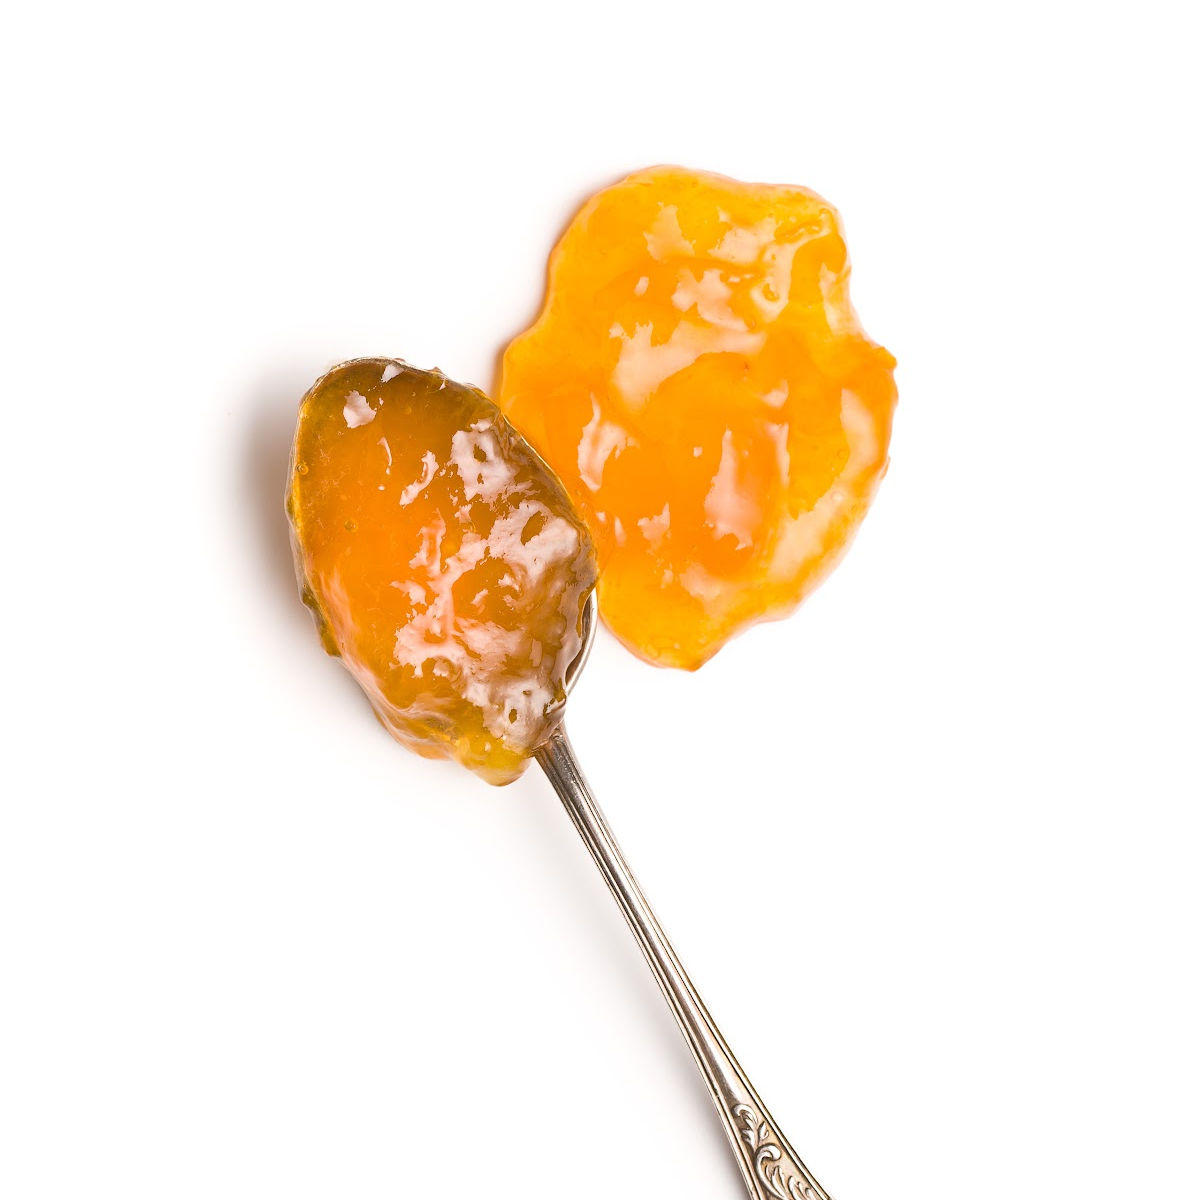
Check your setting point using a cold plate and a spoonful of the marmalade.
Once you are satisfied that your marmalade will reach the setting point, take it from the heat and leave it to stand for about 10 minutes. This will help to distribute the orange peel more evenly once potted.
Divide between 4-5 jam jars, seal and let to cool down properly before storing away in a dark, cold place. Use within 12 months (or two years maximum).
Pro tip
Sometimes you might end up with air bubbles and marmalade scum on top of your marmalade as you finish boiling it. To disperse this (as the scum/air bubbles are not particularly pretty when they set in the jar), wait for the marmalade to cool down a little before potting up.
A teaspoon (or so) of dairy butter added to the marmalade as you switch off the hop also helps as well as simply scooping out the excess scum and throwing it away.
RECIPES WITH ORANGE FLAVOUR
Ideas for additional flavours
I love the basic Seville Marmalade and you can’t really go wrong with leaving the recipe as it is, but if you wanted to add a hint of flavour to the existing recipe, here my suggestions (add the flavouring/extra ingredients right at the end when you’ve tested the marmalade and taken it off the heat).
Whisky Marmalade – add 3-4 tablespoons of whisky depending on how strong you want the flavour to be
Christmas Marmalade – add 1-2 teaspoon of Mixed Spice or cinnamon and 2-3 tablespoons of brandy or whisky
How to store marmalade
Let the marmalade cool down first and then store the marmalade jars in a cold, dark place, like a back of the lower kitchen cabinet away from any source of heat. Cold pantry or cellar is obviously a good place to store your marmalade, but most people won’t have these in their houses or flats.
Marmalade shelf life
It’s best to use homemade marmalades within 12 months, but I’ve kept my marmalades for up to 2 years and when stored correctly, they are absolutely fine.
Once you open your marmalade jar, store it in the fridge and eat within 7-14 days.
Traditional Seville Orange Marmalade
Equipment
- large pot or saucepan
- 4 medium size jam jars
- small plates to put into fridge for testing your marmalade
- spoons
Ingredients
- 500 grams Seville Oranges
- 1/2 large lemon or one smaller one
- 1,100 litres water
- 1 kg sugar
Instructions
- The first step (at least 24 hrs before you want to make your marmalade)
- Make sure you wash your fruit first and use oranges closest to the 500g. I find that this is only about 3 medium oranges, but it depends on the size.
- If you prefer your marmalade to be zingier, use a whole lemon, or just half a one or a small one.
- Cut all the fruit lengthways in quarters and using a spoon scoop up all the pith and collect all the orange pips.
- Keep any orange juice for later.
- Cut all the orange peel in either thin slices or thick ones, depending on what you prefer. This is a fairly tedious job, but I find that doubling up the orange quarters (sort of stocking them up) and then cutting them, saves a bit of time.
- Tie all the collected pith and pips into a muslin bag and place to a non-iron or steel bowl (I use a large plastic bowl), with the water and the thinly shredded peel.
- Cover and leave for approximately 24 hrs to ensure that the pectin is released and your marmalade sets well in the end.
- Second step – the next day
- The next day, transfer the marmalade mixture to a large saucepan and on a medium heat simmer gently until the orange peel is soft and the water content is reduced by about half. You can test if the peel is right by tasting it. The orange peel will also look slightly see-through and will sort of go more opaque.
- When the peel is soft, check that you have about 500ml of water/liquid left. If not, simply top up the water with more water or the orange juice you collected yesterday.
- Take out the muslin bag with orange pips and discard.
- The next step is to add the sugar and let it dissolve properly. Check on the back of a soup spoon that all the sugar crystals have dissolved before you move to the next step.
- Once the sugar has dissolved, bring the marmalade to boil and boil for about 10-15 minutes or until you reach the setting point.
- Check your setting point using a cold plate and a spoonful of the marmalade.
- Once you are satisfied that your marmalade will reach the setting point, take it from the heat and leave it to stand for about 10 minutes. This will help to distribute the orange peel more evenly once potted.
- Divide between 4-5 jam jars, seal and let to cool down properly before storing away in a dark, cold place. Use within 12 months (or two years maximum).
Nutrition
This recipe was originally written on 17 January 2020 and last tested and updated on 25 January 2023


Leave a Reply