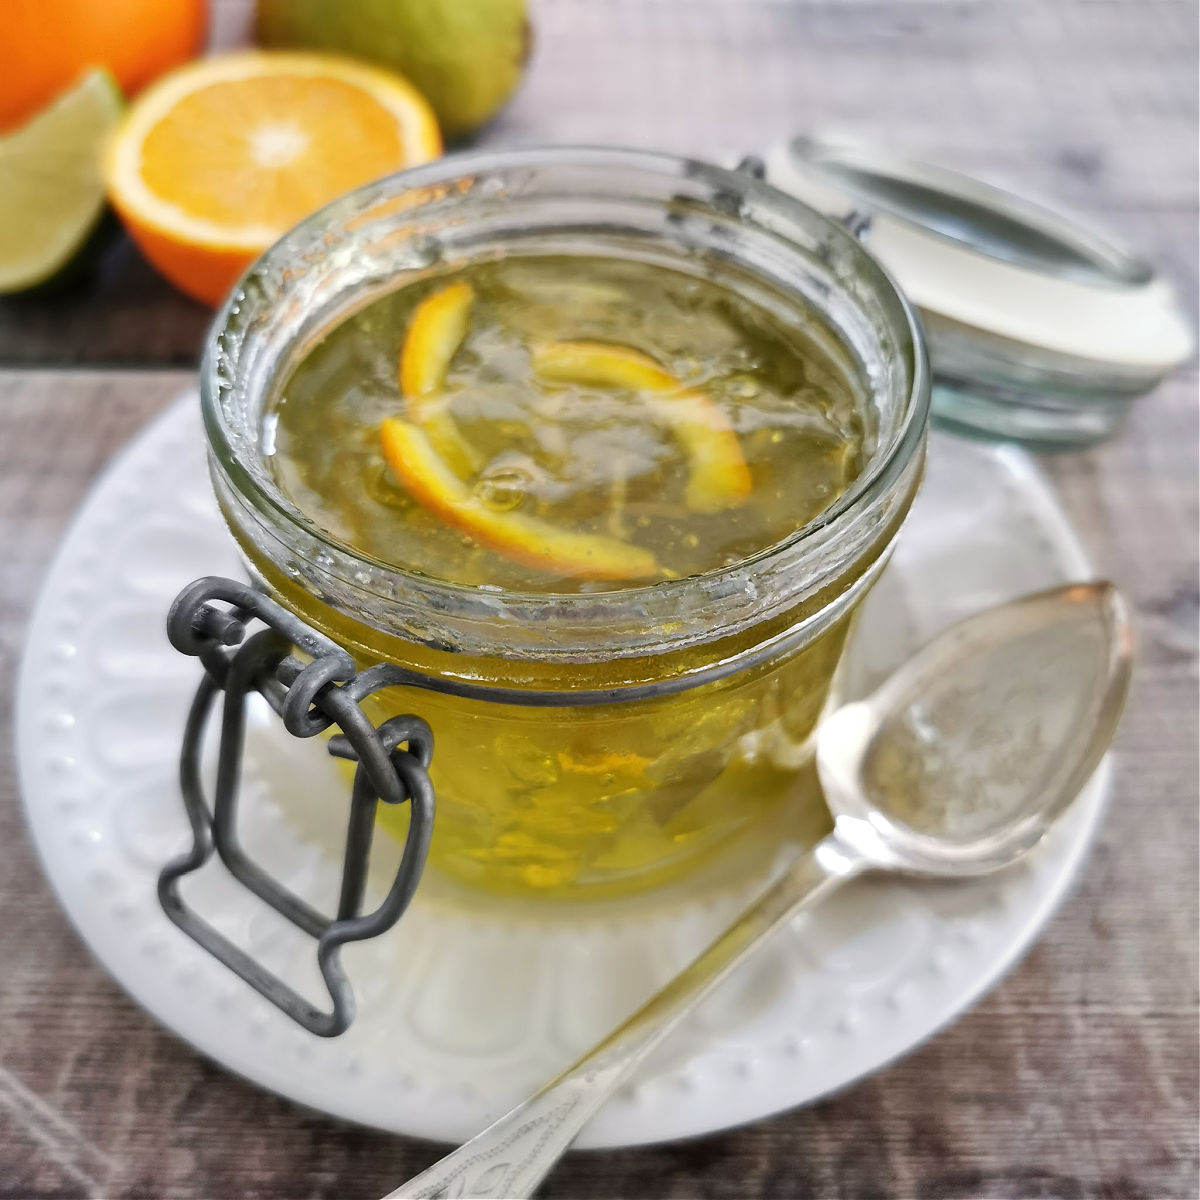
This incredibly bright, light, and tangy marmalade is a game-changer! Forget waiting for the short season of Seville oranges; this recipe uses easy-to-find, sweet regular oranges and limes, meaning you can whip up a batch of sunshine any time of year.
I've chosen the traditional, two-day method—shredding the citrus peel first and letting it soak for 12–24 hours to naturally develop the perfect amount of pectin before the final boil.
I've made this Orange & Lime Marmalade countless times, and it's always a huge hit with friends and family. I also often use this marmalade to flavor my Marmalade Pancakes Recipe, so you see there are a lot of different ways you can use my recipe.
LIKE THIS RECIPE? SAVE IT FOR LATER

Why make this recipe
Made from regular oranges (no need for a special Seville Oranges, which are in season only for a few weeks a year)
Takes less time than a traditional marmalade recipe as regular oranges and limes have softer peel.
Traditional method of shredding peel before boiling the sugar and fruit syrup makes this marmalade light and delicate.
Makes a great handmade gift for your friends and family
MORE MARMALADE RECIPES
A Perfect Small-Batch Recipe
Unlike many traditional preserving methods that require massive quantities of fruit and specialized equipment, this Orange & Lime Marmalade is specifically designed to be a small-batch recipe. It uses a manageable amount of citrus fruit, meaning you won't need a large, dedicated jam or marmalade pan.
This recipe fits perfectly in a standard large saucepan or a tall stockpot—the kind you likely already have in your kitchen! Making a smaller batch is less intimidating, reduces the boil time, and prevents the mixture from boiling over (a common mishap when trying to cook huge quantities in a too-small pot). This makes the entire process faster, cleaner, and more enjoyable for the home cook.
MORE JAMS & PRESERVES

Marmalade making equipment
- Large saucepan or stockpot
- Jam thermometer
- Small plates (kept in the fridge for testing the jam later)
- 3-4 sterilized jam jars with lids
Time saving tip
You can process the orange and lemon peel in a mixer or food processor and chop it very roughly (you'll still want visible pieces of peel, not a peel mush). This saves time, but won't be able to achieve those long thinly sliced peels that you see in some of the upmarket or homemade marmalades.
I always use a sharp knife to shred my citrus fruit and do about 2-3 layers of peel on top of each other to save a bit of time.
MORE JAM RECIPES
How to prepare your jam jars
If you want your Orange & Lime Marmalade to last a long time, don't skip this step! First of all wash your jam jars thoroughly with a fat dispersing dish soap to get rid of any dirt. Don't worry about drying them just leave them to drip dry on a clean kitchen towel or a dishes rack.
Heat your oven to about 100 C (about 180 F) and place the jam jars on a clean baking tray (facing up). Put in to the oven about 15-20 minutes before you are ready to pot the marmalade, which is about the time that you start to boil your marmalade after the sugar has dissolved.
When you are ready to pot your jam take out the tray from the oven (keeping the jam jars on), fill with marmalade, seal with lids, wipe and leave to cool down completely.
This process sterilizes the glass jam jars, getting rid of any potential bacteria, which could be harmful later on and develop into the mold.
It's also good process to follow, because the jam jars are nice and warm/medium hot from the oven and when the marmalade is poured in, the hot marmalade mixture doesn't shatter cold glass.
How to choose your oranges and limes for this recipe
You have quite a lot of options here (please see the notes in the following paragraph), but if you can buy organic unwaxed oranges and limes to make sure they are as natural as possible.
Unless it's specified on the packaging, all citrus fruits are waxed to prolong their shelf life and to prevent them from bruising. Unless you specifically buy 'unwaxed' oranges or limes, you will need to scrub them and wash them (in warm/hotter water) to remove the wax before you start with this recipe.
MORE FRUIT PRESERVE RECIPES

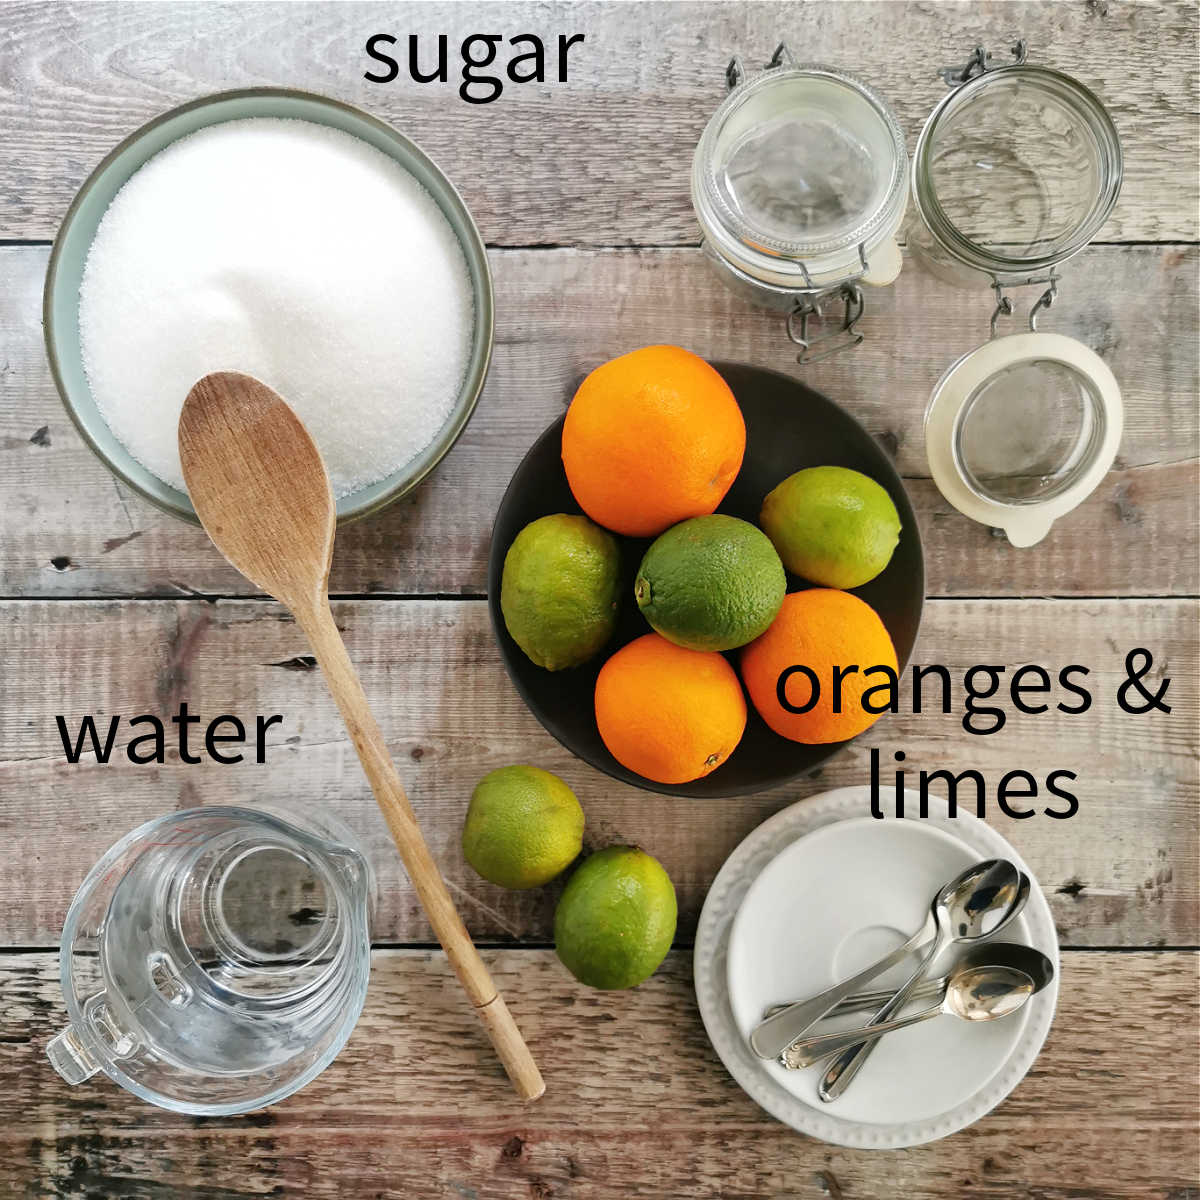
Ingredients
Oranges
You are welcome to use any kind of sweet (regular) type of oranges, that you buy in the shops all year round. Depending on what kind of oranges you'll use, you might get slightly different flavour, but that's part of the fun of marmalade making.
Navel Oranges - one of the sweetest types of orange varieties and completely seedless. If you want to achieve a zingy flavour with these, it's best to use more limes and less oranges. Navel oranges are usually very large, so you might only need one for my basic recipe.
Blood Oranges - these are quite a zingy type of oranges with red colour and really great seville oranges substitutes for recipes. They pair up nicely with limes and make a very zingy (tart) marmalade.
You can also use any other type of citrus fruit with a thinner type of skin, such as clementines or tangerines.
Lime
Since we are using a sweet (regular) type of oranges in the recipe, I've chosen limes to complement the flavours to achieve a sharp -zingy finish. You could also use lemons, but the flavour won't be the same.
Choose limes with soft skin (not hard one) as these will be easier to cook and taste better too.
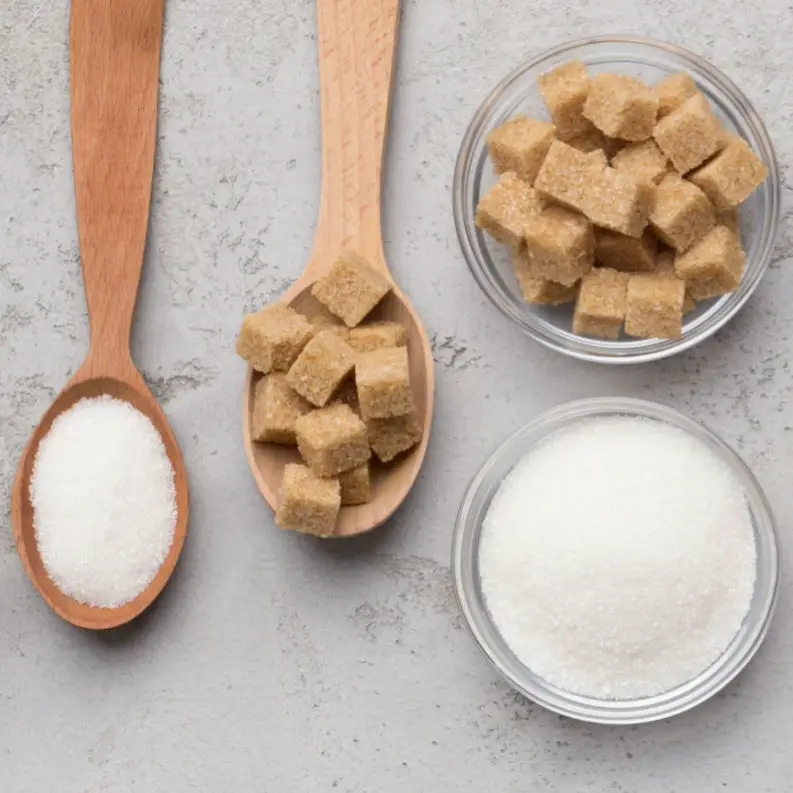
Sugar
White granulated sugar is the best for this Orange & Lime Marmalade Recipe, but superfine sugar is perfectly O.K to use too. Darker sugars, such as coconut sugar or its substitutes will interfere with the flavor, so I don't use them for this recipe.
There is no need to use a specialist jam making sugar (although you could if you have some), as oranges and limes contain a lot of pectin, which helps them to set naturally.
I've used a traditional sugar ratios for this recipe ( 1 portion of fruit and double the amount of sugar), but if you wanted to make this recipe with a reduced sugar you can follow my low sugar Orange Marmalade Recipe and just swap few oranges for limes.
MORE FRUIT PRESERVES
INSTRUCTIONS
The first step (at least 12-24 hrs before you want to make your marmalade)
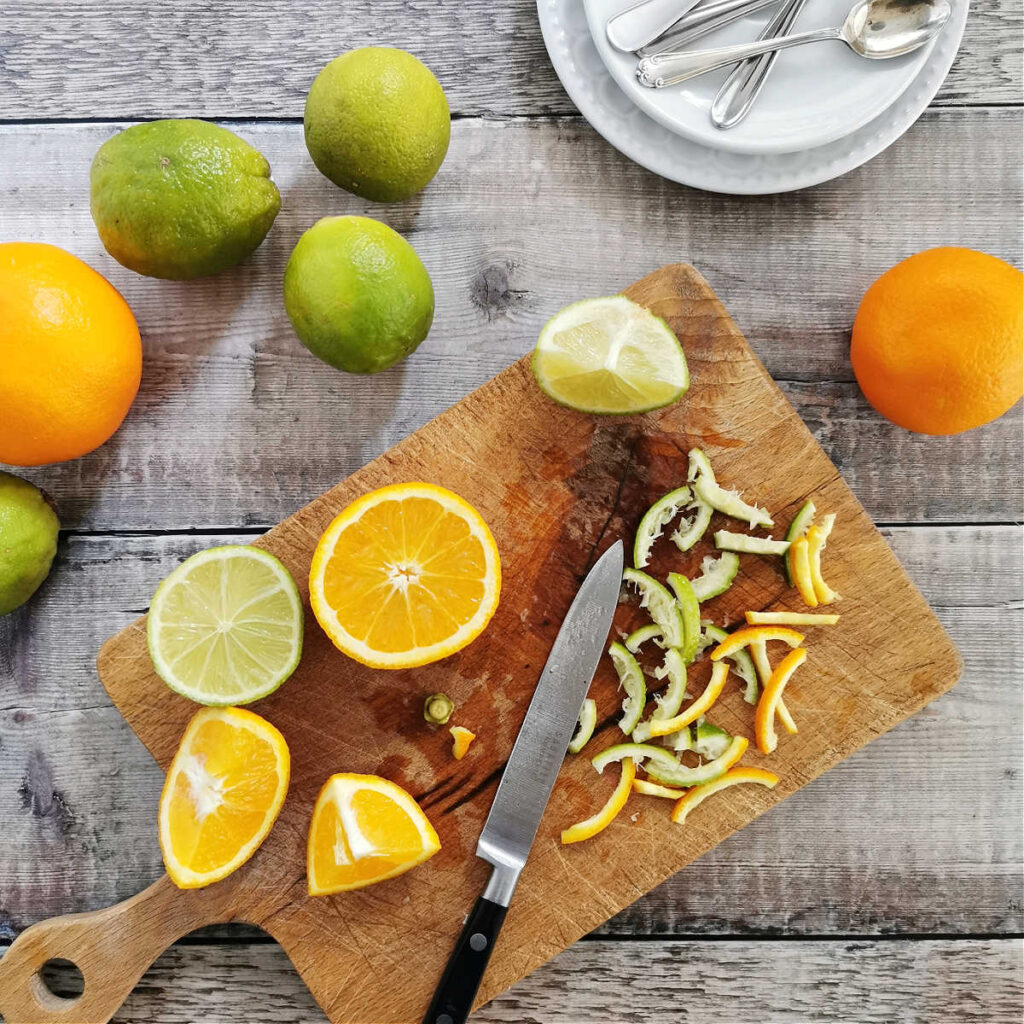
Wash your oranges and limes and scrub them to get rid of any wax or dirt.
Cut all the fruit lengthways in quarters and using a spoon scoop up all the pith, juice and collect all the lime and orange pips.
Keep any orange juice for later and separate the pips and pith (all the white bits) by using a sieve.
Cut all the orange and lime peel in either thin slices or thick ones, depending on what you prefer.
Tie all the collected pith and pips into a muslin bag (or a bit of clean white cotton fabric) and place to a non-iron or steel bowl (I use a large plastic bowl), with the water and the thinly shredded peel.
Cover and leave for approximately 12- 24 hrs to make sure that the pectin is released and your marmalade sets well at the end of your marmalade making process.
Second step - the next day
When you are ready to make your marmalade, transfer the marmalade mixture to a large saucepan and on a medium heat simmer gently until the orange peel is soft and the water content is reduced by about half. This could take 45-60 minutes, depending on the thickness of the oranges peel)
Test (and taste) the peel to make sure it's soft and cooked through. The orange and lime peel will look see-through and more opaque than before.
When the peel is soft, check that you have about 500ml of water/liquid left.
Squeeze the muslin bag with orange & lime pips and pith and discard.
Add the orange and lime juice saved from the first stage of your marmalade making and top it up to 500 ml. You can use water or other (store-bought) orange juice.
Add sugar and let it dissolve properly. Check on the back of a soup spoon that all the sugar crystals have dissolved before you move to the next step.
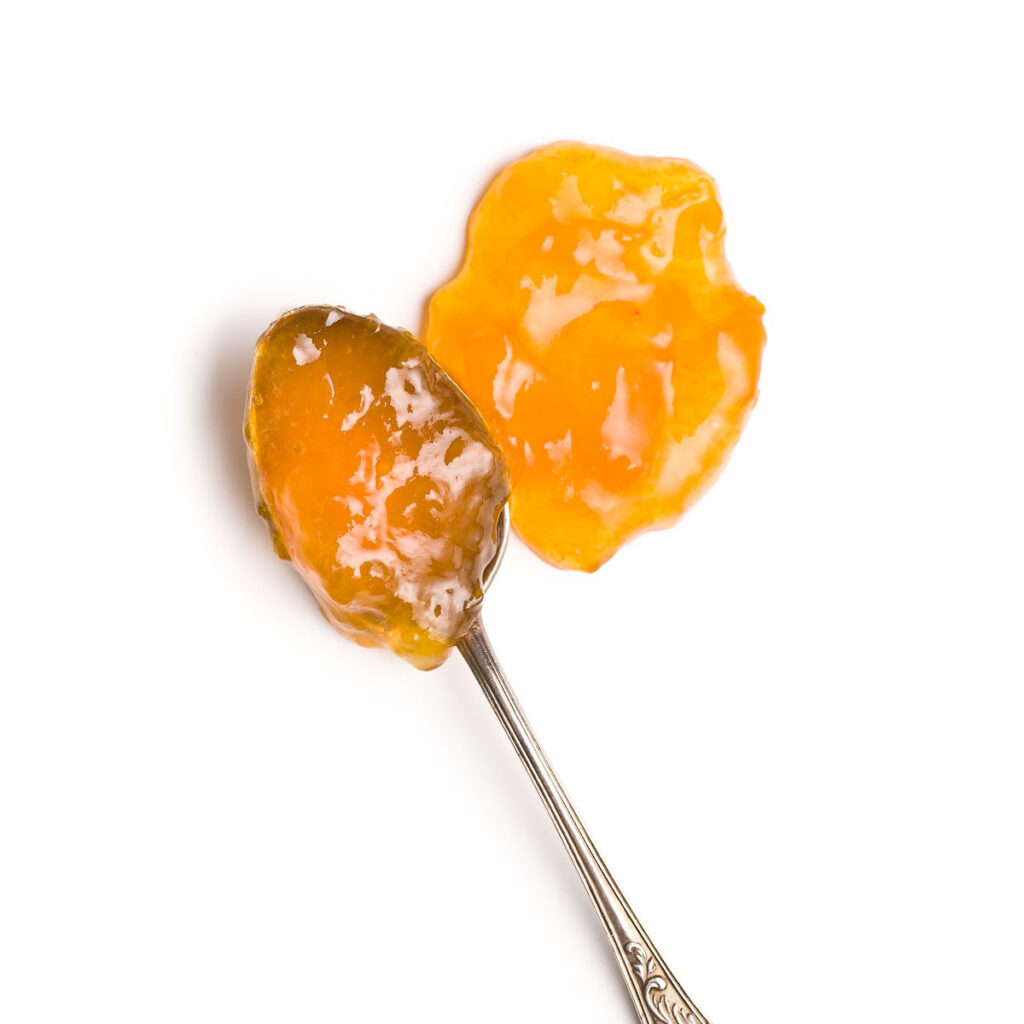
Once the sugar has dissolved, bring the marmalade to boil and boil for about 10-15 minutes or until you reach the setting point.
Check your setting point using a cold plate and a spoonful of the marmalade.
Once you are satisfied that your marmalade will reach the setting point, take it from the heat and leave it to stand for about 5 minutes. This will help to distribute the orange peel more evenly once potted.
Divide between 3-4 jam jars, seal and let to cool down.
Achieving the Perfect Setting Point
Achieving the correct setting point is the most crucial step for beautiful, spreadable marmalade. While a jam thermometer is the most reliable tool, aiming for 105 C (221 F), the cold plate method you mention is an excellent way to double-check the set.
When using the cold plate, place a small spoonful of boiling marmalade onto the chilled plate. Return it to the fridge for 30–60 seconds.
To test the set, push the marmalade with your finger or the back of a spoon. If the marmalade wrinkles or forms a slight skin, it has reached the setting point. If it remains liquid and runs together, continue to boil for another 2-5 minutes and test again. This wrinkling shows that the pectin structure has formed the necessary gel, ensuring your marmalade won't be runny.
Pro tip
Sometimes you might end up with air bubbles and marmalade scum on top of your marmalade as you finish boiling it. To disperse this (as the scum/air bubbles are not particularly pretty when they set in the jar), wait for the marmalade to cool down a little before potting up.
A teaspoon (or so) of dairy butter added to the marmalade as you switch off the burner also helps as well as simply scooping out the excess scum and throwing it away.
MORE HOMEMADE SWEET PRESERVES
Ideas for additional flavors
I often add extra flavors to my marmalades, so if you want to make this Orange & Lime Marmalade Recipe extra special, here are my suggestions.
By the way, if you choose to add any flavoring or extra ingredients, do this right at the end of your marmalade making process, after you've tested your marmalade and you are ready to pot the marmalade. This is because most of the flavours are either not heat stable (they will evaporate like for example alcohol) or prolonged cooking can make them too bitter (like for example spices).
Orange, Lime & Gin Marmalade - add 3-4 tablespoons of gin depending on how strong you want the flavour to be
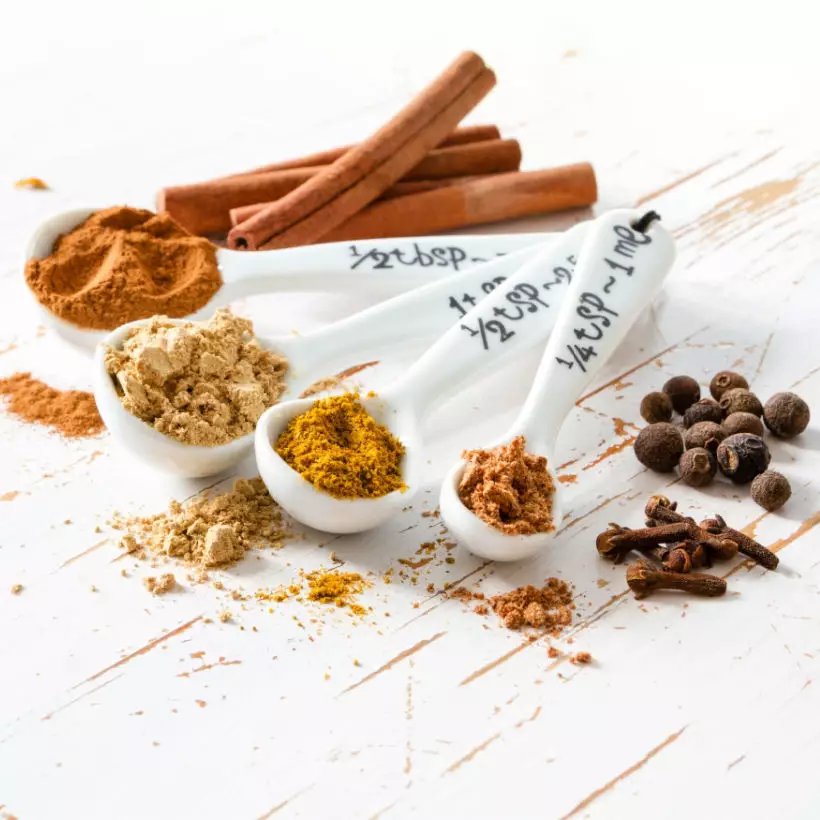
Orange, Lime & Ginger Marmalade - add 1-2 teaspoon of ground ginger
MORE FRUIT PRESERVE RECIPES
How to store marmalade
Let the marmalade cool down first and then store the marmalade jars in a cold, dark place, like a back of the lower kitchen cabinet away from any source of heat. Cold pantry or cellar is obviously a good place to store you marmalade, but most people won't have these in their houses or apartments.
Marmalade shelf life
It's best to use homemade marmalades within 12 months, but I've kept my marmalades for up to 2 years and when stored correctly, they are absolutely fine.
Once you open your marmalade jar, store it in the fridge and eat within 7-14 days.

Orange & Lime Marmalade - small-batch recipe
Equipment
- large saucepan
- 3 jam jars medium sized
- muslin bag
Ingredients
- 2 Oranges regular - sweet medium sized oranges
- 2 Limes
- 5 cups sugar
- 4 1/2 cups water
Instructions
The first step (at least 12-24 hrs before you want to make your marmalade)
- Wash your oranges and limes and scrub them to get rid of any wax or dirt.
- Cut all the fruit lengthways in quarters and using a spoon scoop up all the pith, juice and collect all the lime and orange pips.
- Keep any orange juice for later and separate the pips and pith (all the white bits) by using a sieve.
- Cut all the orange and lime peel in either thin slices or thick ones, depending on what you prefer.
- Tie all the collected pith and pips into a muslin bag (or a bit of clean white cotton fabric) and place to a non-iron or steel bowl (I use a large plastic bowl), with the water and the thinly shredded peel.
- Cover and leave for approximately 12- 24 hrs to make sure that the pectin is released and your marmalade sets well at the end of your marmalade making process.
Second step - the next day
- When you are ready to make your marmalade, transfer the marmalade mixture to a large saucepan and on a medium heat simmer gently until the orange peel is soft and the water content is reduced by about half. This could take 45-60 minutes, depending on the thickness of the oranges peel)
- Test (and taste) the peel to make sure it's soft and cooked through. The orange and lime peel will look see-through and more opaque than before.
- When the peel is soft, check that you have about 2 cups of water/liquid left.
- Squeeze the muslin bag with orange & lime pips and pith and discard.
- Add the orange and lime juice saved from the first stage of your marmalade making and top it up to 500 ml. You can use water or other (shop bought) orange juice.
- Add sugar and let it dissolve properly. Check on the back of a soup spoon that all the sugar crystals have dissolved before you move to the next step.
- Once the sugar has dissolved, bring the marmalade to boil and boil for about 10-15 minutes or until you reach the setting point.
- Check your setting point using a cold plate and a spoonful of the marmalade.
- Once you are satisfied that your marmalade will reach the setting point, take it from the heat and leave it to stand for about 5 minutes. This will help to distribute the orange peel more evenly once potted.
- Divide between 3-4 jam jars, seal and let to cool down properly before storing away in a dark, cold place. Use within 12 months (or two years maximum).
Notes
Nutrition
This blog post recipe was originally written on 6 February 2022 and last tested and updated on 17 November 2025


Leave a Reply