Ever wondered, how to remove bread from sticking bread metal tin or a bread baking pan? This is a question I’m often asked by my students during my Bread Baking Courses. Because I had to deal with bread stuck in tins many times during my 23 years of bread baking I have a proven and tested method that works every time!
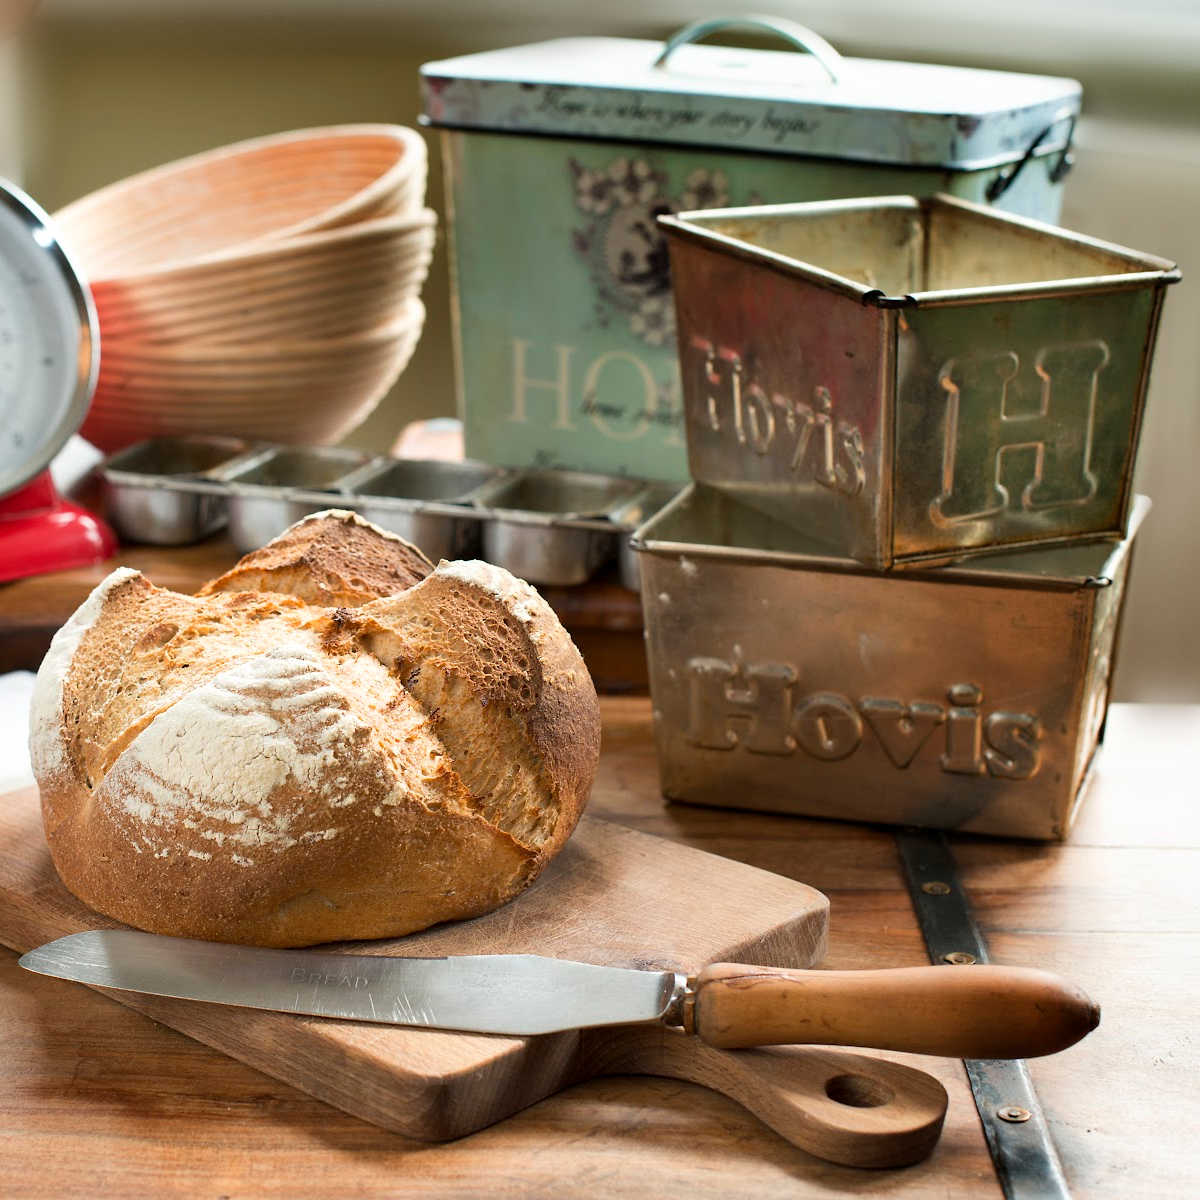
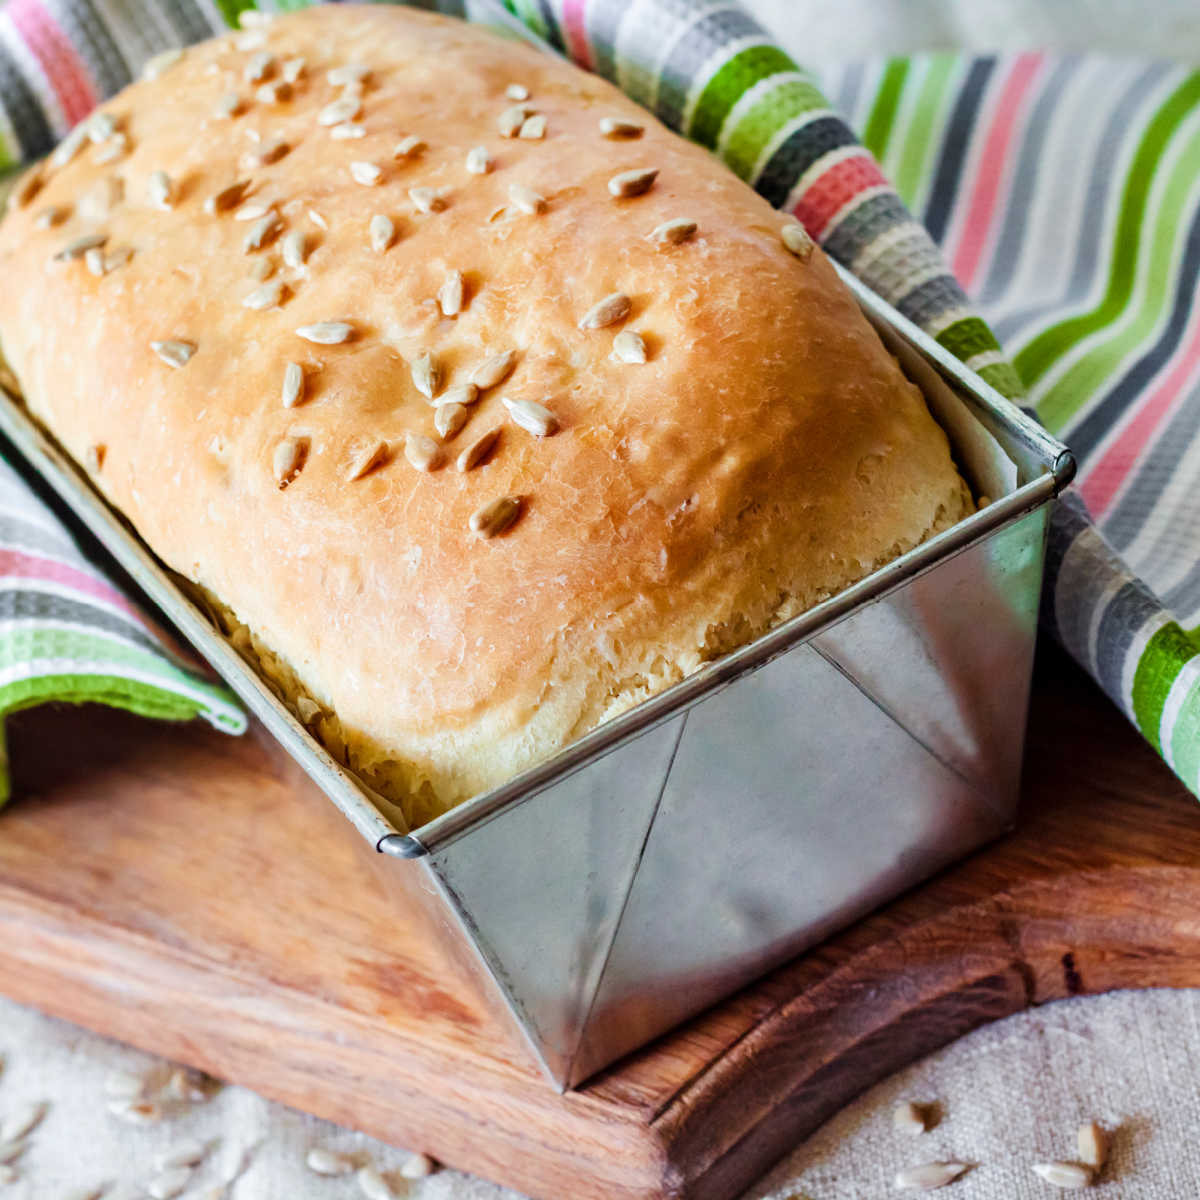
Most of the time, I tend to bake traditional breads like sourdough or rustic rye breads, which are free-standing, but if I want a nice sandwich loaf, I do need to use a bread tin.
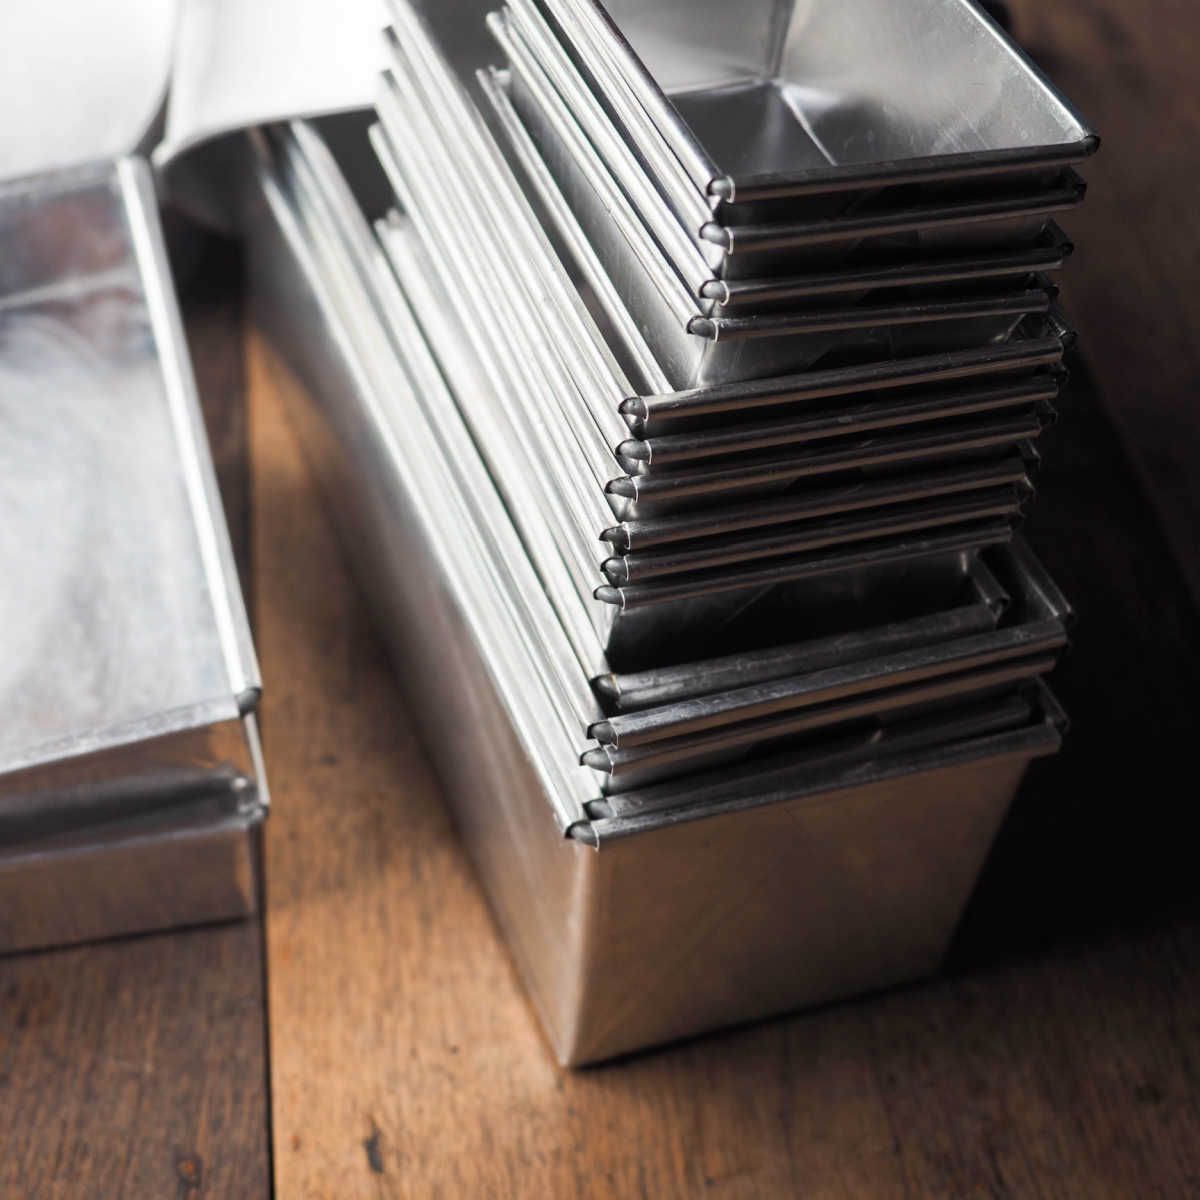
The ‘tin or pan sticking’ is not really an issue if you are using modern cake or bread loaf tins as these modern bread loaf tins are usually made from non-stick material.
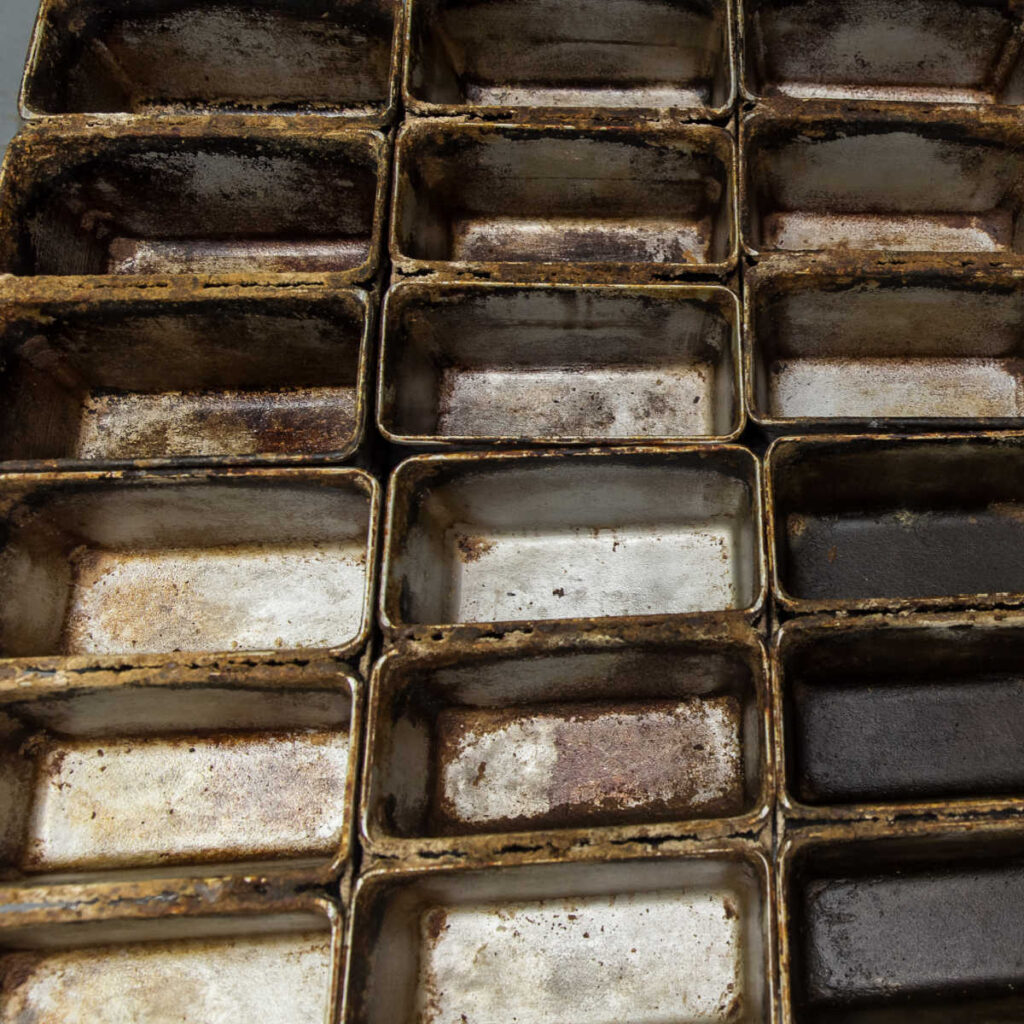
But the bread sticking to the tin or pan could be a huge problem if you have older metal tins or like me like to use vintage and professional bread baking metal tins.
BREAD BAKING TIPS
- How to stop bread dough sticking to your hands >>
- How to prove bread dough in the fridge overnight >>
- How to best store bread and stop it from going mouldy >>
How to remove bread stuck to the baking tin? The quick answer
Dip your hot bread baking tin to a cold water for about 5 minutes to create steam inside the tin and help you to to release the bread. I’ve tried and tested this method many times and as strange as it sounds, it works every time!
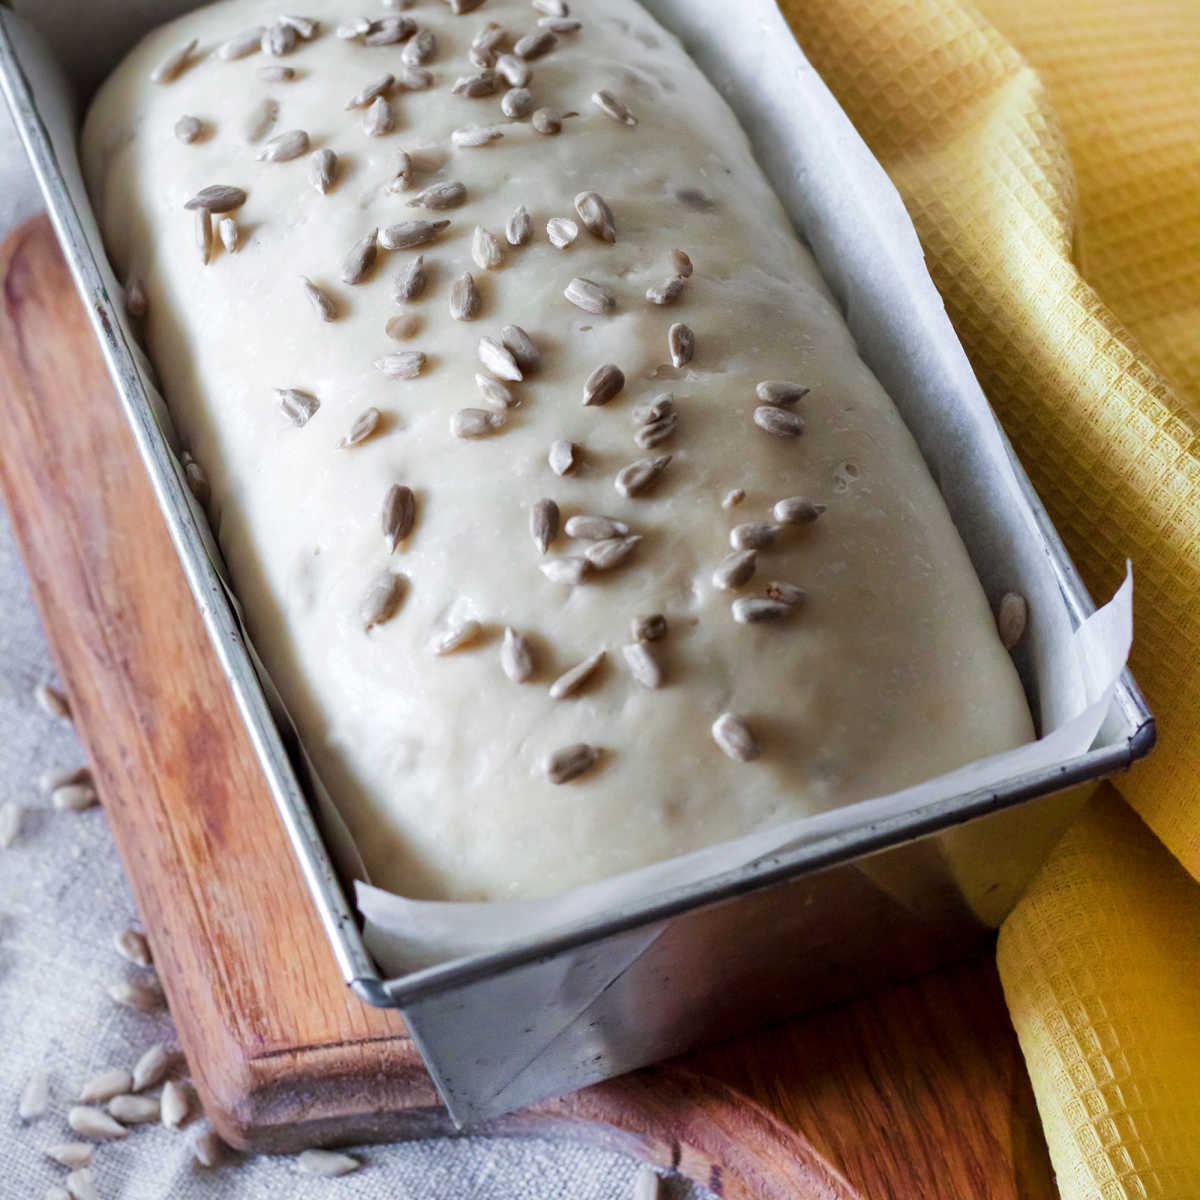
Next time before you bake your bread, make sure that your metal bread tin is seasoned with oil before you start baking or use a baking paper or parchment (see below for detailed step-by-step instructions).
How to remove bread from a bread tin (when it’s already sticking to it)
If you still get problems with bread sticking to your metal bread tin (and you did bake it for a reasonable time, so that you know it should be done – about 35 – 40 min for large loaf) then you can follow this method, which I’ve tried and tested many times during my bread baking courses and baking for local farmer’s markets.
STEP 1 – Fill large container with cold water
Get large baking pan or something similar, which is larger then your bread tin (even washing up sink is fine which is what I use) and pour cold water in – about 3-4 cm high if you can.
STEP 2 – Dip the bread tin in the cold water
Take the tin out of oven, when you think the bread is ready and baked and dip your tin (with the sticking bread) in the cold water and leave for 5 min. Be careful, there might be a bit of a steam as the bread tin hits the cold water.
STEP 3 – Leave for 5 minutes to create steam inside
After 5 minutes see whether it’s ready to come out easily. Just turn the tin upside down as usual and let the bread gently fall on your kitchen towel. If the bread is still sticking, leave it for another 5 minutes.
STEP 4 – Loosen the bread with plastic bread scraper or plastic knife
You can try to loosen the bread with blunt knife, run around the inside of the tin edge. I use plastic disposable knife, that doesn’t scratch the tin – or you can use your plastic bread dough scraper.
Don’t try to just the bread from the tin by forcing it out. This will most likely results in broken bread and the bottom of your bread might tear off. Just wait until the bread falls out by itself.
When I had my new professional galvanised bread baking tins, my bread would stick quite a lot and this has always worked! I think it’s the steam & cold water that does the trick and releases the tins.
If your bread tins have holes in (sometimes the corners are not completely sealed), leave them to cool down a bit and then either place them in a sturdy plastic bag or find another tin that would snuggly fit and place the first tin in. Then follow the same process as above.
How to prevent bread from sticking to the bread tin? (for next time)
Well, this is a method I have tried and tested during my 23 years of bread baking. And yes, like you I was standing with a hot bread tin trying to shake the bread out (and believe me swearing doesn’t really work!). So what does?
You need to make sure that you prepare your bread baking tins properly before you bake your bread for the first time.
How to do this, depends on what type of bread tins you have.
SOURDOUGH BREAD BAKING TIPS
- Tips for overproofed sourdough >>
- Sourdough Starter Recipe >>
- How to adapt recipes to use with discarded sourdough starter >>
How to prepare new non-stick metal bread tins
If you have new non-stick cake or bread loaf tins – most of them are fine to use with just oil. Use any vegetable or sunflower oil and smear it all around the inside of your bread tin.
If the bread tins still stick, add more oil next time. You can also use greaseproof baking paper to line your bread tins, but still make sure that you oil your bread tin beforehand. The greaseproof paper will help to release the bread.
I prefer not to overly wash my bread tin after I use them. I only wipe any excess oil or burned pieces of bread with a paper kitchen towel, but I don’t wash my bread tins.
If you do wash your bread tins every time you use them, you are removing the protective oil which helps to season the insides of your bread tin and preventing the bread from sticking.
The only time I would wash a bread tin mould is if I haven’t used it for a very long time and the oil went bad. In that case I would wash the bread tin and re-seasoned it with new oil.
How to prepare (season) metal or vintage bread tins with oil
If your bread baking tins are proper bread tins (usually white metal one) and they are brand new – they need to be ‘seasoned’.
This basically means to wipe them with oil and then bake them empty in high-temperature oven for 20-30 min. Use high temperature setting (the highest you have or at least 220 C or 400 F). To save energy, you can always season your new bread tins whilst baking other bread, meat or cakes.
Make sure that you use basic oil to season your metal bread tins. This includes vegetable, sunflower or other oils that withstand high temperatures (and won’t go off or burn when exposed to high temperatures).
Ideally, this seasoning process needs to be done several times (2-3 times), before the oil ‘soaks’ into the bread tin. Your metal bread tins will still need to be oiled everytime you use them and make sure that you remove any old bits of bread or flour from your previous baking.
I normally recommend to just wipe the bread tins clean, rather than washing them in between use, as harsh washing-up liquids would take off the oil.
MORE BREAD BAKING TIPS
- Comprehensive guide to oven temperatures for all types of breads >>
- Why your bread is not rising + how to fix it >>
- How to tell if flour has gone bad >>
Use a baking paper if your bread baking tin is constantly sticking
Normally I don’t need to use baking paper to line my bread tins, because I usually grease them well and that seems to be enough. But if you have a bit of a stubborn tin, it might be just easier to use a baking paper next time instead of worrying about whether the bread will come out or not.
I also use greaseproof or baking paper to line my tins if I use a fairly thin dough like my in my quick Rye Bread Recipe, which I’ve included in my Bread Baking e-Book and it’s very simple to make.
I always follow these steps to make sure that the bread does not stick to the tin and can be easily removed after baking.
- Grease the base and sides of the tin to help keep the paper in place
- Lay the tin on a piece of baking paper, greaseproof paper or parchment and measure a strip to fit the length of the tin
- Cut the greaseproof paper to size and grease the bottom of the paper to ensure easy removal of the baked bread. You can also do the sides of the tin otherwise they might stick as well.
Top tip
When the bread does come out of the metal tin, the bottom will be a bit soggy, so I usually pop the bread back in the oven for another 5 min – without the bread tin – to finish baking it and then test it – knock on the bottom of the bread to see whether it sounds hollow.
So, just to recap – grease your bread tins first and if the bread dough sticks dip the bread tin in the cold water for 5 minutes!
Have you got your own ‘tried and tested’ method for removing bread from sticking bread tin? I would love to know, so feel free to share your ideas in the comments below.
This blog post was originally written on 22 May 2014 and last tested and updated on 29 December 2023
PIN & KEEP FOR LATER


Leave a Reply