I always, thought that letting bread dough rise overnight in the fridge is a smart way of baking bread.
You can space out your baking time to fit into your lifestyle, you can speed up or slow down the process of bread proofing and best of all, you can seriously improve the bread texture and flavour.
The traditional way of baking bread is to keep everything fairly warm (the flour, water, room temperature) and then let the bread rise in a warm environment, including rising bread in the oven. This is how it’s done in many households and this is certainly the way how all commercial bread bakeries operate.
Most people (and commercial bakeries) don’t really have the time to wait around letting dough rise overnight in fridge, but I think it’s a fantastic way of baking bread!
PIN TO KEEP FOR LATER

BREAD MAKING RESOURCES
- Reasons for bread not rising + how to fix it >>
- How to remove baked bread stuck in the baking tin >>
- How to best store bread and stop it from going mouldy >>
My experience with proving bread dough in the fridge
When I worked in the bakery, we always left the croissant dough to prove overnight in the fridge. It was the last dough that we would mix towards the end of our shift very early in the morning.
Our colleagues in the afternoon shift would make the croissants (as well as other bread) and leave them to prove again in the fridge. When we started the next shift in the morning (at 4 am), the croissants were the first to go into the oven. They were so delicious when they came out of the oven, and it was so hard to resist them!
I’ve been running bread baking courses for more than 10 years and have been regularly baking my own bread for more than 20 years.
My bread baking students are often surprised when I tell them that bread dough will rise anywhere even in a cold environment like a fridge!
I’ve used cold dough proving (in the fridge) as a way to manage my work load and to stack the baking times when I used to make a lot of bread for our local farmer’s market and my customers.
Whilst I do have a good size double oven, it’s was never big enough to fit all my bread baking in one go. Slowing some bread rising down (by putting it in the fridge) helped me to time things a bit better and I never ended up with overprooven bread (because I didn’t have the space to bake it in my oven)

Can you let bread dough prove overnight in the fridge? (The short answer)
Yes, you can. The coldness of the fridge will slow down the rising process and your bread dough will take approximately 8 hrs to prove.
Proving bread overnight (or during the day) is a great way to fit the bread baking around your daily work schedule and also to make your bread lighter and more tasty!
Why letting dough rise overnight in fridge is a smart way of baking bread
Slow down the bread-making timescales
If you don’t have the time to bake your bread on the same day or in a same session, you can easily split it into longer chunks by slowing down the bread rising. The colder the environment is the slower the bread proofs.
Letting bread rise in the fridge adds about 8 hrs to your overall baking schedule. If you usually leave your bread to proof twice, you can choose to do both or one bread proofing in the fridge depending on how much time you have.
Improve the flavour & texture of your bread
For me, that’s probably the main reason why I choose to proof my bread in the fridge. You can certainly tell the difference between slowly risen bread and bread that’s been risen using the traditional method.
For example, white loaf bread becomes much lighter, softer and sort of moist inside when you bake it. You’ll also see a lot of overnight proofing when you follow any sourdough bread recipe, because the longer the bread rises the more chances the sourdough bread has to develop it’s flavour and it prevents the sourdough from over proving.
Cold proofing also helps with keeping the bread structure together and prevent your bread dough from spreading too much when it’s rising. The cold dough is also easier to shape, because it doesn’t stick to your hands as much as a warm dough would.

How long does bread dough proofing in the fridge take?
This very much depends on the type of bread, how much yeast you put in and how cold your fridge is, but I find that my white bread loaf (500 grams of flour bread recipe with 7 g – one sachet or 1 1/2 teaspoon of quick dried yeast) takes 8 hrs to rise in the fridge that is about 3-5C cold.
This is why people often say, that they leave their bread dough to proof overnight (e.i. 8 hrs), but you can, of course leave your bread to proof during the day if this works for you better.
Can you bake bread dough straight from the fridge?
This will very much depend on how far the bread dough has risen, when you are ready to bake it.
Say, you’ve followed my timetable below and you take out the bread dough in the morning from the fridge, but it looks like it hasn’t doubled in size. In this case, you should wait a little longer before you bake your bread.
Leave the bread dough in the room temperature, switch on the oven and check in 15 minutes or so. Once your bread has doubled in size, start your baking.
If your bread has doubled in size during the second rising in the fridge, you can take it straight from the fridge and put it in the oven. You might end up with slight blisters on the top of the bread, but I think that’s better than having over proved bread dough.
BREAD BAKING RESOURCES
- Comprehensive guide to oven temperatures for all types of breads >>
- How to stop bread from crumbling (GF) >>

What impact on how quickly/slowly your bread dough rises in the fridge?
Size of your bread dough – the smaller amount you have, the quicker it will rise. For example if you have a small rolls that you have left to prove already outside or done one rising in the fridge, the second proving will be much quicker than 8 hrs in the fridge.
Regular size rolls (about 60 grams of dough) will take about 3-4 hrs or even less, so you can’t leave them overnight to prove in the fridge. Making bread rolls is a perfect solution if you are short of time and want the second proving (in the fridge or outside) to go a bit faster. They will bake quicker too!
What type of bread dough can you prove in the fridge?
The simple answer is any!
Any bread dough that’s been made with yeast or wild yeast that it! These types of bread can include:
- Bread dough – any yeasted type, such as Beer Bead >>
- Pizza dough – any yeasted type
- Sweet enriched dough, such as brioche, cinnamon star bread, soft pretzels etc.
- No knead bread – any yeasted type such as Traditional No-Knead Bread >>
- Sourdough bread
What type of bread is not suitable for proving in the fridge overnight
There is no point doing this method with breads like soda bread or scones, because we are using baking powder or baking soda to leaven them (to rise them) and those kinds of bread don’t need slow rising or prooving.
The baking soda or baking powder acts instantly to rise your bread, which means you need to bake the bread straightaway too.
Here are some examples of breads, that don’t need proving in the fridge. These include various types of soda breads, crackers, quick breads, cornbreads, scones, wraps or flatbreads.
How to proof your bread in the fridge overnight + 3 timetables you can follow
The key things to note
You don’t need to leave the bread dough to rise overnight in the fridge – it can be during the day. Feel free to shift the times to suit your day schedule. I’ve happily assumed that you’d like to have fresh bread baked for breakfast, so I’ve worked backwards from the breakfast timings.
You can decide to proof the bread both times in the fridge (this requires about 17-18 hrs before you can eat your bread)
You can decide to do one proofing only in the fridge (the quicker is to do the second rising in the fridge, but you can first leave the dough to prove in the fridge and then leave the second rising in a room temperature).
Each bread dough proving in the fridge will give you about 8-9 hrs time. This is useful to know, because you can also make your bread in the morning and get on with your day. You can then continue with your bread baking late in the afternoon or when you come back from work.
1 Method – The shortest time – First prooving in the room temperature, second prooving in the fridge
To bake your bread first thing in the morning you need to do the following
9 pm – the night before – Mix & knead your bread
9.30 pm – leave to rise the bread dough for the first time in a bowl
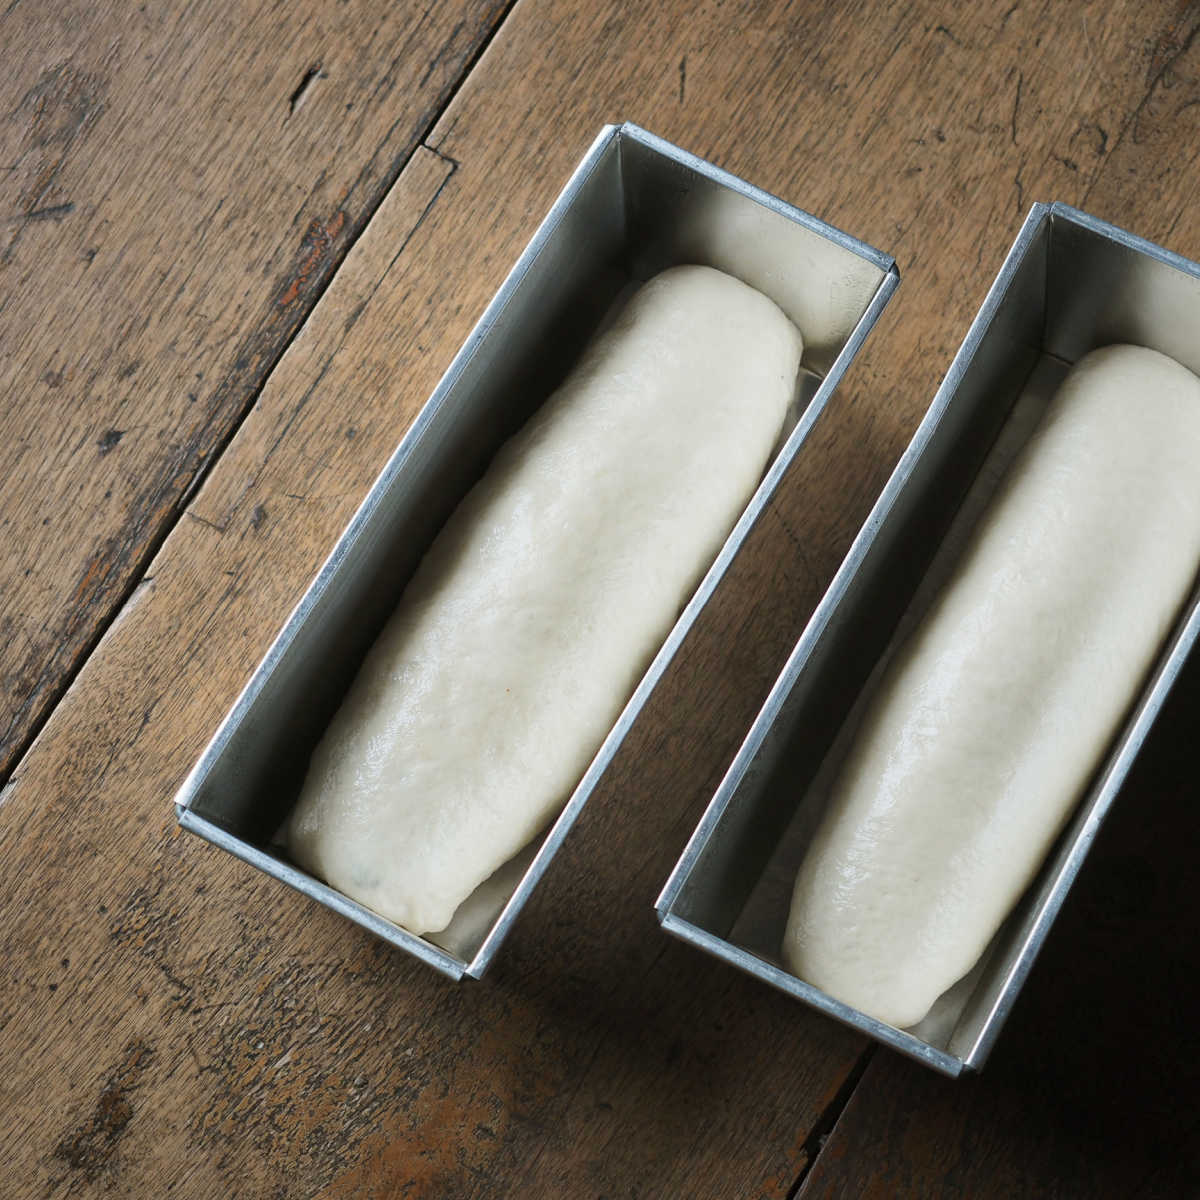
10.30 pm (approx) – when your bread dough has doubled in size, shape it and put in bread basket or bread baking tin
10.45 pm – Cover with a lightly oiled plastic, shower cap or whater you normally use and place in the fridge
6.30 am – next day – heat your oven and remove the baking tin/basket from the fridge (check that your dough has doubled in size or it’s nearly there)
6.45 am – bake your bread – timing based on your chosen recipe
7.30 am – Breakfast time!
2nd Method – the longest time- First prooving in the fridge, second prooving in the fridge
To bake your bread first thing in the morning (but you don’t have time in the evening)
2 pm – the afternoon before – Mix & knead your bread
2.30 pm – leave to rise the bread dough in the fridge for the first time in a bowl covered with an oiled plastic or shower cap (etc)
10.30 pm (approx) – when your bread dough has doubled in size, shape it and put in bread basket or bread baking tin
10.45 pm – Cover with a lightly oiled plastic, shower cap or whater you normally use and place in the fridge
6.30 am – next day – heat your oven and remove the baking tin/basket from the fridge (check that your dough has doubled in size or it’s nearly there)
6.45 am – bake your bread – timing based on your chosen recipe
7.30 am – Breakfast time!
3rd Method – the longer – in between time – First prooving in the fridge, second prooving in the room temperature
If you don’t have much time now, but have more time later
10 pm – the night before – Mix & knead your bread
10.30 pm – leave to rise the bread dough for the first time in the fridge
6.30 am (approx) – next day – when your bread dough has doubled in size, shape it and put in bread basket or bread baking tin
6.30 am – Cover with a lightly oiled plastic, shower cap or whater you normally use and leave to proof in a room temperature or somewhere slightly warmer
8.30 am – 1-2 hrs (or longer) next day – heat your oven and check that your dough has doubled in size or it’s nearly there
8.30 am – bake your bread – timing based on your chosen recipe
9.15 am – Late breakfast or bruch time!

What container can I use to prove my bread dough in the fridge?
The general rule is to use the same type of containers that you would normally use for regular proving or baking. There are however few things to bear in mind.
First dough proving
- Plastic Bowl + plastic bag or lid
- Plastic Bag
- Plastic food storage container with lid
- Glass or Ceramic Bowl
For the first dough proving, I usually use basic plastic bowl covered with a plastic bag or a cling film (or another bowl). If the bowl is large (and you know the bread dough is not going to rise above the top), you can also use a plate, plastic tray or chopping board as a lid.
Whatever you use, make sure that your container has a lid as the bread dough will dry even in the fridge and you don’t want the dough to start developing a thick skin on the top.
If you wanted to you can also use large oiled plastic bag with a lot of room in it and loosely tied.
I’ve also used large food storage containers with lids for proving my bread dough. It’s best to oil the container inside before you add your dough. Food containers are quite useful, especially if you are short of space, as you can easily store other items on the top.
If you want to slow down the dough proving process even further, then use glass or ceramic bowl. The thickness of these bowls will keep the dough slightly colder than plastic bowls and this will ‘buy’ you extra time.
Second bread proving
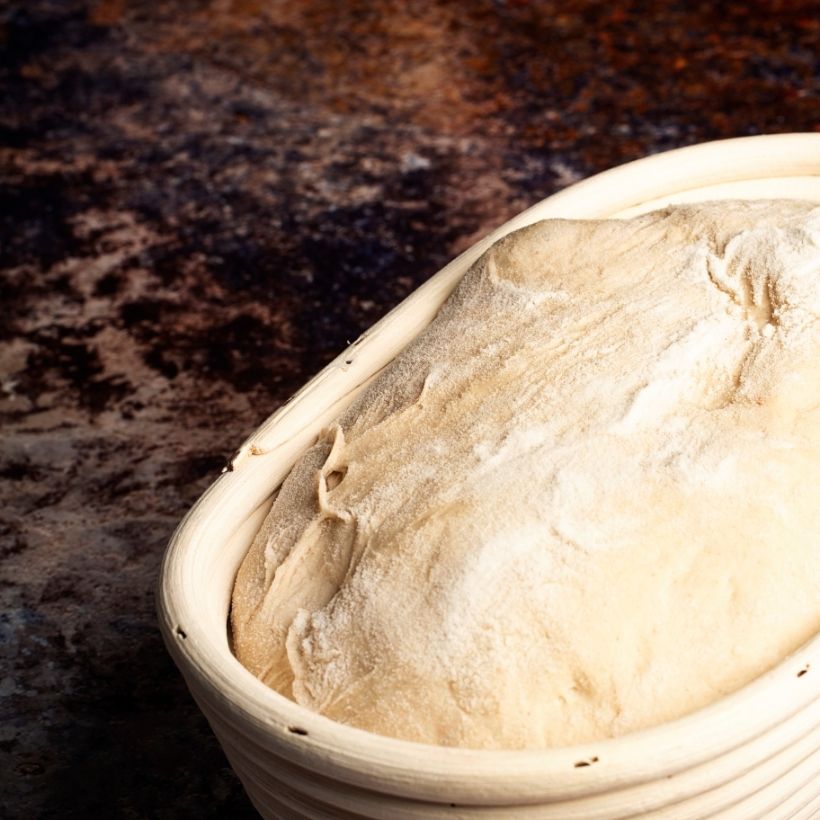
- Bread Banetton
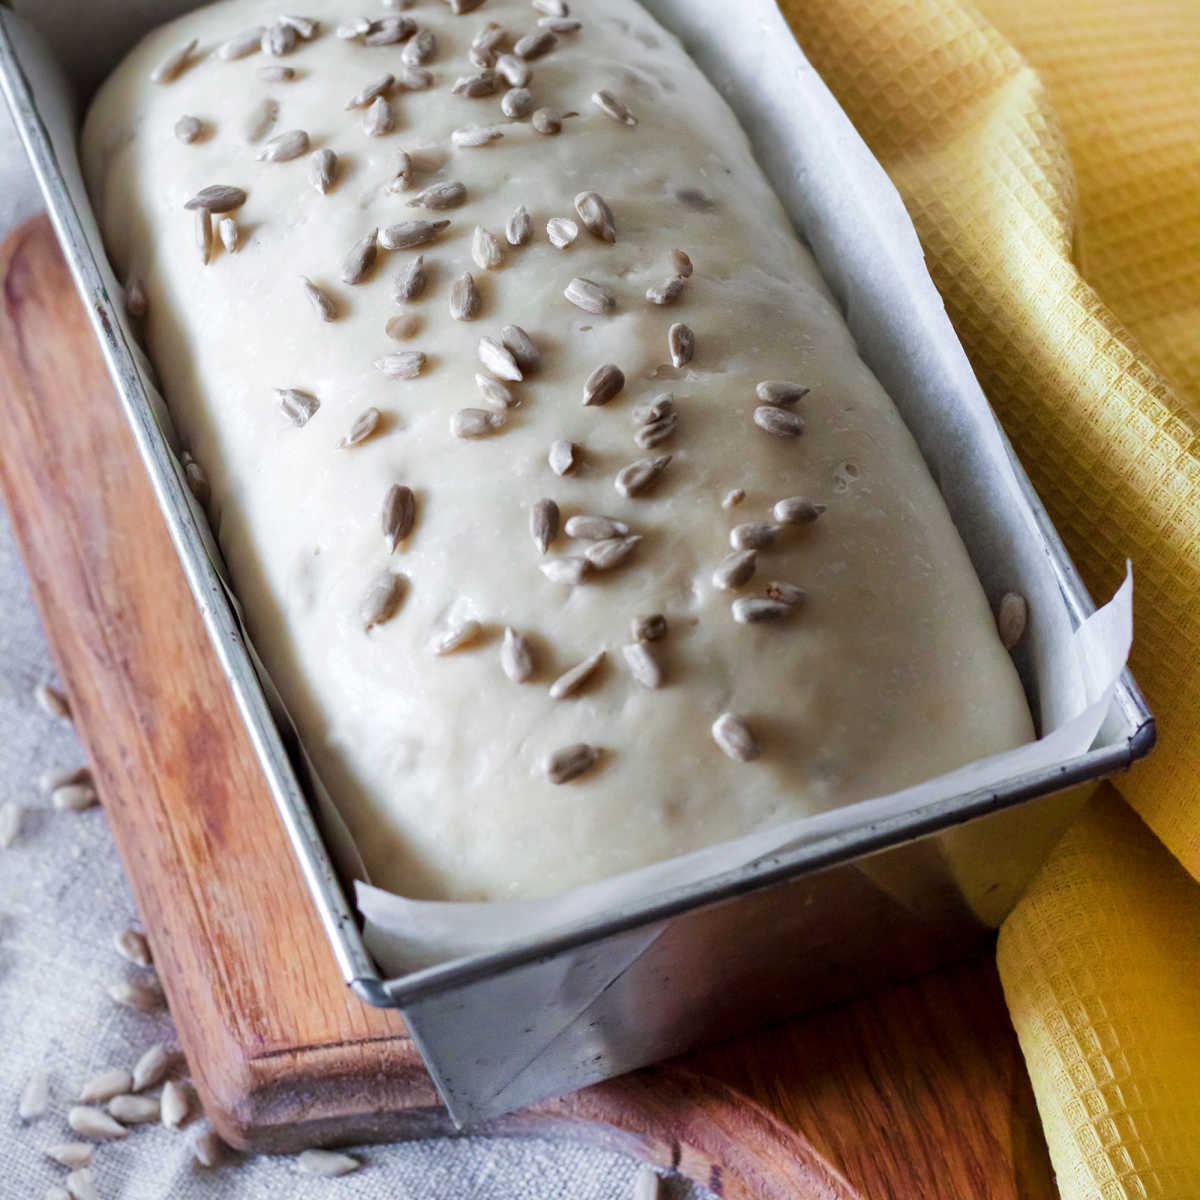
- Bread Tin
For the second bread proving it’s best to use something that will hold your bread shape, just in case the proving is faster than you’ve anticipated.
Whatever you use, whether it’s bread banetton or bread tin, make sure it’s properly oiled, and floured or that you are using greaseproof paper or cloth (for the banetton) to make sure that your bread dough or sourdough won’t stick to the proving basket, banetton or other container.
This blog post was originally written on 29 November 2021 and last updated on 16 October 2022


Leave a Reply