Gluten free bread can be sometimes crumbly, but there are easy ways to fix this, including adding more liquid, adding oil or butter, baking the bread at the right temperature and a few extra simple bread baking tips.
Baking your own gluten free bread is a great way keeping bread in your diet if you have to follow gluten free diet (or try to limit gluten in what you eat.).
The problem is that quite often you'll find your gluten bread crumbling and falling apart when you try to make it into sandwiches, toast it or even spread homemade butter or other spreads on it.
I've been baking both traditional and gluten free bread for best part of 20 years and have often been asked by my students in my bread baking classes how to stop gluten free bread from crumbling.
So, here is how...
GLUTEN FREE BREAD & CAKE RECIPES
- Bread Pudding >>
- Banana & Walnut Bread >>
- Buckwheat Tortilla Flat Breads >>
- Buckwheat Bread with Seeds >>
Why does gluten free bread crumble?
This is mainly because the lack of gluten, which makes normal - gluten bread soft and binds everything together.
The crumbliness also depends on what bread flour mix you use as they all behave slightly differently.
I know, having crumbling gluten free bread can be frustrating, so let's have a look at some solutions.
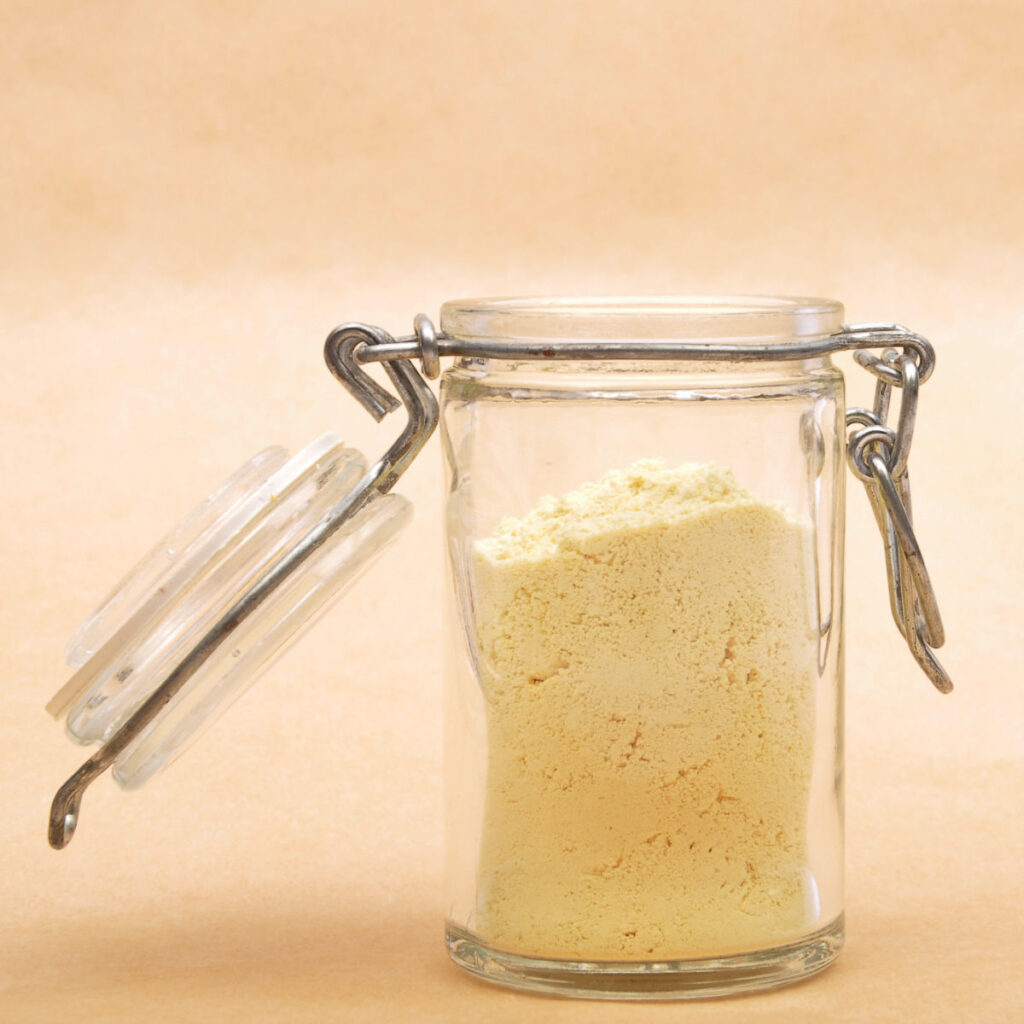
Add xantham or guar gum to your bread mixture
Xantham gum is used for most gluten free baking, including cake baking, biscuits, cupcakes, muffins or even gluten free pancakes.
Xantham gum does the same job as gluten in traditional bread flour, but because it's made from corn sugar, it's completely gluten free and plant based too.
The main purpose of gluten and xantham gum is to bind the flour particles together which is what in turn makes it soft.
To prevent your gluten free bread to crumble add 1 teaspoon of xanthan gum or guar gum to every 500 grams (or 4 cups) of flour in your bread recipe.
Bake it, taste it and if it still feels too crumbly, make a note and add another 1/4 teaspoon of xantham gum next time when you bake your bread recipe.
Don't try to overdo it as if you add too much, your bread might be too tight. Xanthan gum also soaks quite a lot of water, so you might need to adjust the amount you have in your bread recipe.
If you don't have xantham gum or agar gum, you can also use my scalded flour method to strengthen the gluten-free bread flour and to make the dough less crumbly (and in turn moister when it's baked).
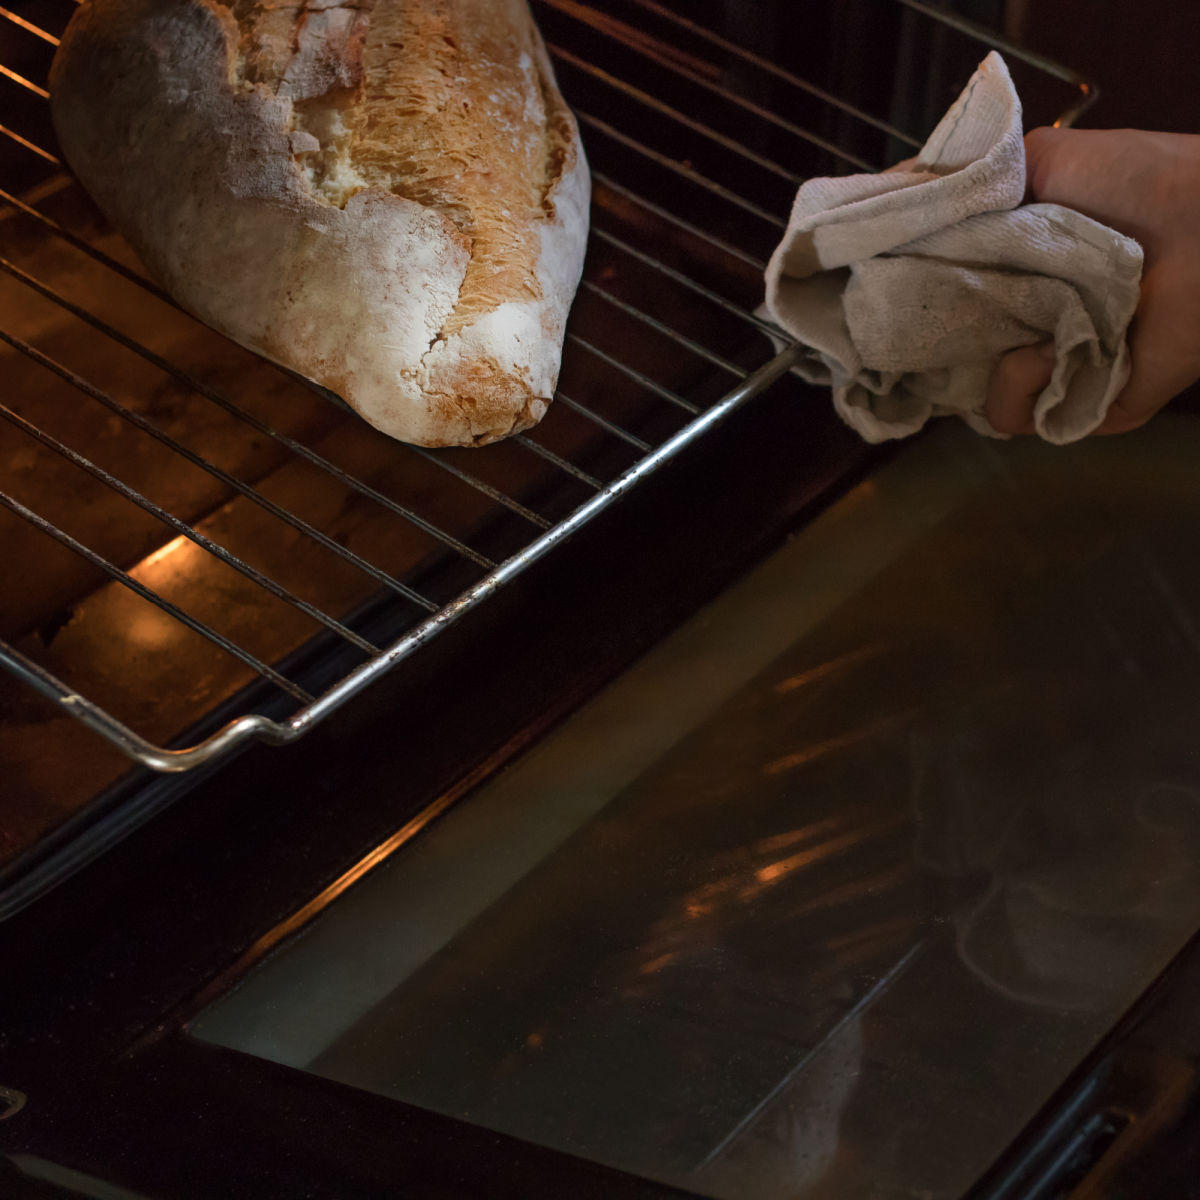
Don't overbake your gluten free bread
Another reason, why your gluten free bread might be crumbly, could be, that it's overbaked and too dry.
If you overbake normal bread by a bit, nothing tragic happens as the top usually goes darker, but gluten free bread tend to dry out too quickly. Instead of knocking on your bread to see whether it sounds hollow, use a wooden tooth pick.
If it comes out clean (when you pierce the bread roughly in the middle), the bread is ready to come out from the oven.
Make sure that you double check the correct oven temperature for your gluten bread in your recipe. As a general rule, gluten-free breads are baked at lower temperature than regular types of bread. This can be as low as 180 C (350 F), which is similar to cake oven temperatures.
Another thing that's different when baking gluten-free bread is that you don't usually use higher oven temperature at the beginning and then lower the temperature later - you only use much lower temperature for the whole baking time.
This is quite important, as if you are used to baking regular bread, you might think that you'll follow the same process, but unfortunately you'll only end up with much crumbly gluten free bread which is also going to be quite dry at the end of your baking.
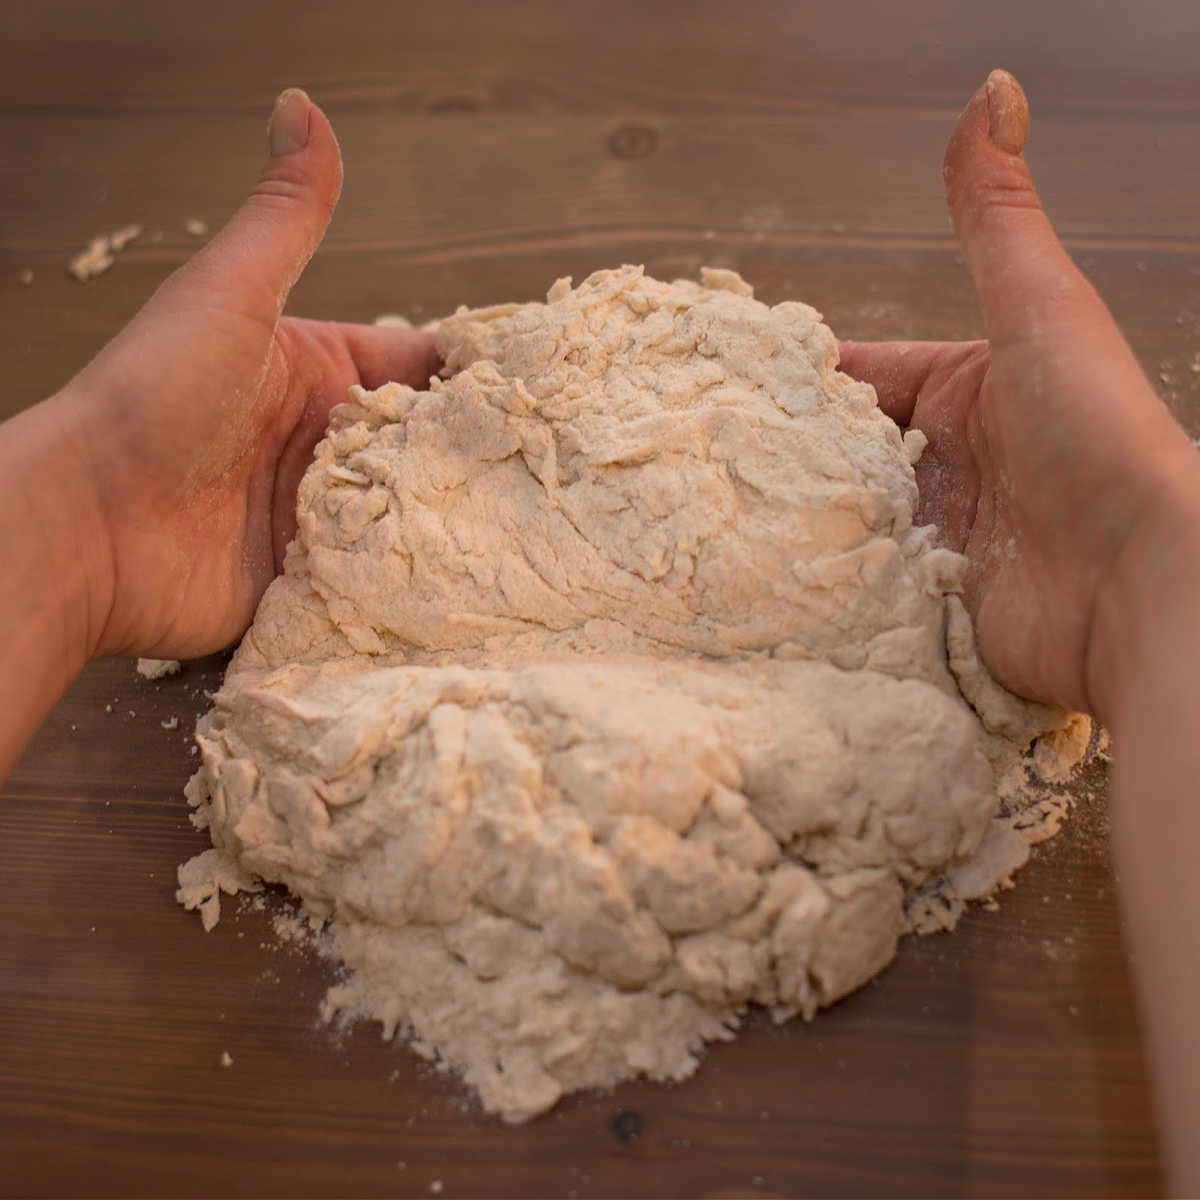
Add the right amount of water
As I mentioned before, gluten free bread needs xanthan gum to prevent it from crumbling and in turn it needs more water than normal bread.
As you knead your bread add water if the bread dough feels tight and carry on kneading. Don't be scared to add water right at the end of your bread kneading process. The bread dough needs to be soft and pliable before you shape it.
I know from experience as a baker (and baking teacher) that people can be sometimes afraid to add enough water, because they don't like their bread dough to stick to their hands when they are kneading their dough.
In fact a lot of people add too much flour on their hands, because they think that the bread won't stick too much. This is true, but what they are also doing is to add way too much flour to their gluten free bread and this then makes the bread too dry and crumbly when you bake it.
The good thing is that there are plenty of ways to prevent your hands to stick to your dough whilst kneading it without making your your hands too sticky and your bread too dry.
Make sure you measure everything correctly
I think it's worth mentioning that if you don't measure out the dry ingredients correctly, you'll end up with unbalanced dough, which is difficult to correct later on (unless you know exactly what you have and haven't put in).
Since most of the bread recipe ingredients is bread flour, it's worth double checking that the weight is correct even when you mix everything together.
For example I use 500 grams of gluten free flour with about 300 ml of water. This is altogether 800 grams (water weights is the same as millilitres) plus tiny amount for yeast, sugar, salt and any other ingredients such as seeds or herbs.
Even after you've mixed your bread and kneaded it, you can check the weight and adjust the ingredients in the recipe.
If the bread feels too wet, then you have too much water and not enough flour (add flour). If the bread feels too tight as in it's difficult to knead and you can't easily push it down, then you have too much flour and not enough water (add water in this case).
Add butter or oil to the gluten free dough
To make your gluten free bread softer (and less crumbly) add a tablespoon of unsalted butter, coconut oil, lard or any other type of oil or butter.
The butter or oil will help to keep the bread nice and moist for a few extra days.
Use specialist gluten free bread flour
I know people, who prefer to make their own gluten free bread flour mix, but most people find this too complicated. Just make sure that you use a specialist flour made for bread baking.
Don't use gluten free plain or self-raising flours to bake gluten free bread as these are created for cakes and muffins, where the texture is much softer.
This is a similar problem that you might come across when you are baking gluten free cakes and want to make sure that your gluten -free cake is not dry.
You will also find that using wholemeal gluten free flours (such as buckwheat flour or cornmeal or some of the cornmeal flour substitutions that are gluten free) will make much less crumbly bread, then if you use white and finely milled flours such as rice, lupin or potato flour.
This is because wholemeal flours have large flour particles that trap more water and can in turn make your bread moister and less crumbly.
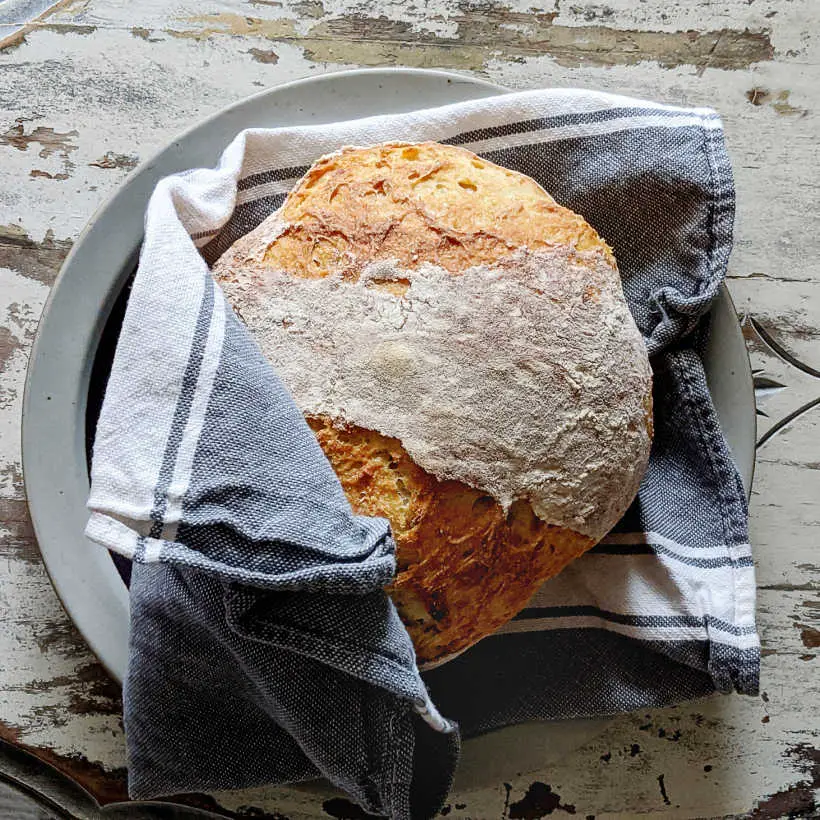
Cover the gluten-free bread with a teatowel when cooling down
One thing I've learned over the last 20 or so years, which always works like a charm, is to cover the bread or bread rolls with a tea towel or something similar (even a strong food grade plastic bag) when I take my bread out of the oven.
Once your gluten free bread has finished baking in the the oven, you need to place it on a cooling bread rack and leave it to cool down completely before slicing and eating your bread.
The magic thing is that the first 10 minutes of the cooling process the bread is still baking as the steam is escaping the dough.
If you want to have a softer (and less crumbly gluten-free bread) cover the bread with a clean teatowel or a plastic bag (or similar) to prevent the hot steam from escaping and returning it back to the bread. Your gluten free bread (or any type of bread for that matter) will stay nice and soft and much moister than if you leave the bread to cool down on it's own.
This blog post was originally written on 27 December 2020 and last updated on 2 December 2022


Leave a Reply