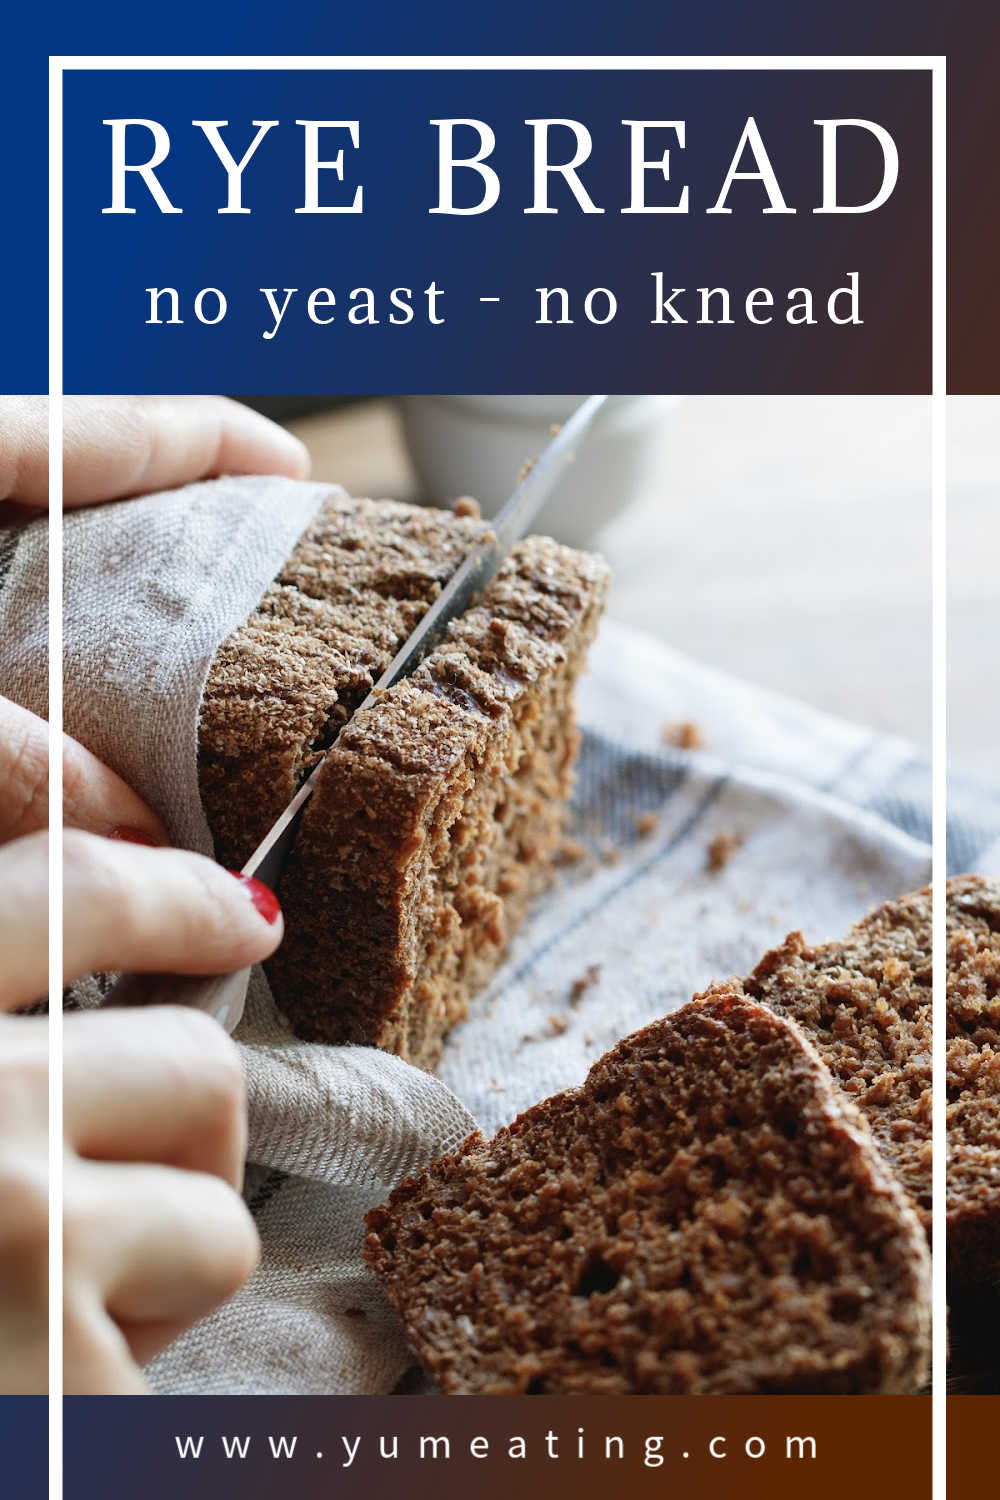
My favourite quick and easy, no-knead rye bread recipe without yeast. Just mix all ingredients together and bake straight away as no proving time is needed for this yeast-free rye bread.
Whilst I absolutely love baking bread with yeast and enjoy all the relaxing kneading that goes with it, sometimes it's good to know a bread recipe, that you can just throw together and it's done without a lot of hard work or waiting around.
Well, this rye bread recipe is exactly that!
PIN TO KEEP FOR LATER
My favourite reasons for making this bread recipe
There is no need to use yeast with this recipe as it's no-knead, no-proof needed kind of rye bread. This is mainly because rye flour, like for example lupin flour or homemade potato flour is very low in gluten, which means you either need to work it extra hard (e.g kneading) or not bother at all!
With this recipe I prefer the lazy approach to the bread baking! I always bake this bread when I'm short of time or need to have a fresh bread quickly.
There are other bread recipes that don't require kneading, such as wholemeal soda bread, buckwheat bread with seeds or traditional soda bread without buttermilk which are also quick to make and easy to mix together.
MORE BREAD RECIPES

Baking tins you will need
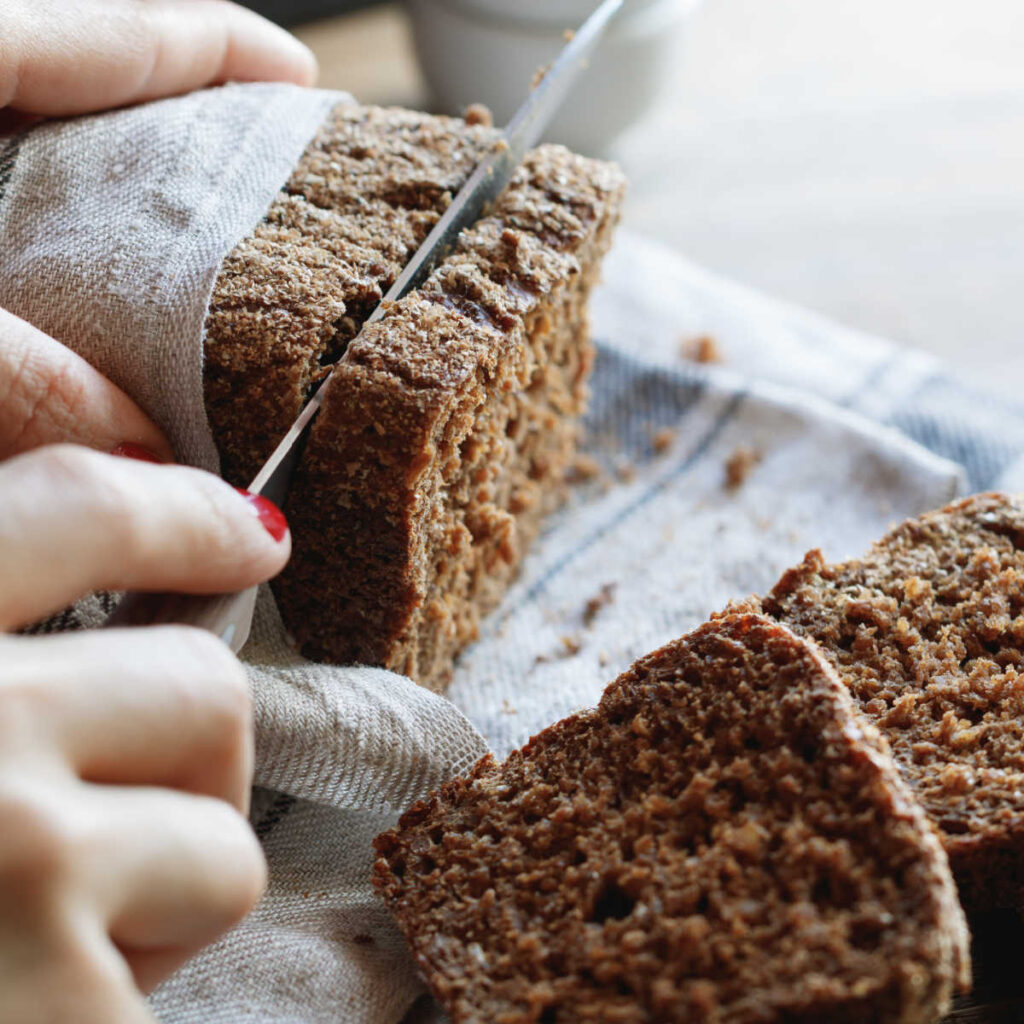
I usually use a 2 pound loaf tin, either loaf cake tin or bread baking tin. You can bake this bread on it's own (e.g just on the baking tray), but I find that the bread tin holds the bread nicely together and then it's easier to cut for sandwiches.
The bread dough is quite soft and it's easier to keep it something that will help to hold it's shape. It's best to line the tin with a greaseproof baking paper to help you to take the bread easily and prevent it from sticking to the bread tin.
MORE BREAD RECIPES

Notes on ingredients
Rye Flour
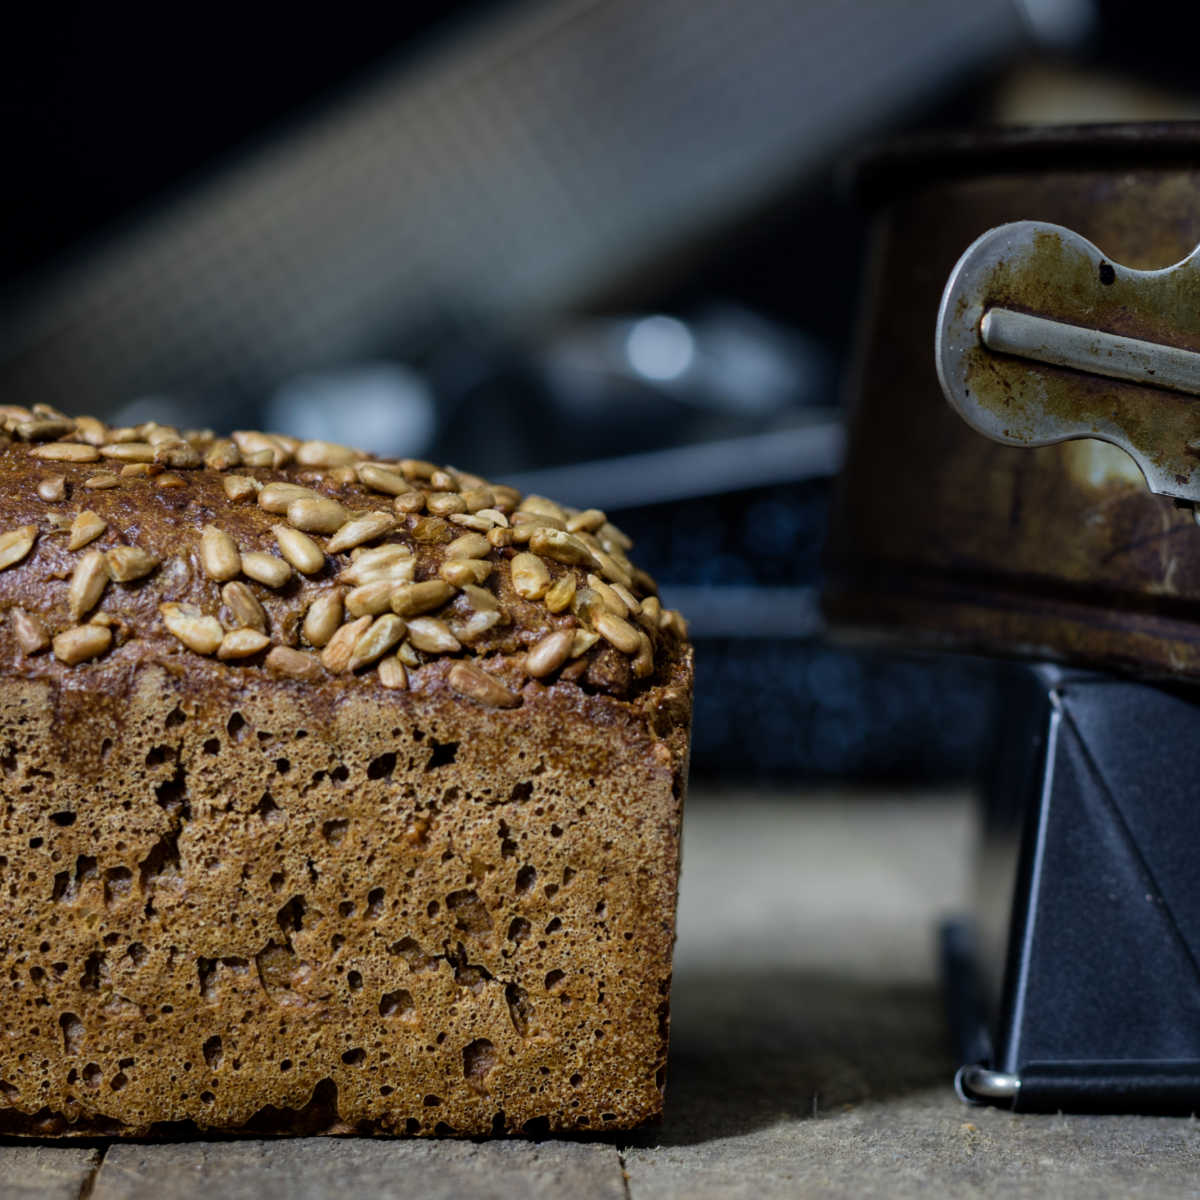
This is 100% rye flour bread and I usually use wholemeal rye bread to bake this recipe.
Wholemeal rye flour is more common than white rye flour, so if you see just one type of rye flour in your shop, don't worry, it's probably wholemeal rye.
If you had any leftovers of white or wholemeal rye flour, you can mix it together. The more white rye flour you have, the lighter the bread is going to be, but the wholemeal version is more traditional.
Caraway Seeds
I really like the combination of rye bread and caraway seeds - they go so well together! But if you are not sure about the taste or you don't have any caraway seeds, don't worry, leave them out. You can throw in a handful of seeds instead.
Liquid
Each time I bake this bread, I use a slightly different liquid to bake it. Water, water mixed with milk or yoghurt or even buttermilk all go really well with the flavour of this easy rye bread recipe.
The flavour of the bread might change a little with the different type of liquid you use. For example, using full-fat yoghurt will give the bread a wonderfully sour taste.
MORE BREAD RECIPES
How to bake my no-knead rye bread without yeast recipe
Mixing
The only advice I want to give you here is mix it well, but don't over mix it. There is no need to knead this bread and no need to prove it either. You literally just mix everything together, shape it and stick it in the oven! Job done!
Baking
You will need much lower oven temperature for this rye bread, than for yeasted bread - only about 220 C or 380 F. I usually start with this temperature and then lower the oven temperature if the bread is browning too quickly.
As a rule of thumb, this recipe needs a fairly constant temperature through out the baking.
Since this rye bread is risen by baking powder and not yeast and there is no kneading involved, you will need to treat the bread as if it was a cake for baking purposes. The oven temperature should be fairly constant and once the bread is in the oven, you shouldn't open the oven door during the first 20-25 minutes of baking.
If you do open the oven door too early the bread might collapse and end up being quite dense.
How to check when the bread is done
When checking that your bread is done, see first if the bread will sound hollow when you knock at the bottom of the bread. You can also use a wooden skewer to check. If it comes out clean and not wet, your bread is done.

How to make this easy rye bread in a different way
I always like to have first my base recipe and then make it differently every time I bake it.
Over the years, this rye bread was baked with caraway seeds, without them, with mixed seeds or nuts, mixed dried herbs and even with mixes of slightly different flours, such as spelt, buckwheat or kamut flour.
As I mentioned before the type of liquid you use will also change the flavour. Water doesn't add any flavour, whereas if you use full fat milk, watered down yoghurt or some buttermilk, the flavour will be more buttery and the bread moist.
What to serve rye bread with
Rye bread has quite a strong flavour, which is why it's more suited as a side dish with savoury meals. It's perfect with homemade butter and herbs and served with breakfast egg white omelette, simple scrambled eggs or poached eggs with spinach.
Because I'm quite used to the rye bread flavour I actually really like it toasted with sharp citrus marmalade like my Seville Orange Marmalade with reduced sugar or sweet Grapes Jam.
Homebaked rye bread shelf life
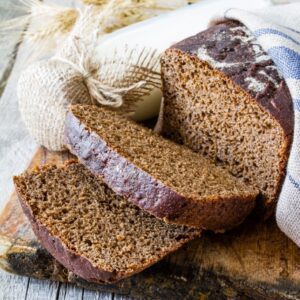
I find, that this type of rye bread lasts a good 5-7 days, but the bread starts to dry out after about 3 days.
How to store your rye bread
Once your bread has cooled down it's ready to be served & tasted. If you want to keep the bread for longer period of time (up to 3 months), you can freeze the bread, once it has cooled down.
I normally store my bread in a loose paper bag inside a bread tin. This way the bread is fine for 3-4 days and often for a whole week. But, if I'm honest, it never lasts that long!
There are plenty of other ways you can keep your bread from going mouldy, but I usually keep 1/2 of the bread for immediate use and freeze 1/2 for later. The scientists are always developing new ways of storing bread, but so far they have not found a magic way to make it last without changing the ingredients too much.
How to freeze rye bread (to keep for longer)
Yes, this no yeast rye bread freezes really well, although it can be slightly more crumbly when it's defrosted than rye bread made with yeast.
If you know that you can't finish your bread within 3 days, I would recommend freezing it. I usually slice the rye bread before freezing and then only take out 1-2 slices as and when I need them.
Leave the bread to cool down completely and then wrap in a suitable freezer plastic bag. The bread should be fine for 3-6 months.
To defrost your rye bread, simply take it out the night before you want to eat it and leave to defrost in a room temperature (still wrapped in the freezer bag). You can loosen the freezer bag a bit, especially if you see any ice frost inside (this might cause the bread to get too moist).
If you forget to take the bread out in time, you can also use a microwave on a defrost setting and heat up the bread that way.
If you want to serve your bread warm, you can warm up the bread in oven for 5-7 minutes on 180 C (or 350F).
No-knead rye bread (without yeast)
Ingredients
- 500 g wholemeal Rye flour
- ½ - 1,5 tsp salt adjust to your preference
- 1/2 tsp caraway seeds optional
- 4 level tsp baking powder
- 300 ml warm water or milk or old yoghurt about 40°C
Instructions
- Put all the ingredients into a bowl and mix thoroughly with a wooden spoon.
- Keep scraping the dough off the spoon and mix it with the back of the spoon as it becomes more and more glue like. There is no need this bread, but you want to make sure that the dough is properly mixed.
- Form roughly into a loaf shape and tip onto a greased baking sheet and keep warm until you are ready to bake. If you prefer to have a sandwich loaf, shape the dough into a roll and place in 2 pound bread (or cake) loaf tin. It's best to line it with a greeaseproof baking paper to help you to take our the bread easily.
- Bake in a hot oven for about 35 mins (about 220C), probably moving down to a cooler part for an additional few minutes extra depending on your oven and how quickly your bread is browning.
- Tap the crust with your knuckle to get a hollow sound when it is done. If the bread doesn't sound hollow, place it in the oven for further 5 minutes.
- Cool on a wire cooling rack.
Nutrition
This recipe blog post was originally written on 1 September 2020 and last tested and updated on 20 November 2025


This is a super cool recipe! I don’t have the patience (or the time…) to bake yeasted bread, but this bread was so quick! My husband thought I bought at a local artisan market (he nearly didn’t belive me that I baked it)
Loved making this bread recipe! It was so easy and tasted delicious too. The family loved it and they can be sometimes picky about their bread! Thank you!
I couldn’t believe how easy this bread was! I’m a great fan of rye flour, but making yeasted bread is not always convenient, so having another option for bread that’s done so quickly is amazing! My grown up daughters loved the taste.