Simple jerky recipe made with bacon and honey (made in oven). This homemade bacon jerky is the perfect sweet and savory snack, high in protein and low-carb. Learn the easiest method using a wire rack and your oven—no dehydrator needed!
I was inspired to make bacon jerky after a recent visit to a steakhouse, where they had their own bacon jerky for sale. It was sweet and savoury at the same time with smoky undertones.
I've always been a big fan of beef jerky, so it was great to taste jerky made with another type of meat.
It's a really practical snack - pure protein, no carbs and tons of flavour. It's also a perfect snack to take on a long walk in the countryside.
Since I've already made my own beef jerky, I thought making bacon jerky should be easy enough! And I was right! Making bacon jerky is actually easier because the bacon is already cut to thin slices for you and it's also partly cured.

Why bacon jerky is such a good idea
You might be thinking, "Why go through all this work just for bacon?" But trust me, bacon jerky is totally worth it! Unlike regular bacon, which is floppy and needs to be cooked right before you eat it, this jerky is perfect for storing and snacking. It's super handy to have around.
Imagine needing a quick burst of energy before a workout, or a satisfying, flavorful snack during a long movie night. Bacon jerky is a powerhouse of flavor and protein that travels well. Plus, making it yourself means you know exactly what goes into it, so you can control the sweetness and spice to make it absolutely perfect for your taste!
My tried & tested tips on how to make bacon jerky
I've used oven to make my own bacon jerky, but you can use dehydrator if you have one.
To make things a little quicker, I keep my oven a little bit open (especially at the beginning, when there is a lot of steam/water escaping). You can do this by putting a wooden mixing spoon in the oven door so it doesn't shut properly. This helps the steam to escape.
Extra thick bacon (or fresh bacon) will take much longer to cure, so you need to factor this in.
On average you'll need about 4 hrs to make your bacon jerky, but it might take longer as you need to get rid of most of the bacon fat first before the bacon start drying out.
Whilst beef jerky is usually marinated in sauces, honey and spices before you start to dry/cure it in the oven or dehydrator, bacon has more fat and it's better to keep the marinate off the bacon until about half way through the process of making it. This speeds up the process a bit.
Safety First: Getting Rid of the Fat
The most important step in making bacon jerky is to get the fat out. Bacon is fatty, and if you leave too much fat on the strips, it won't actually dry out—it will just cook in its own fat and go bad quickly.
To make sure your jerky is safe and keeps for a long time, you need to drain the fat often. I like to take the pan out of the oven every hour or so, carefully remove the bacon strips, and dump out the melted fat from the pan. You can also lay the bacon on a rack over a baking sheet.
This way, the fat drips away as it cooks, and you don't have to keep opening the door. Don't skip this step! Getting rid of the fat is the secret to getting that perfect, long-lasting jerky texture.
MORE BACON RECIPES
A Quick Word on Temperature
When you're making jerky, you aren't really cooking the meat; you're drying it out. This means you need a low temperature for a long time. For the oven method, keep your temperature set to the lowest setting possible—usually between 170°F and 200°F (75°C and 95°C).
If the temperature is too high, the bacon will crisp up like you're making breakfast, and you'll end up with hard bacon chips instead of chewy jerky. The low temperature slowly dries the meat and turns it into jerky. Remember, we want to dry it out, not fry it! The goal is to slowly remove the water and fat.
How to Set Up Your Oven for Jerky
For the best jerky, you want the air to move all around the bacon strips so they dry out evenly. Don't just lay the bacon straight on a baking sheet!
Here is the trick:
- Line the pan: Put aluminum foil on your regular baking sheet. This makes cleanup super easy because it catches all the fat that drips off.
- Use a rack: Place a wire cooling rack (the kind you use for cookies) right on top of the foil-lined baking sheet.
- Space it out: Put your bacon strips on the wire rack. Make sure none of the pieces are touching or overlapping! This lets the hot air reach the top, bottom, and sides of every strip, which is how you get a perfect, chewy texture.
Using the rack is a small step, but it makes a huge difference in how your jerky turns out!
MORE SAVOURY SNACKS
What to Expect During the Drying Time
Making jerky takes patience. It's not like making regular bacon that's done in 15 minutes!
1–2 Hours In: The bacon will start to look like it's cooking, and a lot of fat will melt and drip onto the pan below. You will see it shrink up a bit. This is when you should open the oven, take the pan out, and carefully dump out the rendered fat so the bacon doesn't cook in it.
Halfway Point: Around the 2-hour mark (or when most of the fat is gone), this is the perfect time to flip your bacon and brush on your glaze (like the honey and sriracha mixture). Flipping it helps it dry evenly and makes sure both sides soak up the flavor.
The Final Check: Your total time will probably be around 4 hours, but remember to keep tasting and checking. Don't go by the clock alone! If you like the chewiness and the meat is dry, it's done
How do you know the bacon jerky is done?
The bacon strips should be firm so that they don't bend easily, but equally, they shouldn't be dried to the point when they snap. A regular nibbling and tasting the bacon jerky is pretty much compulsory as you make it and the best time to stop when you like the texture and the flavour.
I'd suggest that that's usually about 3-4 hrs into the drying process but it could be longer.
MORE BACON RECIPES

The type of bacon to use
You can use smoked or non-smoked bacon for this recipe, but the smoked version will have deeper flavour. I prefer to use bacon that hasn't been preserved with nitrite gas as it upsets my stomach.
You don't cook the bacon before you start the curing process, just keep it as it is (and it's best not to use cooked bacon for this recipe)
Another tip I can give you for making your own bacon jerky is to buy bacon with the lowest fat content. The fat needs to first come out before the bacon can dry effectively, so buying low fat bacon helps to speed up the process.
It's best to use fresh bacon, not cooked or frozen (although you can defrost the bacon if you like).
MORE SAVOURY SNACK RECIPES
What flavouring to use for your bacon jerky
I kept things really simple and added only honey, but you can try pretty much any type of sauce, like sriracha, barbecue or soya sauce. Instead of honey, you can use maple syrup.
- Honey (or maple syrup or brown sugar)
- Sriracha sauce
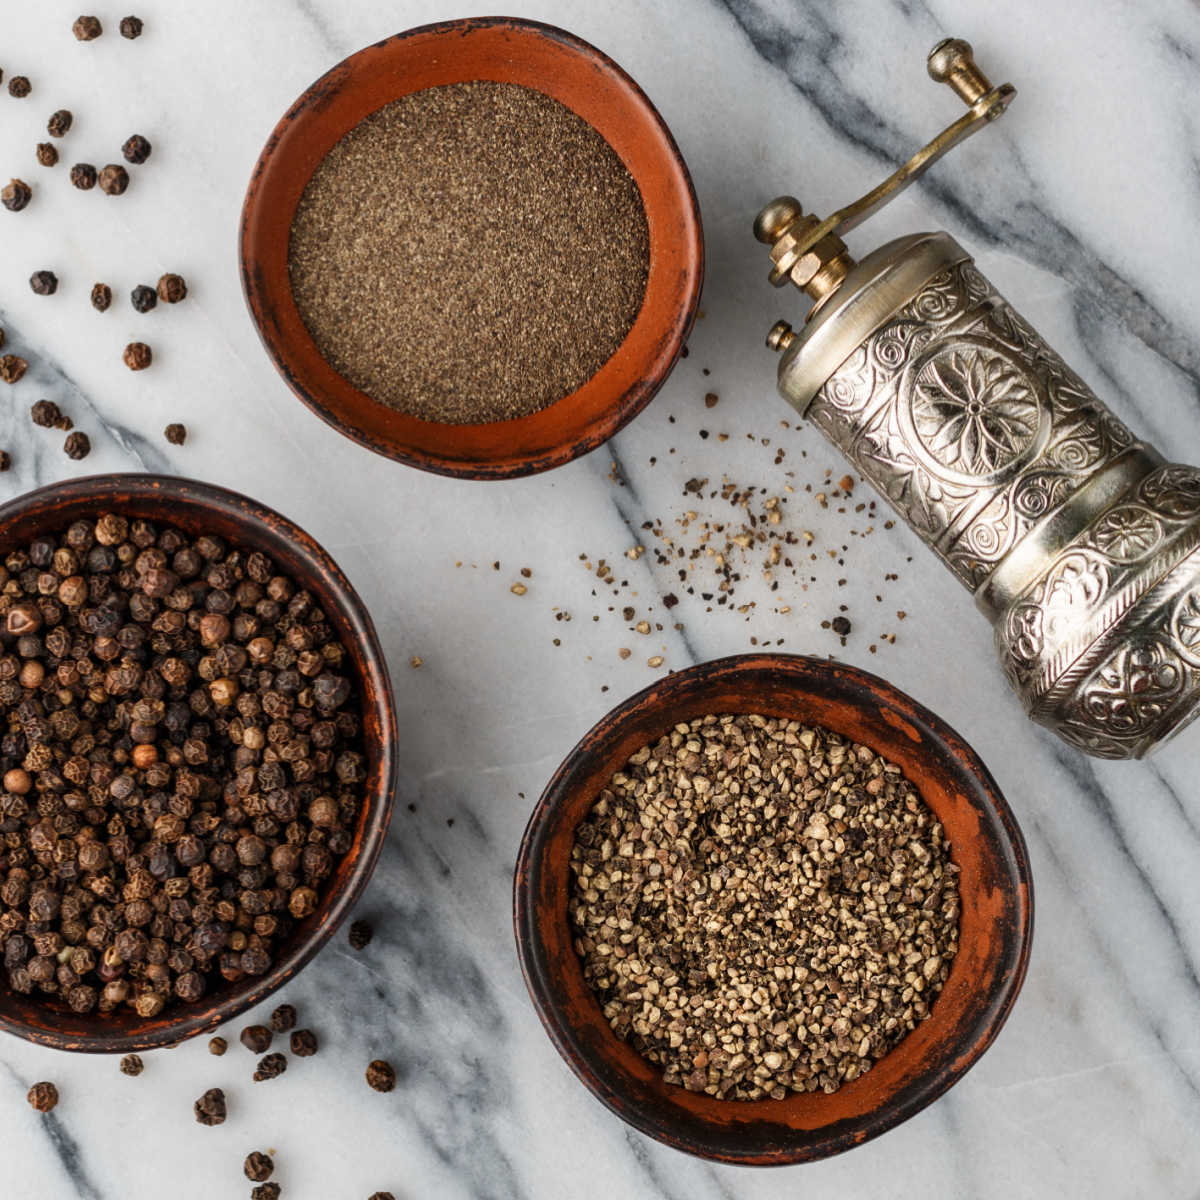
- Black Pepper
Mix all ingredients together to make a thick paste and use a pastry brush to 'paint' the marinade on your bacon.
MORE SAVOURY SNACKS
How long does bacon jerky keep for?
It's best to keep your bacon jerky in a air tight container (like a large jam jar) and eat it within few weeks. The meat is cured, but it might start to develop mould if you keep the bacon jerky in a humid conditions.
You can keep your bacon jerky in the fridge or even freeze it if you want to keep it for longer.
Can You Freeze Bacon Jerky?
I've mentioned that bacon jerky can be frozen, which is great! Here are a few more tips for keeping it fresh for a super long time:
- Cool completely: Before you store your jerky, you have to let it cool down all the way to room temperature. If you put it in a container while it's still warm, it will create moisture (steam), and that can cause mold.
- Freezer Bag Tip: To stop freezer burn, don't use a regular plastic storage bag. Use a freezer-safe Ziploc bag or even better, wrap the jerky up tight in plastic wrap before putting it in the bag. Squeeze out as much air as you can!
- To Eat Later: When you want a snack, just take out what you need from the freezer and let it sit on the counter for a little while to thaw.

Homemade Bacon Jerky: Easy Oven Recipe (Low-Carb)
Equipment
- domestic oven
Ingredients
- 500 grams bacon
- 1 tablespoon honey
Instructions
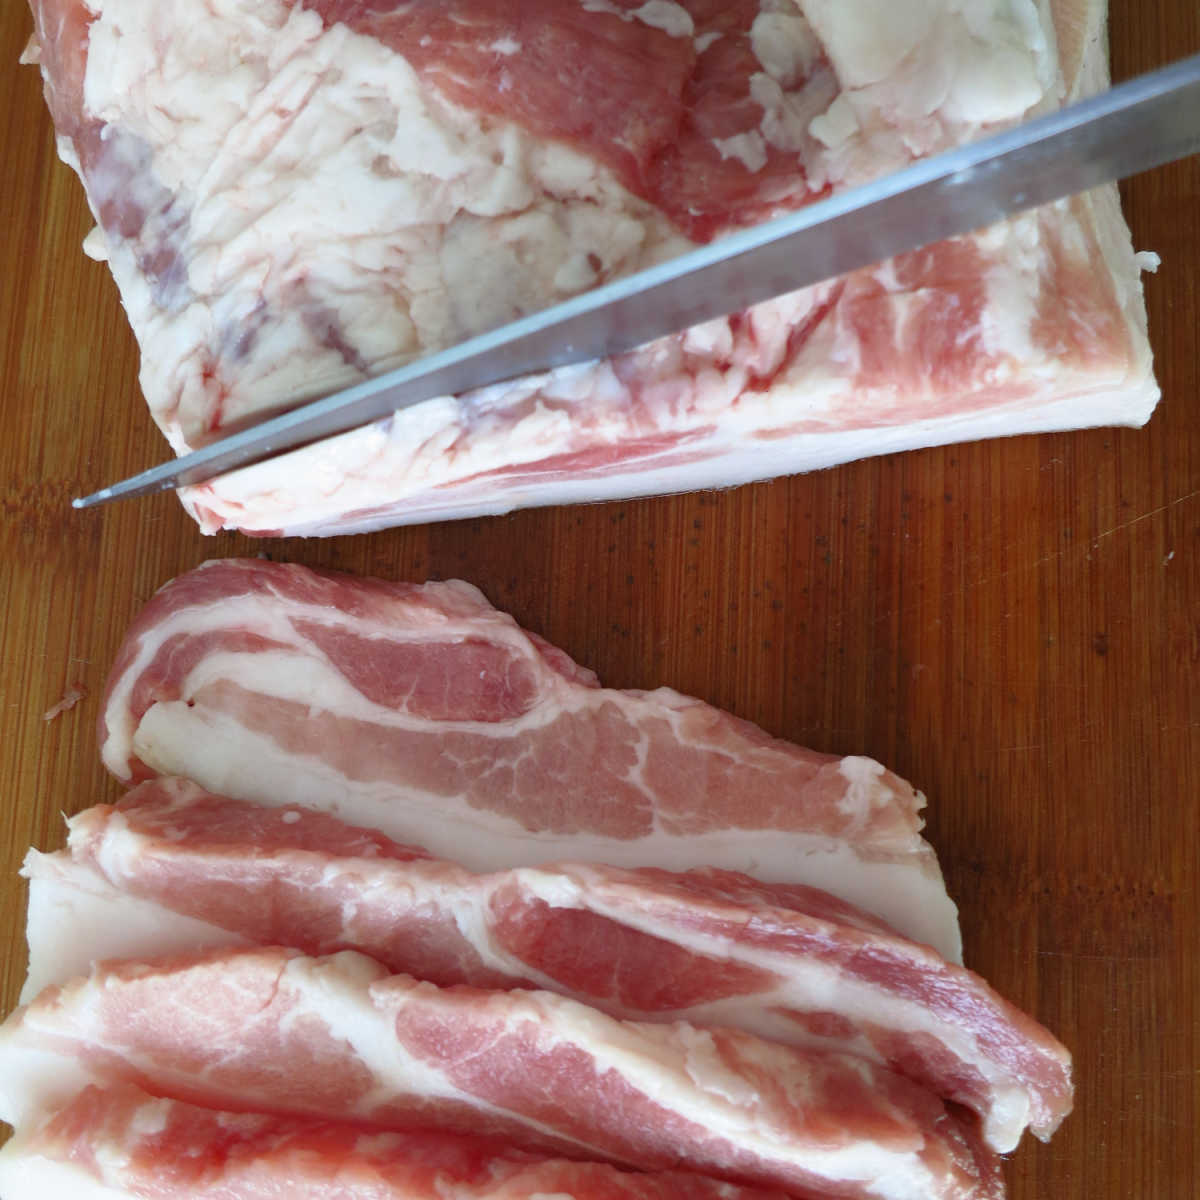
- Cut the bacon slices in half (lengthways). This decreases drying time.
- Place the bacon pieces on a cooling rack, which is placed on a baking tray. This helps to eariate the bacon and allow it to dry quicker.
- Bake at 90C (200 F) or your lowest oven heat setting for 2-3 hours, but keep checking the bacon every 30-45 minutes to make sure it's drying evenly.
- After the initial hour or so add your flavouring. It's easier to use a pastry brush to add the honey and you can use any food sauce you like or add spices.
- Carry on drying until your bacon is perfectly dry and crispy.
Notes
Nutrition
This recipe blog post was originally written on 12 October 2020 and last tested and updated on 20 November 2025


Such a great idea – I’ve made this bacon jerky last Sunday, but it took a lot longer than I thought it would. I’ve used really thick bacon, so that could be the reason. But the flavour was amazing ! By the way I recommend the sriracha sauce and honey combination – it’s heaven!
Love this recipe – I think it’s actually a lot easier and cheaper than beef jerky, but that’s probably because I got a really good deal on bacon with my local butcher.