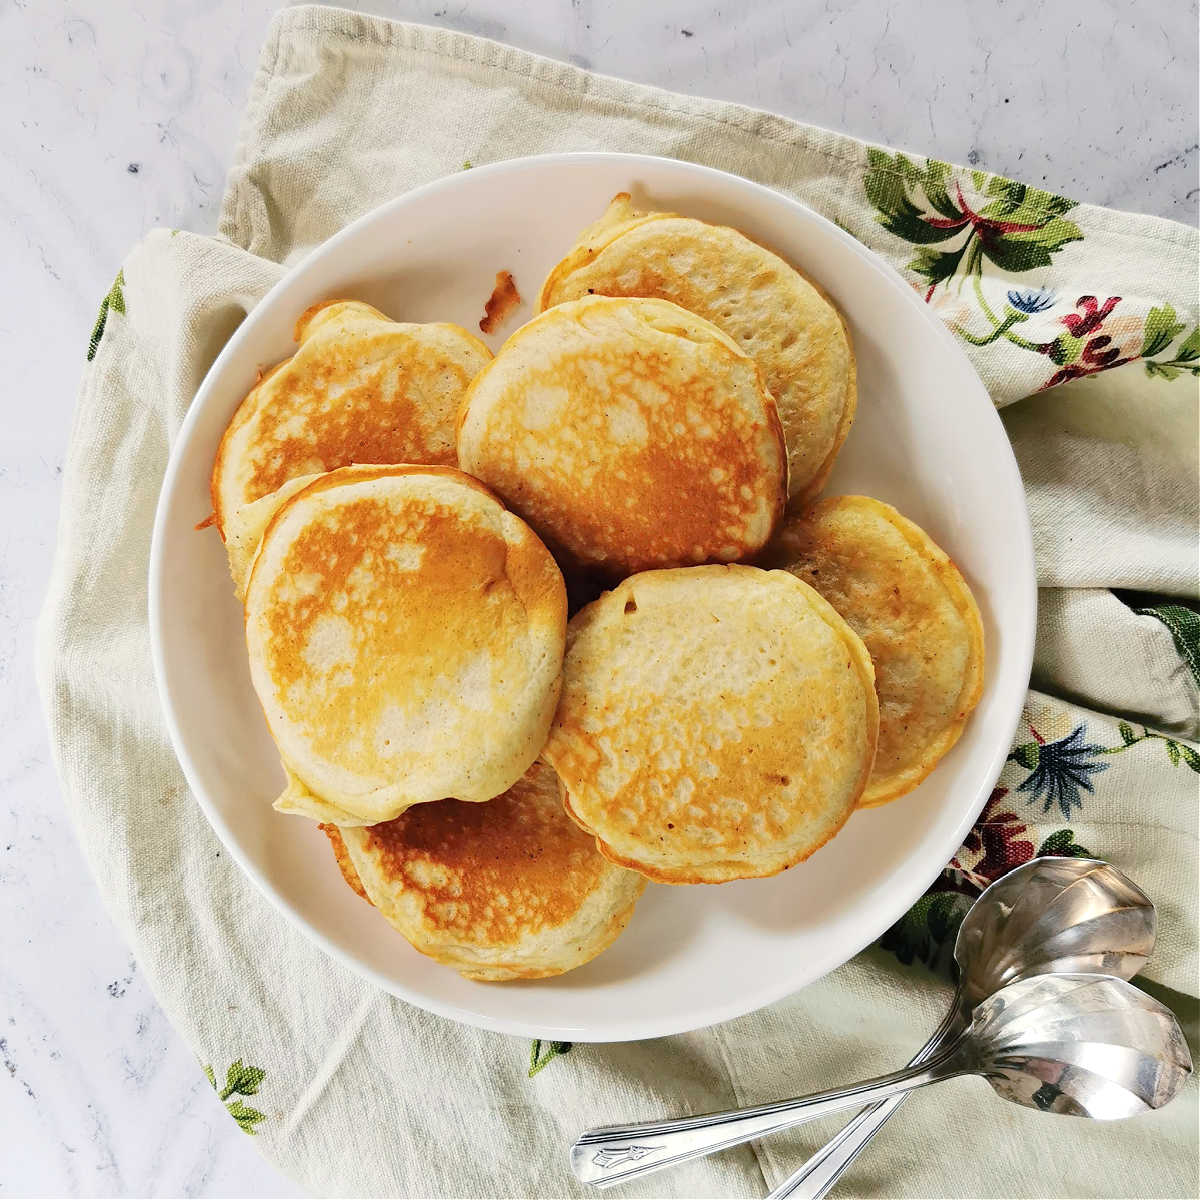
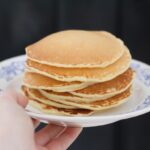
I love these light as air pancakes, which are raised with yeast, made with gluten-free flour and flavoured with vanilla essence and a pinch of cinnamon.
These gluten-free yeast pancakes will take their time, so if you need your pancakes fix fast, I’d recommend trying my Banana & Carob Pancakes, Almond & Flax Pancakes or Buckwheat & Banana Pancakes, which are made with baking powder.
Why make this recipe?
- Gluten -Free Pancakes recipe & very easy to digest
- Amazingly tasty, light & fluffy pancakes
- Can be made overnight (saving time in the morning)
What are gluten free yeast pancakes?
Yeast pancakes recipe starts with your usual pancake ingredients – flour, eggs, sugar, milk, but instead of baking powder or baking soda, the recipe uses yeast.
This means that the process is much longer and you will need to leave the pancake batter to rest for a minimum of 30 – 45 minutes or until it doubles in size and starts to bubble.
This recipe & me
This is my gluten free version of yeast pancakes based on a traditional yeasted pancakes recipe called ‘livance’ which I originally discovered in an old Czech cookery book written at the end of the 19th century.
If you fancy making the original recipe, please head over to my travel blog, where I’ve kept the recipe exactly as it was in the cookery book. It’s not gluten-free, but it tastes amazing too!
My top tips on making gluten-free yeast pancakes successfully the first time round
Don’t rush this recipe – Make sure that you leave your gluten- free yeasted pancakes batter to rest for long enough – at least 30-45 minutes similarly to if you are baking bread.
Keep the batter warm – make sure that your pancake batter is somewhere warm (but not hot), whether that’s a lightly warm oven (30 degrees), microwave (switched off), hot water tank cupboard or under your kitchen lights.
What makes this recipe work
- Leaving the pancake batter to prove for long enough makes the pancakes very light and easy to digest
- Using a good quality vanilla essence, extract or a paste makes a real difference to the taste
- Adding a pinch of salt helps to sharpen the flavours and won’t make your pancakes taste bland
Any specialist equipment needed?
You don’t need specialist equipment to fry your pancakes, any large frying pan or a flat griddle will be fine to use.
Saying that, I use a special pancake frying pan with four deep cavities.
This prevents the pancake batter from spreading out and helps the pancakes to rise more than if they were fried on a regular flat frying pan.

Time saving tip – Proof/rise your pancakes overnight
If you want to wake up in the morning and start frying your pancakes straight away, you can prepare the gluten-free pancake batter the night before.
Simply mix all the ingredients together, cover your bowl with a cling film, plastic bag or a large plate and leave for up to 8 hrs in the fridge.
In the morning, let the pancake batter come to room temperature, whilst you heat up your frying pan and then start frying your pancakes.
Pro tip
If you want to make these pancakes extra fluffy and light, whisk the egg whites separately from the rest of the recipe ingredients and fold them in towards the end (before you leave the pancake batter to rest).
When taking out the pancake batter as you are frying your pancakes, don’t mix or deflate the batter too much as this helps the pancakes to keep light, fluffy and full of air.
MORE PANCAKE RECIPES
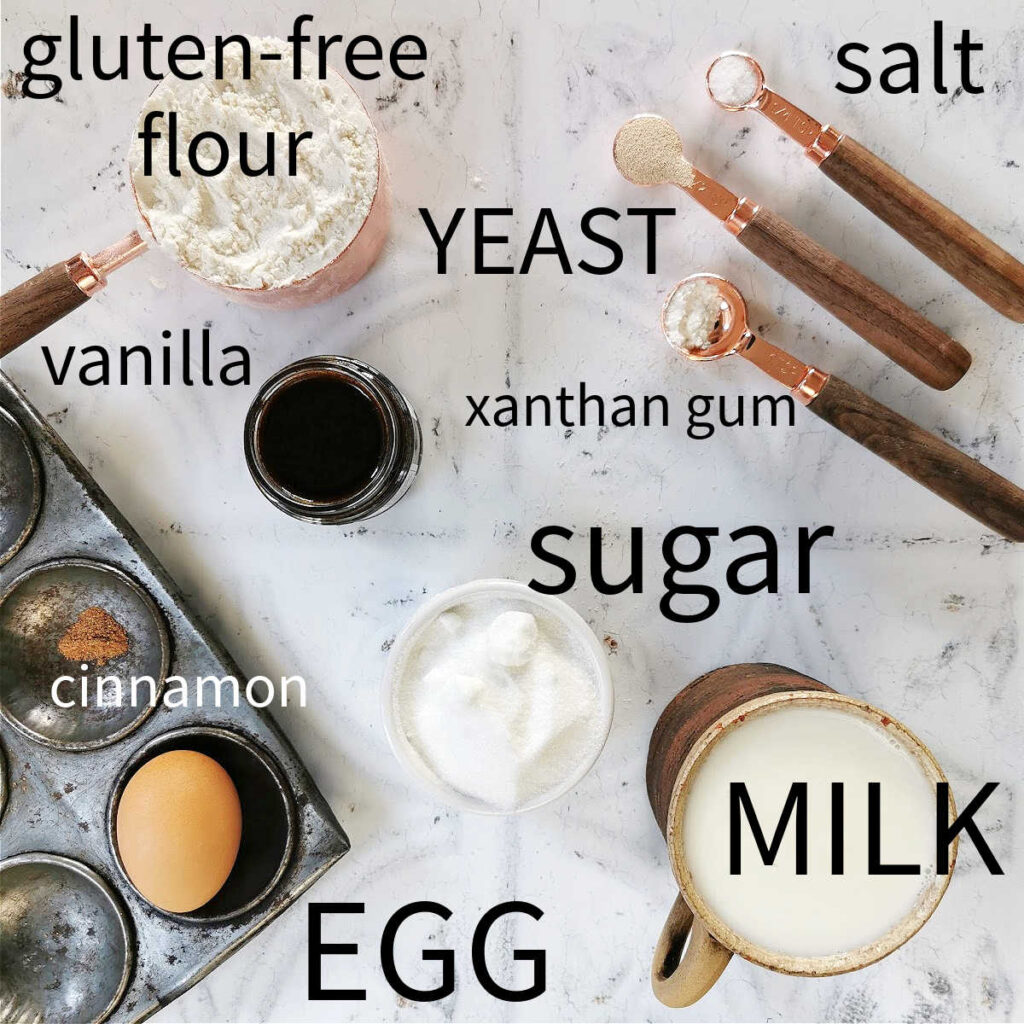
Ingredients & Possible Substitutions
Flour
I’ve used a mix of gluten-free flours (plain flout) in this recipe, but you could use any other gluten free type of fine flour or a mix of different flours, such as tapioca, homemade potato flour, lupin flour, buckwheat flour or other types.
Please don’t use gluten free self-raising flour for this recipe as we are going to use yeast as a raising agent and the two raising agents would just clash too much.
Yeast
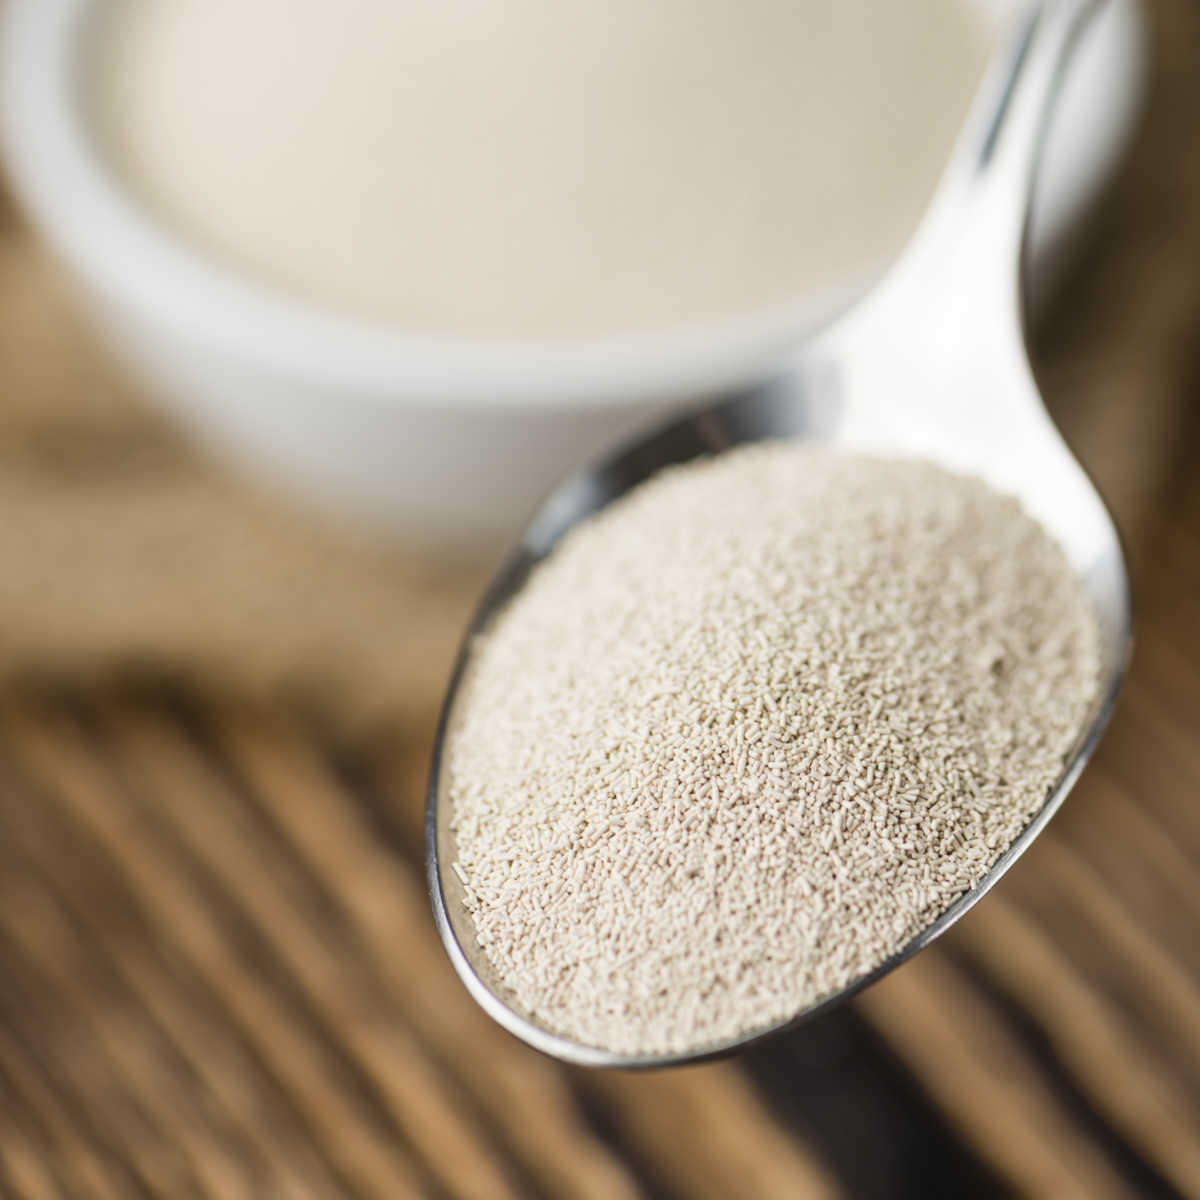
I’ve used dry active yeast for this recipe, but you could use fresh yeast if you have it. There is about 1/2 teaspoon of dry yeast, which is about 1/4 of sachet of fast acting yeast or about 5 grams of fresh yeast.
If you are using fresh yeast, you need to mix the yeast first with a bit of milk, add some sugar and leave it for 10-20 minutes to bubble up first. Afterwards, carry on with the recipe below.
Sugar
This recipe will work with any granulated type of sugar. I’ve used a regular caster – white granulated sugar, but you can change the flavour of the pancakes by using other types of sugars.
Darker sugars, such as light brown sugar, coconut sugar or similar types of sugar will add colour and flavour to your pancakes.
If you want to use liquid sugars, such as honey, agave or maple syrup, you might need to add a little less milk to compensate for the liquid sugar.
Salt
I always add a tiny pinch of salt to my pancake batter because it helps to bring all the flavours together. I use regular fine table or cooking salt.
Milk
The traditional recipe for yeasted pancakes have regular milk but you can use pretty much any type of milk with this recipe.
I usually use semi-skimmed milk, but whole milk would add extra creaminess if you wanted to.
Lactose free or plant based milks are fine too – use the same amount as the recipe states.
- rice milk
- oat milk
- 50% water & 50% white yoghurt mix
- whole milk
- 50% cream & 50% water or milk
- keffir or 50% keffir & 50% milk or water
Vanilla essence
Vanilla essence is a luxurious addition to this recipe and if you use good quality vanilla, it’s totally worth it! These days, top quality vanilla extract is more expensive than gold, so I’ll completely understand if you omit this ingredient.
You can use other more budget-friendly essences such as lemon, orange or almond essence.
Cinnamon or other sweet spices
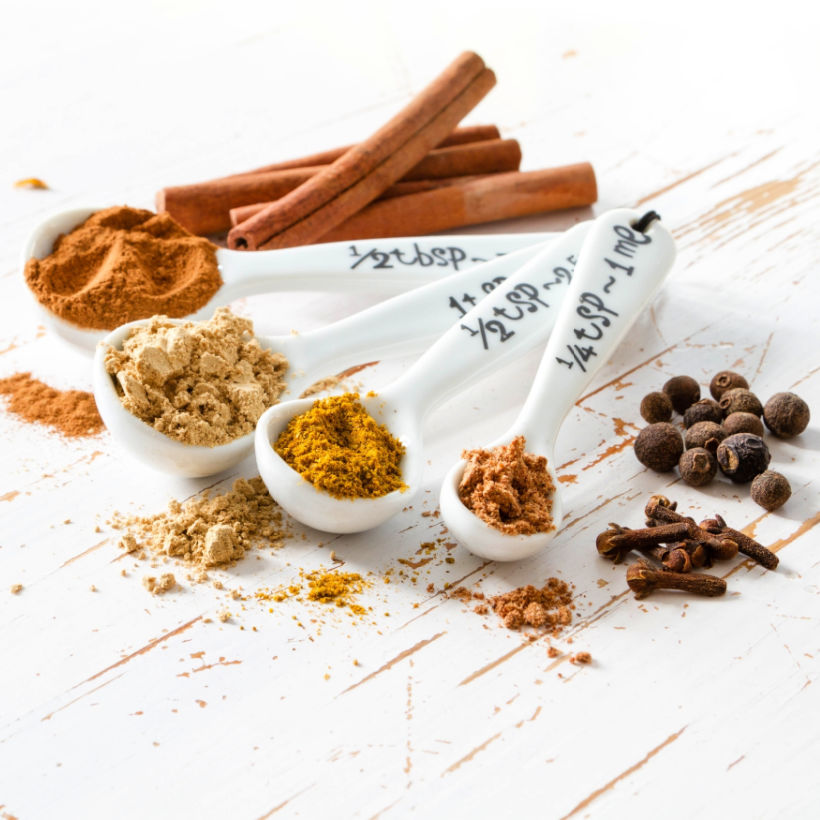
Nutmeg, mace or cinnamon are great flavour additions to this gluten free yeast pancakes recipe. This is completely optional, if you don’t have these spices or don’t want to use them, don’t worry, you can easily omit them.
Depending on the seasons, you can also make gingerbread flavoured pancakes with gingerbread spice, add a few tablespoons of a grated apple and add apple pie spice or mix in a few raisins and a pinch of stollen spice mix.
Eggs
You will need one egg for this recipe or use 2 tablespoons of vegetable oil or other egg replacements.
You could use any leftover egg whites from making other enriched sweet dough recipes or egg yolks from making egg white omelette.
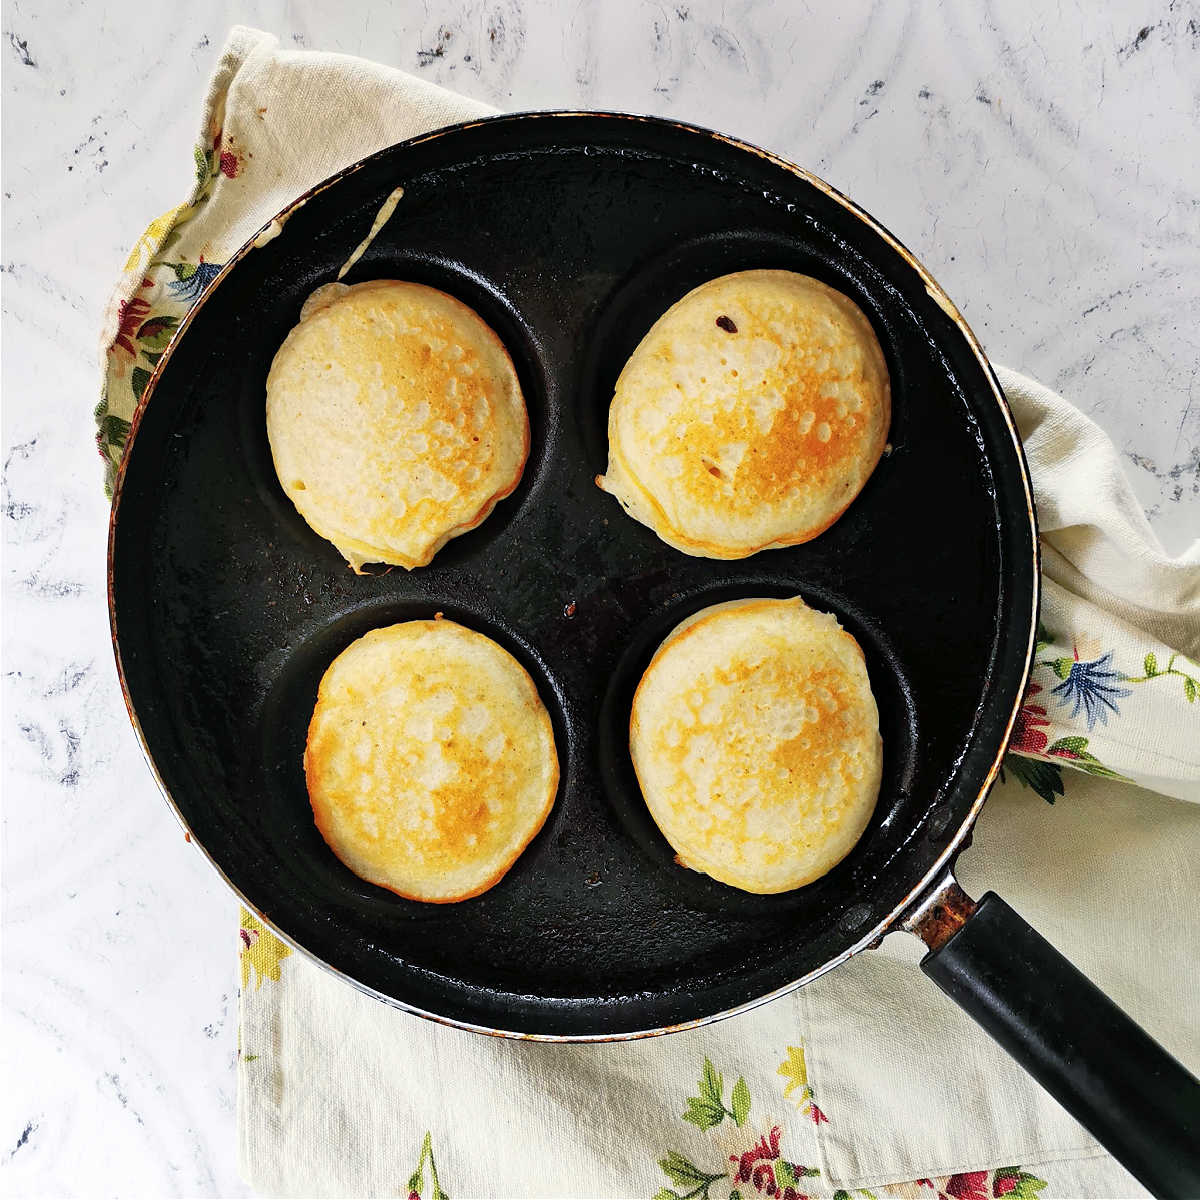
How to make gluten free yeasted pancakes recipe
Measure and mix all the dry ingredients – gluten-free flour, yeast, a large pinch of cinnamon or other spice, xantham gum, pinch of salt and sugar.
Add the egg and vanilla essence.
Add most of the milk, but keep some just in case the batter is too runny. (the final amount depends on what type of flour and milk you are using, so it’s best to add milk gradually).
Mix everything together (you can use an electric whisk for this. You should have a slightly thicker batter (if not add more milk).
Cover with a tea towel and leave somewhere warm (but not hot) to prove for at least 30 – 45 minutes or until the pancake batter roughly doubles in size (or close enough).
Heat your pancake pan on low to medium heat and test the first pancake. Taste it and add more sugar, salt or anything else you think your pancake batter needs (more milk if it feels too thick).
Fry the rest of the pancakes on both sides until they are golden brown.
Enjoy topped with yoghurt, peanut butter, nutella, cream, jam or marmalade.
Allergies & dietary requirements
This recipe is gluten free and I’ve also tested it with dairy free and plant based milks, so I know it will work if you want a gluten-free and diary free yeast pancakes.
Variation on this recipe
Dairy Free Version
Swap the regular milk for your favourite plant based milk, bearing in mind that something like coconut milk will affect the flavour of the pancakes. I usually use rice or oat milk to keep the flavour the same.
Vegan Version
Use plant based milk and use about 2 tablespoons of vegetable or sunflower oil instead of the eggs. This will make the pancakes still light and moist and suitable for a vegan diet.
Toppings & Sauces Ideas
You can use any kind of jam, marmalade, sweet sauce, peanut butter, melted chocolate, cream and fruit to top your pancakes. I often just eat them as they are or lightly dusted with icing sugar.
Serving size
This recipe makes 10 medium size pancakes (about 6-7 cm in diameter) on the standard pancake frying pan (see above).
Can I scale up or down this recipe?
Scaling down this recipe might be a bit tricky since it’s already quite a small recipe (2-3 servings maximum), but you can easily double or triple this recipe without much problem.
Simply double or triple all the recipe ingredients and leave to rise for the same time – about 45 minutes.
The proving time should remain the same, providing that you keep your dough in a warm environment or you choose to prove your pancake batter overnight in the fridge.
How to serve this recipe
These gluten free yeast pancakes taste great warm straight from the frying pan. You can also warm them up in the microwave and then add your toppings, yoghurt, sauces or fruit.
Troubleshooting tips
If your pancake batter doesn’t rise straight away, don’t worry. The batter should double in size and start to form large bubbles when it’s ready.
Depending on your set up this might take longer or shorter depending on how warm or cold your kitchen is.
Can this recipe be made in advance?
Yes, you can make your yeasted pancakes in advance and then either keep them in the fridge in an airtight container (perhaps stored with baking parchment in between each pancake, so that they don’t stick to each other) for 2-3 days.
I would always heat them up in the microwave or oven (180C for 5-10 minutes – depending on the quantity) and serve them warm.
If you make far too many or you can’t finish them in a few days, I’d recommend freezing them.
Freeze them straight away, leaving them on a flat tray (placed in the freezer) and then stack them up with baking or greaseproof paper in between. That way you can easily take them out one by one and have them for breakfast any time you want.
How to store pancakes if you have any leftovers
If you do have some leftovers, cover your pancakes with another plate (or place them into an airtight container) and keep them in the fridge for 1-2 days or freeze them on the same day.
I’ve never had them in the freezer for more than 1-3 months, but I’m sure they will probably last a bit longer if needed.
How to re-heat yeasted pancakes
Always reheat your pancakes without their toppings (if possible). Microwave your pancakes for 15 seconds or so. Check after 15 sec and add more time if needed. You can keep them stacked 3-4 high to prevent them from overheating or burning.
Another option is to warm up your yeasted pancakes in the oven. Simply heat your oven to about 180C (350F) for 5-10 minutes – depending on your pancakes quantity. ‘
If you are laying them out individually, make sure your tray goes into an already warm oven so that you don’t keep your pancakes in the oven too long and don’t dry them out too much.
You can also spray a bit of water into the oven at the bottom to prevent the oven from drying out your pancakes.
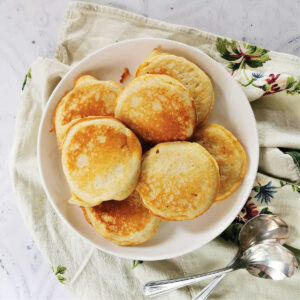
Gluten Free Yeast Pancakes
Equipment
- pancake pan with 4 cavities or a regular frying pan or griddle
Ingredients
- 1 cup gluten-free flour gluten free flour mix or a mix of tapioca, potato or other gluten-free flours
- 2 tablespoons caster sugar sugar according to your taste sugar according to your taste
- 1/2 teaspoon dry active yeast
- 1/8 teaspoon cinnamon (large pinch) or nutmeg, mace or mixed spice (optional)
- 1/2 teaspoon xanham gum
- 1 pinch fine salt
- 1 cup milk or plant based milk or yoghurt & milk
- 1 egg
- 1/2 teaspoon vanilla essence
Instructions
- Measure and mix all the dry ingredients – gluten-free flour, yeast, large pinch of cinnamon or other spice, xantham gum, pinch of salt and sugar.
- Add the egg and vanilla essence.
- Add most of the milk, but keep some just in case the batter is too runny. (the final amount depends on what type of flour and milk you are using, so it’s best to add milk gradually).
- Mix everything together (you can use electric whisk for this. You should have a slightly thicker batter (if not add more milk).
- Cover with a teatowel and leave somewhere warm (but not hot) to prove for at least 30 – 45 minutes or until the pancake batter roughly doubles in size (or close enough).
- Heat your pancake pan on low to medium heat and test the first pancake. Taste it and add more sugar, salt or anything else you think your pancake batter needs (more milk if it feels too thick).
- Fry the rest of the pancakes on both sides until they are golden brown.
- Enjoy topped with yoghurt, peanut butter, nutella, cream, jam or marmalade.



Leave a Reply