Sometimes, it can feel like bread baking is full of mysteries – like when you mix and knead your loaf and you think you have done everything right and then your bread dough doesn’t want to behave and rise like it should.
Believe me, I know how frustrating this can be – I’ve been there too! When I started to bake my own bread about 23 years ago I also ended up with a few disasters of my own!
The question about bread dough not rising properly often comes up during my bread baking courses, which is why I’ve decided to dedicate today’s blog post to this topic.
BREAD BAKING RESOURCES
- How to remove baked bread stuck in the baking tin >>
- How to stop bread dough sticking to your hands >>
- How to prove bread dough in the fridge overnight >>
The real reasons why bread dough doesn’t rise
Based on my previous experience of working in traditional bakeries, baking my own bread for over 23 years and teaching my bread baking courses, I think that in reality there’s likely to be only a few reasons why your bread doesn’t rise.
It all comes down to either not developing enough gluten in the bread dough (aka not kneading your bread dough for sufficient time) or forgetting to put the yeast in! Everything else might make a bit of a difference, but whether you oil your proving bowl or not is not going to save the bread if you don’t knead the bread properly!
The good news is that most of the reasons why your dough doesn’t rise properly can be easily fixed, so let’s have a look at each in order.
Not enough kneading
The whole purpose of kneading your bread is to develop or wake up the gluten in the bread flour. This is what makes the dough nice and elastic and helps the bread to hold its shape.
If you try to simply mix your bread dough together and then leave it to prove, the yeast doesn’t have enough power to lift the limp flour.
The fix
Take the dough out of the proving bowl and knead it properly for 10 minutes until it becomes elastic, stretchy and bounces back when you press it with your thumb.
No yeast
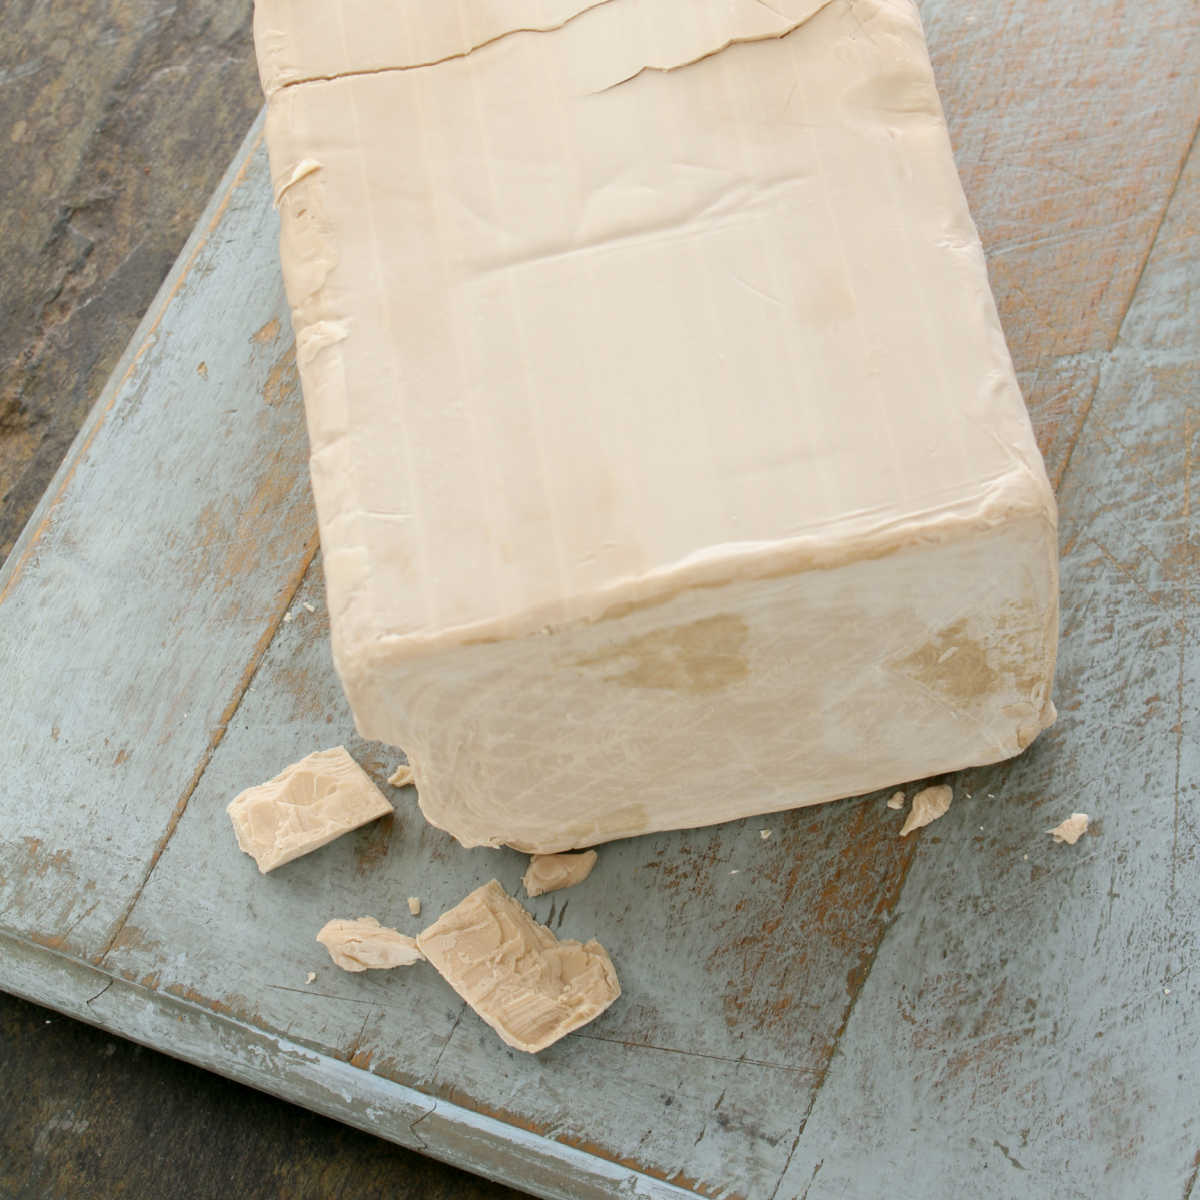
You’d think bread dough would be easy to mix together because it has just 3 basic ingredients! But you’d be surprised people still forget to add a simple ingredient like yeast!
There is a pretty clever way to make sure you never forget to add all your ingredients in. When you are weighing and measuring your dough, keep all your ingredients initially on your left hand side.
As you measure them and add them to your bowl put them on your right! It’s a simple tip and you are welcome to use it!
The fix
If you get distracted and you know you have forgotten to add the yeast in, simply dissolve the yeast in a bit of extra water to make a thicker sauce consistency mixture. You need about 7 grams or 1 1/2 teaspoon per 500 grams of flour (one yeast packet is 7 grams).
Take out the flat dough, spread it a little and add the yeast paste in the middle. Knead the yeast in until is well distributed.
Old yeast
Since the arrival of quick dry yeast in the last few decades and its reliability when it comes to bread baking, you might be excused for thinking that yeast doesn’t go off.
You are right in one way – the quick dry yeast doesn’t really go off (as in if you eat it, it won’t taste bad or give you a bad stomach), but the problem is that once you open a packet of quick dry yeast it’s virality starts to deteriorate.
If you buy bigger packs of yeast, but don’t bake regularly (like every other day…) you will very likely end up with a very ineffective yeast, that will be still within its sell-by date.
The fix
If you don’t bake bread regularly, buy instant yeast in individual sachets. They are wrapped for freshness and they will be still fine until their proper use by date.
If you find that your bread is not rising and it could be because of ineffective yeast, follow my fix for ‘no yeast’ in the bread dough above.
The extra (old) yeast will act as a flavour, but won’t spoil your bread.
You’ve damaged the yeast
I was going to write ‘You’ve killed the yeast’ but as a header on a bread baking blog it might look a bit odd! Saying that, you can actually kill the yeast by pouring boiling water over. This applies to traditional fresh yeast and quick dry yeast too.
Fresh yeast can be also made inactive by adding salt on top of it (the sodium is too much for the live yeast and it kills it).
Traditionally you would mix your fresh yeast with a bit of warm water and sugar, mix it together and then leave it for 10-15 minutes to froth it up. Once you see the yeast bubbling away, you are ready to add it to your dough mixture and start mixing and kneading.
The fix
If you know you’ve somehow killed the yeast, then take out the dough and add new fresh yeast mixed in with a water and knead it in.
MORE BREAD BAKING RESOURCES
- How to best store bread and stop it from going mouldy >>
- Comprehensive guide to oven temperatures for all types of breads >>
- How to stop bread from crumbling (GF) >>
Reasons why dough is not rising as quickly as it should
Now were are moving on to reasons why your bread dough isn’t rising as it should be. Perhaps it’s slow, the bread is flat or it doesn’t bounce back when you prod it with your finger.
Providing that you have added the right amount of yeast, your yeast is new and you have done enough kneading, the dough will rise eventually, but it might take longer than usual.
Not enough water
Water is absolutely crucial for achieving soft and light bread. If you don’t use enough water, your dough will be quite tight and hard to knead. Not only that but the dough won’t get enough workout and develop enough gluten through your kneading, it will also remain quite tight and the yeast will have a difficult job in raising the dough.
The fix
If your dough is hard to knead, it needs more water – it’s as simple as that! Add more water into the bread dough as you are kneading and carry on until you get nice soft dough.
If you have your bread already in the proving basket and it’s not rising (and you know the culprit is lack of water) take the bread dough out, add more water and knead it in. The amount of water depends on how tight the bread already is and the type of flour you have. You will find that wholemeal flour soaks up more water than white bread flour.
Too cold environment
Bread dough will rise even if you leave it to prove in a very cold environment, like a cold kitchen or even a fridge. The problem is that takes a considerably longer time than what your recipe might say.
The ideal temperature for bread proving is between 23-33 C so slightly warmer than your regular room temperature.
If you followed your bread recipe correctly, then your bread should double in size in about 45-60 minutes using the dry quick yeast for 500 grams of flour bread, or 60-80 minutes using the fresh yeast. If you are baking sourdough bread, then the timings really depend on your sourdough starter, the type of bread flour and the amount of water.
Sourdough bread will take 2-4 times longer than regular bread to rise and having a cooler environment will slow down this process even more.
The fix
Your bread dough will rise in a colder kitchen, so just allow extra time.
If you want to speed up things a little, first check the kitchen room temperature and if it looks like it’s lower than 20-23 C, move your dough somewhere warmer.
Microwave – using a large bowl boil some water in a microwave for few minutes. Remove and place in your bread. Close the microwave door and keep the microwave OFF! The residual heat from boiling the water will keep the microwave warm enough for your bread to start rising nicely.
Oven – switch your oven on 50-60C (or the lowest possible setting you have) for about 5 minutes or so. Switch the oven off, check with your hand that the oven is not too hot (use a thermometer if needed), place your bread in and close the oven door. Keep the oven switched off!
Boiler cupboard – if you have a boiler or a hot water tank in a separate cupboard in your house, you can use it to prove your bread there. Make sure that the bread is not too close to a direct heat source, to make the dough too hot. You can mitigate this by using a thick wooden board you place your bowl with bread on or extra tea towels.
Radiator – While it’s not a good idea to put your bread directly on top of your radiator, you can place the bread bowl in close proximity, making sure that it’s not touching the radiator.
Kitchen under cupboards spotlights – I use my kitchen spotlights which are underneath the kitchen shelves to keep my bread dough warm. The lights are usually warm enough to keep the dough rising nicely.
MORE BREAD BAKING TIPS
Bread not shaped tightly enough
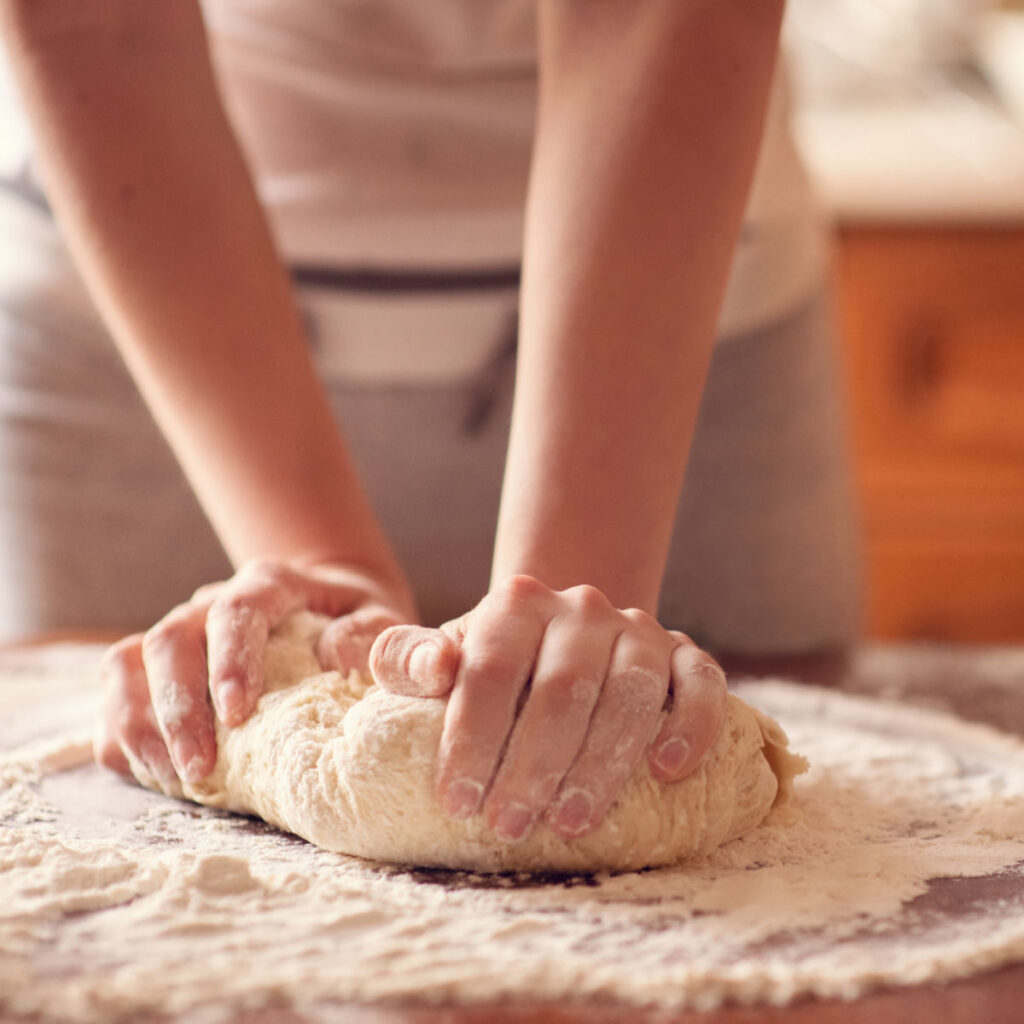
If your bread is not rising for your second proving, when it’s usually in its final shape (either bread basket or bread baking tin), it could be because it’s not shaped tightly enough.
The gluten in the dough needs a certain pressure to rise well and tightening the loaf is one way of making sure your bread rises well.
You are baking sourdough bread
If you are baking sourdough bread, you will notice that your bread will rise slowly.
This is absolutely normal and there is nothing to worry about! Sourdough bread, on average, takes 6-12 times longer than regular bread for each rising, because of the type of yeast used (naturally cultured sourdough yeast).
SOURDOUGH BREAD BAKING RESOURCES
- How to strengthen weak sourdough starter >>
- Can sourdough starter go bad + how to fix it >>
- How to stop sourdough from spreading >>
You are baking an enriched dough
Unlike regular bread, enriched dough contains extra ingredients, such as sugar, eggs, butter, milk, dried fruit, nuts, vanilla essence etc, which make the dough much heavier.
This is usually counteracted by using double the amount of yeast, but the length of proving is still about twice as long as with regular bread.
It’s also best not to try to speed up the proving of enriched dough by keeping it too warm, as the butter can separate from the dough and the dough might become quite dry.
I usually keep enriched dough at room temperature, under a warm kitchen light, which is enough to make it prove and rise slowly.
Your bread dough just needs more time
Bread baking can be sometimes quite frustrating.
Even if you follow a good recipe, that has been tested by somebody many times, the results will still largely depend on the quality of flour you are using, the type, how well you’ve needed the bread dough, if you’ve measured everything correctly, room temperature etc.
Even if you’ve done all these things exactly as the recipe tells you to, your bread might not be rising as fast as you’d like it. The best thing to do here is just to give it extra time and see what happens.
You can’t tell if your dough has risen to the desired volume
Normally I would be looking at doubling the dough volume during the first rising (in a mixing bowl) and then just under doubling in size during the second rising (in the bread basket or a bread baking tin).
The fix
If you are new to bread baking, this can be quite a tricky thing to gauge. How can you tell if something has doubled in size, when you can’t compare it and can’t remember what it looked like before?
The answer is simple – you either take a photo (from the top – level) on your phone or a digital camera or you can mark the level with something in your bread basket or a bread tin. A sticker or a bit of sellotape on the outside usually does the trick.
Not enough yeast
It’s quite important to measure your bread ingredients correctly, especially with smaller quantities such as yeast. It won’t make much difference if you add 10g more or less flour, but it does make a huge difference if you miscalculate the quantity of yeast.
Always follow what the recipe tells you, but as a rule of thumb for every 500 grams of bread flour you need 5-7 grams of quick acting yeast (or 10-14 grams of fresh yeast). If you are making enriched dough, this could be double the quantity, ei. 10-14 grams of quick acting yeast and 20-28 grams of fresh yeast.
If you buy quick acting yeast in a sachet, they are helpfully packed into 7 grams, so I just use one sachet per bread.
If you buy the small tub of quick yeast, you can either weigh the yeast amount on digital scales or you can use measuring spoons – 1 1/2 teaspoon is about 5 grams.
The fix
If you know that you’ve added some yeast and you have eliminated other reasons why your bread might not be rising, then the solution would be to add more yeast.
Depending on how much (if at all) your bread is rising add 1 teaspoon per 500 grams made into a thin paste and then worked in by kneading the dough.
This blog post was originally written on 26 November 2021 and last updated on 17 October 2022


Leave a Reply