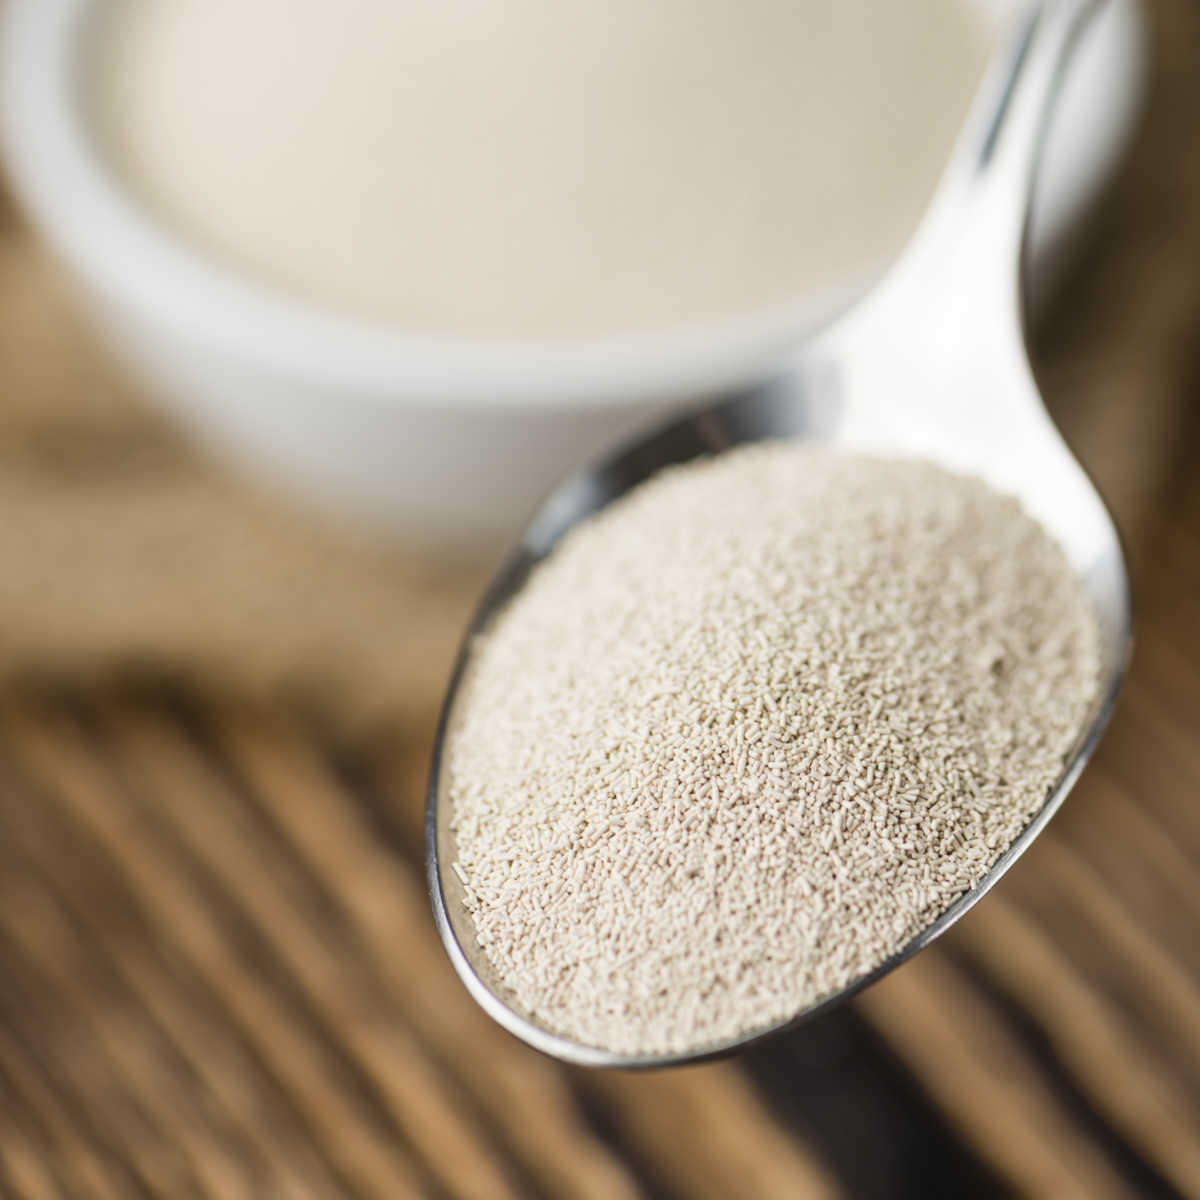
While I like to use fresh yeast in my bread recipes, most of the time I use fast acting dried yeast. They are, as the name suggests fast and easy to use. After some of my yeast in a tin become inactive I started to buy individual packets of yeast to make sure that my bread rises every time.
Dried active yeast in a packet is convenient, especially if you are not baking every single day (or at least every other day).
But, what’s not always obvious is how much yeast you should use from each individual packet in order to make your bread.
So, how much yeast is in a packet?
Most standard fast acting dried yeast packets contain 7 grams of dried yeast. This is about 1 1/2 heaped teaspoon (and a little bit more) or about 3/4 of a tablespoon.
How to use individual yeast packet
Modern yeast packets are very easy to use. In most shops, you have the option to buy dry active yeast or instant yeast.
Active Dry Yeast Packets
The dry active yeast needs to be made active by mixing it with warm water and sometimes with a little bit of sugar.
In about 10-15 minutes, the yeast absorbs some of the water, starts feeding on the sugar and become active and live. You can see that because the yeast becomes bubbly. After that, add the yeast to the rest of the recipe (usually to the dry flour) and mix everything in.
Instant Yeast Packets
This is the type of yeast I normally use, because it’s convenient and fail-proof. All you need to do is to open the packet and add the yeast straight to the flour mix. Add the rest of the ingredients, knead and prove the bread as usual.


How many yeast packet do I need to bake one loaf of bread ?
One sachet (7 grams) is perfect for one large bread loaf. The bread recipe will typically start with 500 grams of strong bread flour and can go up to 600 grams (for the same amount of yeast quantity).
Standard Bread (starting with 500-600 grams of flour) – use 1 sachet (7 grams)
As a rule of thumb, if the bread recipe consists of only the basic ingredients (flour, yeast, salt, water and possibly sugar) use just one sachet (7 grams) per one large loaf (500 grams of bread flour) or batch of 12 regular sized bread buns (from 500 grams of bread flour).
- Dark Rye Bread >>
- Wholemeal Bread made with Beer >>
- Soft Bread Rolls – Kentish Huffkings >>
- White Loaf Bread (no knead method) >>
- Soft Potato Bread with Cheese >>
Enriched Dough (starting with 500-600 grams of flour) – use 2 sachets (14 grams)
If the recipe includes butter, eggs, more sugar, cream, dried fruits or other fillings, you can safely double the amount of yeast to use with the same amount of flour. This is because the yeast needs to work harder to ‘lift’ all the extra ingredients in the dough.
- Soft Cinnamon Pretzels >>
- Cinnamon Star Bread >>
- Pumpkin Cinnamon Rolls with Cream Cheese Frosting >>

Pancakes
Whilst most pancake recipes use baking powder (or baking soda), I have a couple of recipes, I make with yeast. Since there is no kneading involved and the batter is much more liquid than regular bread, the amount of yeast is also different. I only use 1 teaspoon of instant dry yeast for a batch of 12 pancakes.
- Yeast Pancakes made with gluten free flour >>
- Light & Fluffy Yeast Pancakes with whipped egg white >>
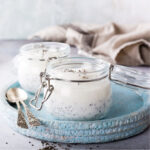
Sourdough Bread
Traditional sourdough bread uses an active sourdough starter as a rising agent instead of yeast. This means that you don’t need to use traditional yeast at all.
But, in some cases, like if you want to quickly revive a limp sourdough starter or make a sourdough style bread quickly, you can use a little bit of dry yeast too.
Since most of the time you would be also using discarded sourdough starter or starter that’s not that active, you don’t need to use the whole amount of yeast and simply reduce it by about 1/2.
It’s best to check individual recipes, but as a rule of thumb 1 teaspoon for each 500 grams of bread flour with a ladleful (about 3 tablespoons) of sourdough starter should be enough to produce a well risen bread.
How to replace fresh yeast with fast acting or instant dried yeast
If your bread baking recipe includes fresh yeast in the ingredients, then you’ll need to 1/2 the weight in dry active yeast.
For example, 10 grams of fresh yeast would be typically listed in a recipe for 500 grams of bread flour. To use the fast acting or instant dry yeast, use 5-7 grams – e.i. one packet of dried yeast.
There is a minor difference between the dry active and instant yeast, but to be honest, you don’t need to worry about that.

How important it is to use the right amount of yeast?
Most of my standard bread recipes start with 500 grams of flour and I use 1 1/2 teaspoon (level) of fast acting or instant yeast (which is about 5 grams). I’ve noticed that there is no point saving a tiny bit of the fast acting yeast in the packet, as it quickly loses its virality and life, so it makes sense to add the whole amount in.
The only difference you’ll notice when adding the whole yeast packet in (e.i. increasing the amount of fast acting or active yeast by 2 grams), is that the bread might rise and prove slightly quicker and easier. This won’t affect the taste or baking of your bread.
As home bakers, we typically add just enough yeast to make our bread rise and prove in the traditional way. In a commercial setting, like when bread factories produce white sliced bread, the amount of yeast is usually doubled to decrease the rising and proving time.
I’m only saying this, so that you don’t have to worry about using a tiny bit more yeast – your bread recipe will still work.
How to store dry packet yeast
I find that it’s best to store the yeast packets somewhere dry and cold and out of the direct sunlight. For a while I kept my yeast in a tin on the top of tall fridge, but probably because it was warm there, the yeast didn’t last as long as I thought it would.
Packet yeast does have a good shelf life but once you open it, it does start to deteriorate. Even when the yeast is ‘dry’ it’s still a ‘live’ organism and it does lose it’s virality when it’s exposed to air, warmth or humidity for too long.
This is why I usually use the whole packet per each bread and always open a new sachet to make sure the yeast is fresh.
I usually store my dry yeast in a room temperature in a special tin box. When I open the packets and don’t use it up straightaway, I place it in the sealed plastic container in the fridge.
Alternatively, you can also keep yeast in the freezer. I regularly freeze my sourdough starter and noticed, that when I freeze regular yeast, they last a lot longer. They stay fresh for good 3-6 months even if they were previously open. This is especially useful for the large tubs of dry active yeast, that is a bit difficult to use up quickly unless you bake every day.
This blog post was originally written on 6 December 2021 and last updated on 6 December 2022


Leave a Reply