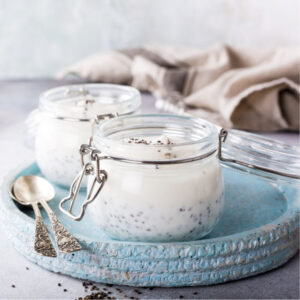
Delicious pudding made with chia seeds soaked in coconut milk and infused with vanilla. Dairy free and suitable for vegan diets. Using a good quality vanilla essence or paste really makes a difference in this recipe. I always make sure I have a good supply of Madagascar vanilla pods from reputable online shops in my kitchen pantry. This pudding is perfect for a light breakfast on the go, afternoon snack or topped with fruit for a delicious after dinner pudding.
Why make this recipe?
- Super easy to make
- Nutricious & full of protein and fiber - great for breakfast
- Dairy free
PIN TO KEEP FOR LATER

MORE PUDDING RECIPES
- Biscoff & Pumpkin Cheesecake (No bake) >>
- Blackberry & Pear Crumble >>
- Gingerbread Tapioca Pudding >>
What exactly is chia seeds pudding?
Whilst this recipe is called a 'pudding' it can be easily served for breakfast. The main ingredients are chia seeds, which as full of protein and fiber and very low on carbohydrates. When they are soaked for few hours in water or milk, they expand and become slightly softer.
You can make chia seeds pudding with any kind of milk and any kind of toppings - the possibilities are endless!
What makes this recipe work
Using a good quality vanilla essence or paste really makes a difference in this recipe and so does using shredded coconut as a topping and coconut sugar as a sweetener. Together with the coconut milk, it gives the pudding really lovely coconut flavour.
Time saving tip
Chia seeds will last a good 3-4 days in the fridge, so I often make several portions at once and keep them all in the fridge. This way, all I need to do in the morning is to take out a jar, add more milk if needed and add my toppings.

My favourite tip
I often make my chia seeds pudding in different flavours, so instead of milk I use water and have a large jam jar ready soaked chia seeds. When I make my chia pudding in the morning, I add extra milk or cream cheese (or dairy cream cheese) or yoghurt (dairy free if you like) to the mixture and carry on building my flavour from there.
Allergies & dietary requirements
This recipe is naturally vegetarian, vegan, dairy free, nut free, gluten free and very low on sugar (you can omit the sugar all together)
Ingredients & Possible Substitutions
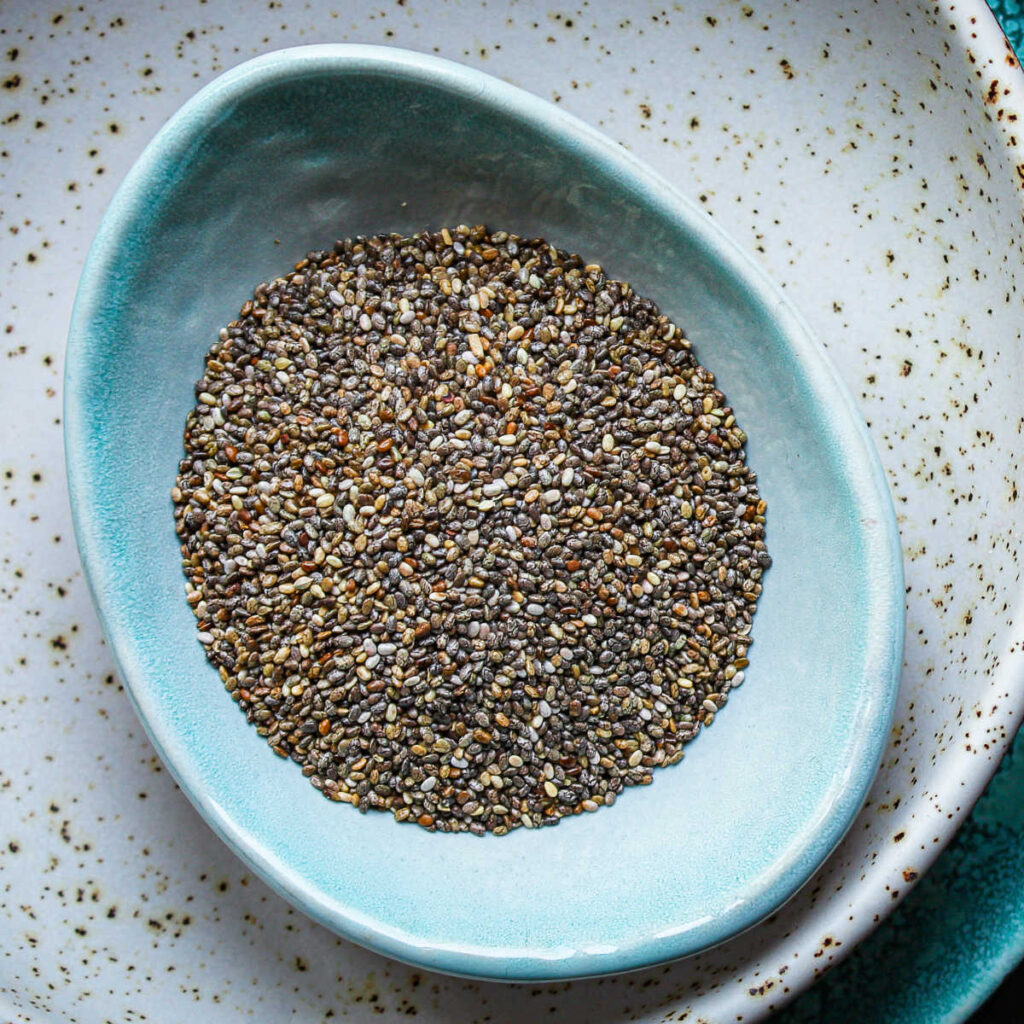
2 tablespoons chia seeds
1/2 cup coconut milk not concetrated
1/4 teaspoon vanilla essence or vanilla extract or vanilla paste
1 teaspoon coconut sugar or other sweetener - maple or agave syrup, honey or regular sugar
1 tablespoon shredded coconut fresh or dry (optional)
How to make vanilla chia pudding
Measure out the chia seeds and put them in a bowl or a jam jar (or other container suitable for fridge).
Top the chia seeds with coconut milk.
Add the coconut sugar (or other sweetener of your choice), vanilla essence and stir in.
If you want to make your pudding with extra coconut flavour, mix another tablespoon of coconut flakes or shredded coconut into the chia seeds mixture before leaving overnight.
Close the jar and place in the fridge for a minimum of 2-8 hrs (or longer if you wish)
Add more milk if needed, stir in and top coconut flakes or shredded coconut.
MORE PUDDING RECIPES
How else you can make this chia pudding recipe?
Honestly, you can add any milk, any kind of sweetener and any kind of toppings you like. But, keeping with the simple vanilla flavour, here is how you can tweak it a bit:
Vanilla & Cinnamon - use dairy free milk or regular milk or watered down Greek Yoghurt instead of the coconut milk and add a large pinch of cinnamon. Use light brown sugar instead of coconut sugar. Top with homemade apple sauce and sprinkle with more cinnamon.
How to serve chia pudding
Chia pudding can be served straight from the fridge, although I find it a bit too cold. I either leave it on a kitchen counter to warm up a bit (if I have the time) or warm it up a tiny bit in the microwave for like 10 seconds - I only want it to be a room temperature not too warm. If you do this make sure you have a microwave suitable container.
Top with various fruits, sweet sauces (if you like) or eat it plain with just a sprinkle of a shredded coconut flakes.
Recipe size
I've given you a recipe for 1 portion, because quite often I make the chia pudding just for myself.
Can I scale up this recipe?
It's easy to double, triple or quadruple the ingredients to make chia pudding for the whole family or if you are making your own breakfast for 3-4 days in advance.
Can this recipe be made in advance?
I usually keep a ready soaked chia seeds in the fridge (using either plant based milk or water) and it usually last a good 3-4 days. You need a minimum of 2 hrs for the chia seeds to soften, but I find that 12 or 24 hrs is much better. The seeds do seem to carry on expanding and absorbing more liquid.
How to store this recipe
Somewhere cold - fridge is ideal for 2-3 days. In the winter I make the recipe in the evening, but leave it out in the kitchen (covered). Our kitchen is quite cold (often just 15 C) - the plant based milk is absolutely fine overnight and at least the chia pudding is not too cold when I eat it in the morning.
Can I freeze chia pudding?
Yes, chia seeds pudding can be frozen, just make sure you use a suitable container for freezer. I would also portion the pudding into single portions, so that you can just take out what you need. Defrost the pudding overnight in the fridge or use a defrost setting on your microwave. Add more milk if needed and your choice of toppings.
Vanilla & Coconut Chia Seeds Pudding
Ingredients
- 2 tablespoons chia seeds
- 1/2 cup coconut milk not concetrated
- 1/4 teaspoon vanilla essence or vanilla extract or vanilla paste
- 1 teaspoon coconut sugar or other sweetener - maple or agave syrup, honey or regular sugar
- 1 tablespoon shredded coconut fresh or dry (optional)
Instructions
- Measure out the chia seeds and put them in a bowl or a jam jar (or other container suitable for fridge).
- Top the chia seeds with coconut milk.
- Add the coconut sugar (or other sweetener of your choice), vanilla essence and stir in.
- If you want to make your pudding with extra coconut flavour, mix another tablespoon of coconut flakes or shredded coconut into the chia seeds mixture before leaving overnight.
- Close the jar and place in the fridge for a minimum of 2-8 hrs (or longer if you wish)
- Add more milk if needed, stir in and top coconut flakes or shredded coconut.
Nutrition
This blog post was originally written on 19 August 2020 and last tested and updated on 15 January 2024


Great breakfast idea – I’ve made these chia seeds pods twice now and can’t get enough of them! The family loves them too, so thank you for sharing your recipe.