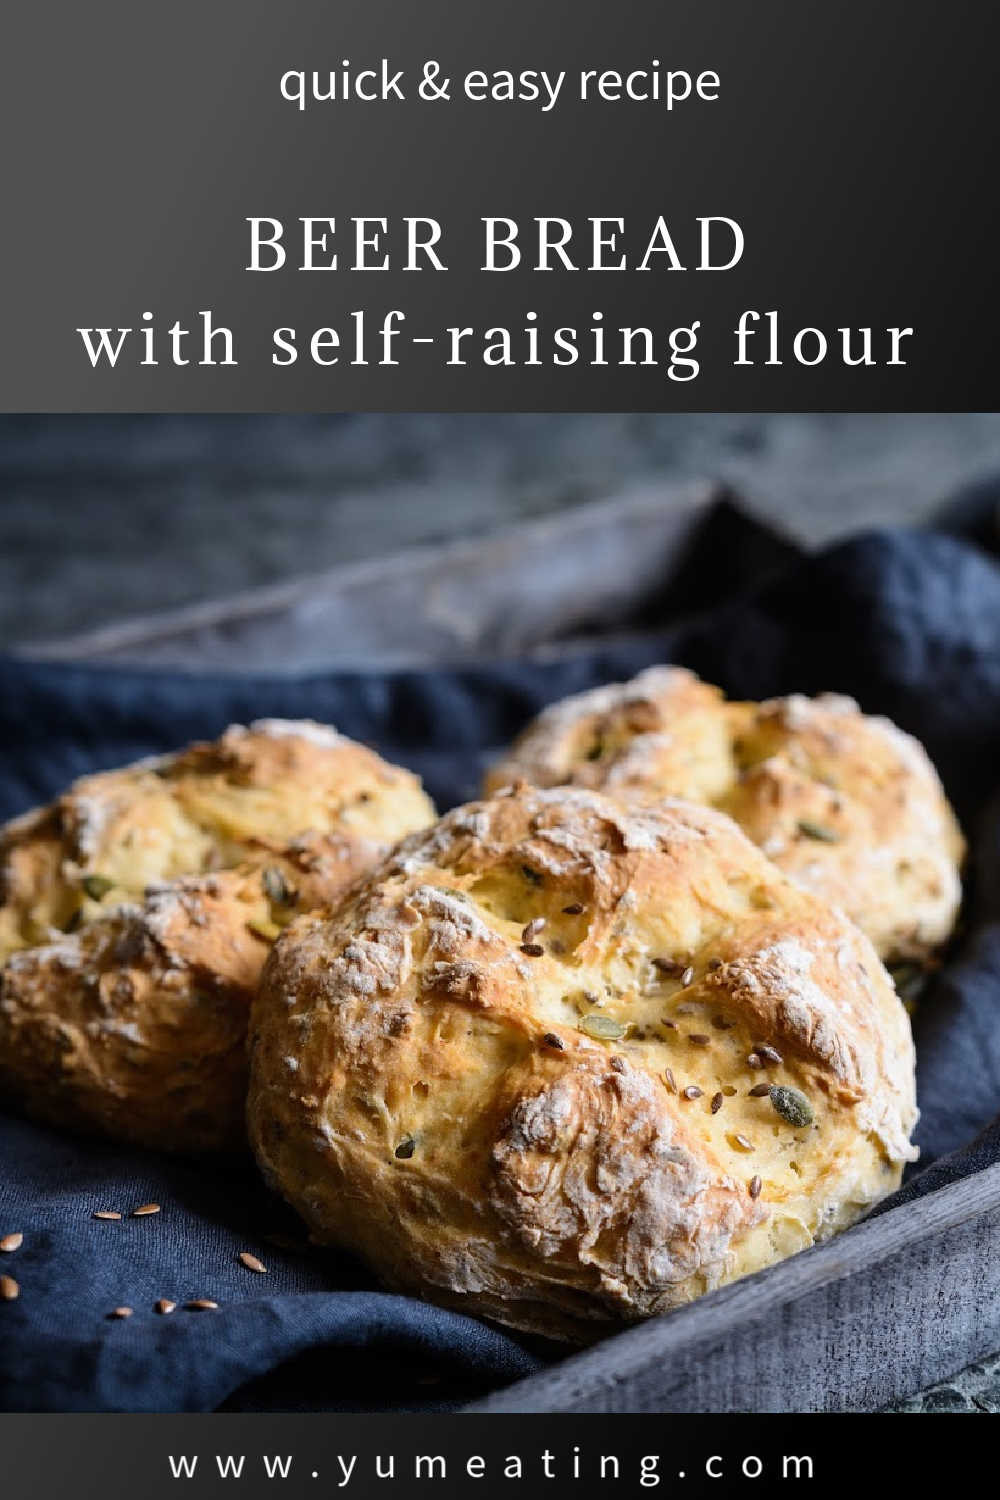
Quick and easy to make, this beer bread has a slight beer aroma, rich flavour and crunchy bread crust.
This recipe for quick beer bread with self-raising flour uses self-raising (cake) flour, sugar, salt, and beer of your choice. It is always a popular easy bread recipe in our house because it is easy to make, it’s done within an hour and you only need 4 ingredients.
I’ve developed this beer recipe specifically with self-raising flour, because it’s a good recipe back up, when I don’t fancy baking yeasted beer bread, which takes much longer to make.
Why bake this recipe?
- Quick recipe
- Easy to put together – perfect for beginners
- No-kneading required
- No-proving time (bakes straightaway)
- Uses self-raising flour (no need for bread flour)
- No yeast
- The beer makes this bread extra light (and the alcohol evaporates as it bakes)
MORE QUICK BREAD RECIPES
- Traditional Soda Bread recipe (no kneading, no proving) >>
- Quick Dinner Bread Rolls – Biscuits (no kneading, no proving) >>
- Easy Tortilla Wraps (minimal kneading, little proving) >>
Tips on making this easy beer bread
If you don’t have self-raising flour, use plain flour with about 3 teaspoons of baking powder. It might sound like a lot of raising agent, but the bread needs it. Don’t worry you won’t be able to tell the baking powder from the taste of the bread.
Don’t over mix or knead too much this bread. The quicker you put this bread, the better the rise. In a way, this beer bread with self-raising flour is very similar to the traditional soda bread.
Use any beer you have. All alcohol will disappear as you bake the bread, so you don’t need to worry about getting tipsy from eating this bread.
Split the recipe dough into two or three pieces and make smaller bread rounds to bake them quicker. Perfect if you are pushed for time or want smaller bread to perhaps share with your family or friends.
Baking equipment
You have a couple of choices here – you can use any flat or baking tray and bake this bread in a style of a soda bread (with a cross in the middle to help the bread to open up and bake nicely) or you can use a 2 pound bread or cake loaf tin.
The bread tin is best if you want to use the beer bread for sandwiches or you want to toast your bread later on.
This recipe quantity is perfect for 2 pound (1 kg) loaf cake or bread tin. If you have 1 pound cake tins, you can also half the dough and bake two smaller breads. The baking time will decrease by about 10-15 minutes if you are making smaller breads.

Notes on Ingredients
Flour
To make things easier I’ve used white self-raising (cake) flour for this recipe. It already contains the perfect mix of baking powder and baking soda, so there is not need to add more raising agent. The beer in this recipe is going to react with the baking powder and soda, which will mean that the beer bread will be extra light.
If you like, you can also use wholemeal self-raising (cake) flour, but if you want to keep the bread nice and light, I’d recommend that you don’t use more than 50% of the total amount of the wholemeal flour.
Flour ratios you can use for this beer recipe
- 100% plain self-raising flour = light white & soft bread
- 20% wholemeal self-raising flour + 80% white self-raising flour = lightly brown bread, still nice and soft (this equals to about 100 grams of wholemeal and 400 grams of white self-raising flour)
- 50% wholemeal self-raising flour + 50% white self-raising flour = wholemeal style bread with a softer texture
I’ve not tested this recipe with gluten free flours or plain flours, but in theory you could make this recipe using these too. You would need to add xanthan gum (1 teaspoon) instead of the gluten in the recipe and also baking powder or baking soda if you are using plain flour (3 teaspoons of baking powder per 500 grams of flour).
This quick beer recipe doesn’t work with bread flours, because they have high gluten and since we are not kneading this recipe, the gluten won’t have enough time to develop and your bread would end up tough like a brick!
Sugar
The sugar in this beer bread recipe has couple of functions. It balances the flavours (especially if you use bitter beer) and it also gives the bread amazing dark colour. I usually use dark sugar, sugar molasses or darker sugar syrups such as date syrup or my homemade Brown Sugar Syrup.
You can also use sugar substitutes or different sugars (like brown or light brown sugar, stevia, coconut sugar or coconut sugar substitutions, maple syrup, honey, golden syrup or maple syrup substitutions etc.).
Salt
Salt works in this beer bread recipe to flavour the bread and also to bring all the flavours together.
The recipe will work without the salt, but the flavour will be affected and the bread will have a bland taste.
Because the main flavour is the beer in this bread recipe, I like to keep the salt quite basic – fine table salt, plain sea salt or perhaps smoked sea salt works always great with this recipe.
Beer
You will need one small bottle of beer of your choice. The best thing about this bread recipe, is that you can use any kind of beer and depending on what you use, the flavour of the bread will change everytime.
The beer doesn’t have to be freshly opened (as in you have some half-finished bottle in the fridge from the night before). If you use freshly opened beer the rise on your bread will be slightly higher as the beer reacts with the baking soda and powder in the flour.
The alcohol will evaporate as you bake this bread, so you don’t need to worry about this beer bread containing alcohol.
My favourite types of beer that work well with this bread recipe:
- Stout beer – the darker the deeper flavour you will achieve
- Alcohol free beer – usually lighter in flavour, but perfectly fine to use in this recipe
MORE QUICK BREAD RECIPES
How to make easy beer bread with self-raising flour – step by step
STEP 1 – Preheat your oven
This is a quick bread recipe and once we mix the bread it needs to go straight to the oven, so you need to have your oven pre-heated in advance.
Preheat the oven to 200 Celsius (Gas Mark 6) or 390 Fahrenheit. This is a much lower oven bread baking temperature, than for most other types of breads, but that’s because the type of flour we are using (self-raising – cake flour).
We’ll also keep the oven temperature constant during the baking (unless you notice that your bread is getting too dark too soon) to make sure our soda bread will stay evenly baked, moist and not crumbly, which is what sometimes happens if you use the oven temperature incorrectly.
STEP 2 – Mix all the dry ingredients
Measure out the flour, salt and sugar in to a large bowl and mix together
STEP 3 – Add the beer to the flour
Pour in the beer and stir to combine everything together.
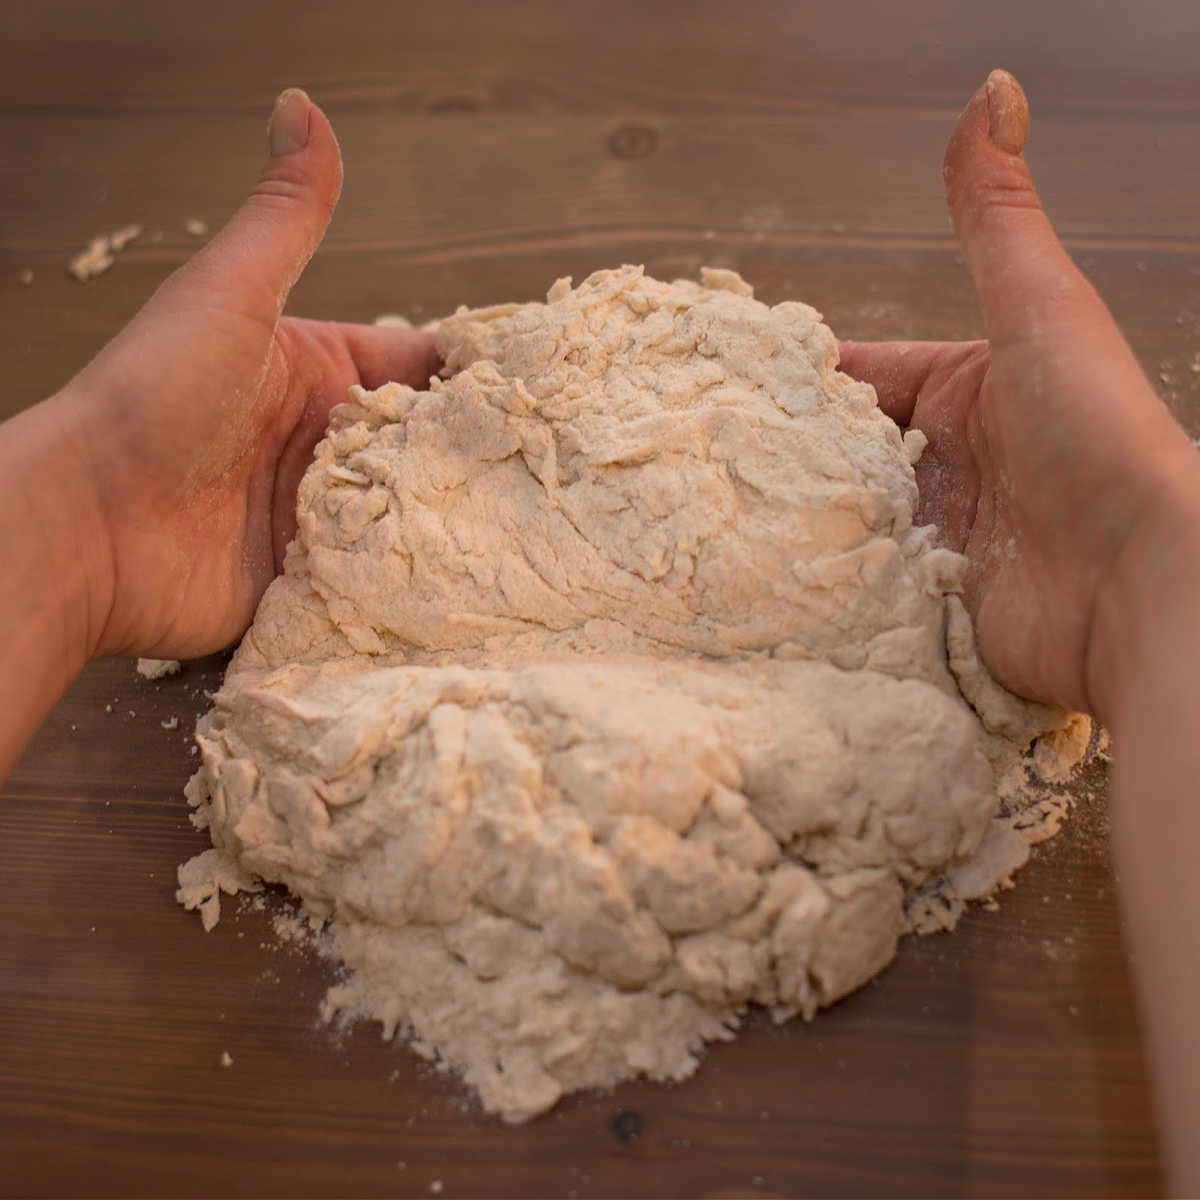
STEP 4 – Bring the dough together
Turn on to your kitchen work top and briefly knead or bring together to form a loaf. Add more beer if the dough feels very dry, but don’t over knead your bread. You only want to bring the bread dough together, but not to make it smooth. Leave flex of dry flour in and your bread will be much lighter for it.
STEP 5 – Bake your bread
Place on to a baking tray and immediately place in a pre-heated oven.
Bake for about 35-40 minutes on 200 Celsius or gas mark 6 or 400 Fahrenheit.
STEP 6 – Test that your bread is done
Test when the bread is done by piercing it with a wooden skewer.
Cool on a wired rack
How to tell that your beer bread is baked
I find that with these kind of recipes, where I use self-raising or plain cake flour and I don’t do any proving or kneading, the baking time varies a bit from regular type of bread with yeast (that you normally need to prove twice and knead).
The baking time is usually 40 minutes and I keep the temperature same throughout the whole baking time, unless I notice that the bread is browning too quickly.
I found that it’s helpful to set an alarm for 30 minutes and check the bread then. Depending on how much beer you use (or how dry the self-raising flour is) the moisture inside the dough will vary.
If the beer bread is on the drier side, it can be easily baked within 30 minutes. If your beer bread is slightly wetter, it might take extra 10-15 minutes.
To check that your beer bread is ready, pierce it in the middle with a wooden skewer. If it comes out clean (not wet), it’s ready.
If the wooden skewer comes out slightly wet, put the beer bread back to the oven and carry on baking for another 5-10 minutes and then check again.
Make sure that when you check with the wooden skewer again, use a different part of the bread to test.
Smaller breads (if you divide the dough into two loaves) will take about 20-25 minutes, so set your alarm for 20 minutes and then check.
MORE QUICK BREAD RECIPES
Recipe size
This bread recipe will make one large quick beer bread with self-raising flour or two smaller ones (either hand shaped or you can use 1 pound or 2 pound loaf cake or bread tin).
I often bake this recipe split into two smaller-sized beer breads – to eat one now and freeze one for later.
What to serve with beer bread
This beer bread has a wonderfully rich flavour and amazing savoury taste. I find that it’s best suited to serve with savoury dishes or toppings. Although there is nothing stopping you from eating this bread with butter and jam or marmalade, if you really want to.
Beer bread is great to serve with butter (or on it’s own) as a side dish with hearty soups, Irish Guinness Beef Stew, traditional chilli or Healthy Turkey Chilli, curries or gumbos.
The beer bread is also great toasted and served with butter with breakfast Irish Potato Omelette or Mini Courgette Omelettes.
Beer bread is slightly denser than regular white bread loaf, so whilst it might not be the best bread to use for making traditional sandwiches, it’s perfect for making open sandwiches.
Open sandwiches are great with homemade herb butter, cottage cheese with chives or meat pates. You can also use beer bread for dips (like my easy to make 4 ingredient guacamole) or sauces.
Storage & how to keep your beer bread with self-raising flour
This quick beer bread is best eaten on the same day but will last up to 3-4 days if kept in an airtight container. I usually keep my beer bread in a paper bag inside my bread tin box.
After 2-3 days the beer bread will start to go slightly harder, but you can always toast it to make the bread nice and soft again.
If your beer bread gets too hard, you can make the most amazing bread crumbs from this bread. You can use the bread crumbs for coating meat to fry, thickening basic soups or use it for making my healthy scotch eggs recipe in the oven.
MORE QUICK BREAD RECIPES
Can you freeze beer bread made from self-raising flour?
Beer bread freezes really well. It’s best to freeze the bread on the same day as you’ve baked it to preserve as much freshness as you can. Make sure that the beer bread is first completely cooled down before wrapping it in freezer suitable plastic bag.
I usually slice the bread before I freeze it (or at least half or quarter the bread), so that I can pull just one bread slice at a time if I don’t want to defrost the whole loaf.
Once frozen, your beer bread will last for up to 6 months in the freezer (with ideal temperature of -18 Celsius or below)
To defrost your beer bread simply take it out the night before you want to use it and leave it to defrost in room temperature in your kitchen.
If you take out just one slice at a time, it’s much quicker and you can take out the bread any time as it will get defrosted within 30-60 minutes, depending on the season and how warm your kitchen is.
I also found that it’s quite easy to defrost beer bread in the microwave. I have a special defrost program in my microwave settings, but if you don’t have that, use low to medium setting on your microwave and leave the soda bread in for 10-30 seconds at a time (depending on the size).
If you are defrosting a whole bread, I find that it’s good idea to turn the bread upside down halft way through the defrosting process and then to carry on. This way the bread defrosts more evenly.
For large breads, don’t make the bread too warm and take it out just when it’s cold (but not frozen) to the touch.
This means that the inside of the beer bread is already warm and the rest of the bread will carry on defrosting without extra heat. You can leave the bread in the microwave without any additional heat to finish the process of defrosting.
You can also warm up your beer bread in the oven for 5-6 minutes on 180 Celsius or 350 Fahrenheit if you want to serve it warm.

Easy Beer Bread (Quick version with self-raising flour)
Equipment
- baking tray any baking tray or 2 pound loaf cake or bread tin (or two 1 pound loaf cake or bread tins)
Ingredients
- 500 grams self-raising flour white cake or wholemeal cake flour or flour mix (see notes)
- 1 1/2 teaspoons dark sugar molases or date syrup
- 1 1/2 teaspoon salt or to taste
- 330 ml beer of your choice one small bottle or regular beer can
Instructions
- Preheat your oven first to 200 Celsius or gas mark 6 or 400 Fahrenheit.
- Measure out the flour, salt and sugar in to a large bowl and mix together.
- Pour in the beer and stir to combine everything together. Don't over mix only bring the flour together.
- Turn the beer bread dough on to your kitchen work top and briefly knead or bring it together to form a loaf (don't over knead the dough at this stage). Add more beer if the dough feels very dry.
- Shape the dough by hand (by folding the dough underneath the middle) and either place it directly on the baking tray or place in a lined bread tin (one large 2 pound loaf tin or two 1 pound loaf tins). You can cut the middle into the cross to help the bread to open and rise a little more as it bakes.
- Place the beer bread onto a baking tray and immediately place in a pre-heated oven.
- Bake for about 35-40 minutes on 200 Celsius or gas mark 6 or 400 Fahreigheit
- Test when the bread is done by piercing it with a wooden skewer. If the wooden skewer comes out clean, your bread is ready. If it comes out slightly moist, bake the beer bread for another 5 minutes and try again.
- Once baked, cool the beer bread on a wired rack and serve when it's still warm (once it's cooled down a bit).
Notes
Nutrition
This blog post was originally written on 28 December 2020 and last updated on 2 April 2023


Leave a Reply