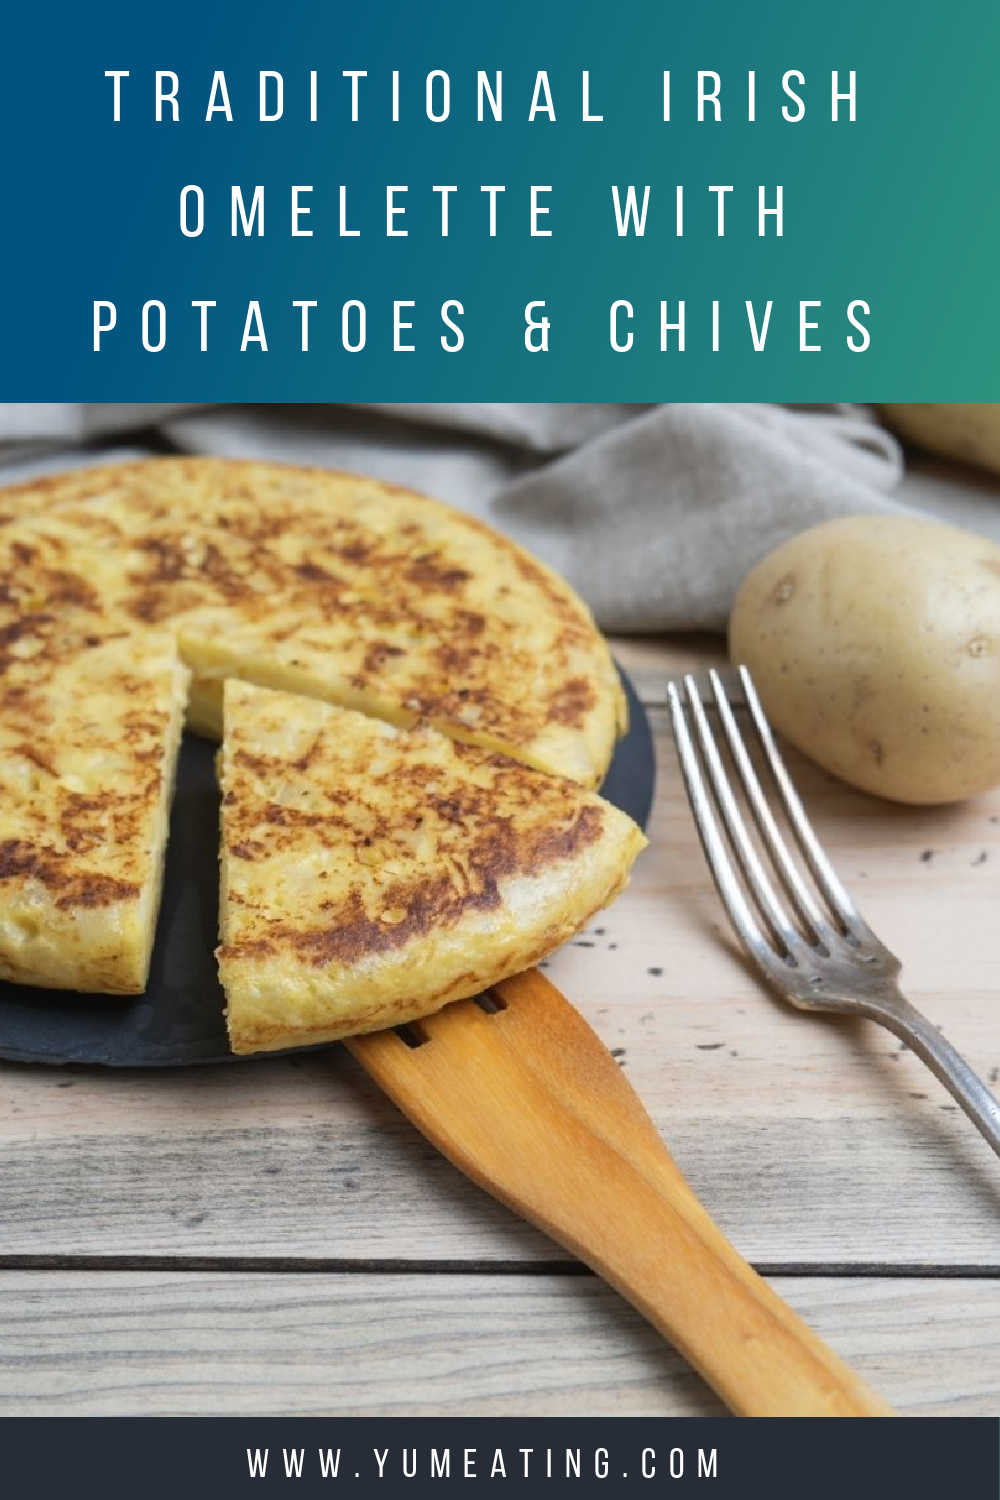
A genious combination of eggs and potatoes and lightly fragranced with fresh chives, this traditional Irish omelette is a great breakfast treat.
If you are looking for a hearty breakfast that will keep you full all morning then my recipe for Traditional Irish Omelette with Potatoes & Chives is perfect!
Whether you're looking for a quick and easy breakfast recipe or a hearty brunch dish to share with family and friends, this Traditional Irish Omelette is sure to impress. So grab your skillet and get ready to cook up a delicious and satisfying meal that will transport you straight to Ireland!
Why make this Traditional Irish Omelette Recipe?
- Very filling - great as a big breakfast, brunch or light dinner
- Easy to make
- Very versitile recipe - start with the basics and add any ingredients you have (great way to use up leftovers)
PIN IT TO KEEP FOR LATER
Traditional Irish Omelette Recipe & Me
Imagine this: You travel a long way by plane, bus and train and finally walk to your accommodation across the whole town, because you don't really know what local bus to take (or you think it's actually closer than it really is).
You carry all your holiday backpacks with you and arrive totally shattered, with legs barely making it up the few steps to your B&B.
It's around 6.30 am and you hope, that the B&B owner would be kind enough to allow you to leave your bags in your room and come back later, when it's the official checking in time. You hope...
And then...
The door swings open, smiling lady comes out and immediately takes you to the lobby, where somebody helps you to take off your backpacks.
She checks your names and without even asking she takes you to a large breakfast room and sits you down at a beautifully laid table.
The room is already buzzing with guests, the smell of grilled bacon is amazing and you realise that you are no longer tired, but instead really, really hungry!
This was our first morning when we arrived to Cork in Ireland and stayed in a wonderful B&B on the outskirts of the town.
We picked it because it was known for its breakfast, but we didn't realise how right the reviews were! In fact, we were completely blown away by the staff hospitality and generosity.
What followed was the most amazing breakfast feast ever, with a full Irish breakfast, cheesy potatoes, various vegetables, porridge, fruits, different types of tea, juice and everything else.
And of course traditional Irish Omelette!
I loved exploring Ireland and coming back home I wanted to recreate some of the recipes we've tried during our holiday.
MORE POTATO RECIPES
- Potato Cakes >>
- Baked Potatoes >>
- Mashed Potatoes with Chives >>
- Potato Bread >>
- Baked Potato Soup >>
- Leek & Potato Soup >>
Variations on the traditional omelette recipe
A traditional Irish omelette typically includes eggs, diced cooked potatoes, onions, and fresh herbs such as chives or parsley. Some variations also include shredded cheddar cheese. The ingredients are mixed together and cooked in a pan with butter. It is a popular breakfast dish in Ireland.
The traditional Irish omelette could be quite plain, but over the years, I've been adding extras such as bacon, tomatoes, cooked meat, previously frozen Portobello Mushrooms, vegetables. You can easily use the basic recipe as a starting point and every time make it a bit different.
Diets & allergies suitability
What I like about this recipe, is that it's low FODMAP so it's easily digestible and it's of course gluten-free. It's good for breakfast or a light lunch as the eggs and potato will keep you filled for quite a long time.
Equipment
Traditionally, you'd make this recipe on a skillet, which you can then place under grill and finish the top of the omelette. But if you have just a humble frying pan, you can always try to flip the omelette over. If you do it carefully, you'll still keep that nice thickness.
Ingredients
Over the years, the traditional Irish omelette recipe has changed and modified with modern taste buds. You'll probably see more butter and milk in this recipe, but it helps to keep the potatoes nice and moist.
The flavour does depend on what type of potato you use and I usually make this recipe if I have some potatoes left from the dinner from previous night. Any type of potato will work with this recipe, including more unusual potatoes such as Yukon Gold Potatoes. If you have a little less or little more, don't worry, just add extra egg to keep everything together!
My own addition to the recipe is a pinch of ground nutmeg. There is just something about this spice, that works beautifully with potatoes and it brings the potato flavour out more! It's delicious, try it!
Recipe portion
I've made this recipe for 1 person, but to be honest, you can easily split it between two people and serve it with a salad as a light lunch.
MORE BREAKFAST RECIPES
- Poppy Seeds Breakfast Drop Scones >>
- Mini Omelettes with Mozzarella Cheese >>
- Sugar Free Pancakes >>
How to make traditional Irish omelette recipe (the quick summary)
Mash the potato and add the egg yolks together with the milk, chopped up chives, butter, lemon juice and a pinch of salt and pepper.
In a separate bowl, whisk the egg whites until they hold a stiff peaks.
Gently fold the whisked egg whites into the potato mixture, making sure that you don't lose any air.
Heat the pan on low heat, add extra butter or oil and pour the omelette mixture in.
Cook for about 3-5 minutes and check when the bottom gets a nice brown colour.
At that point either place it under low heat grill (if you have a suitable skillet or a baking tray) or very gently turn the omelette in the pan. If you use a long and wide utensil, you should be fine turning the omelette without knocking too much air out of it.
Cook for another 3-5 minutes or until is very light brown on the top.
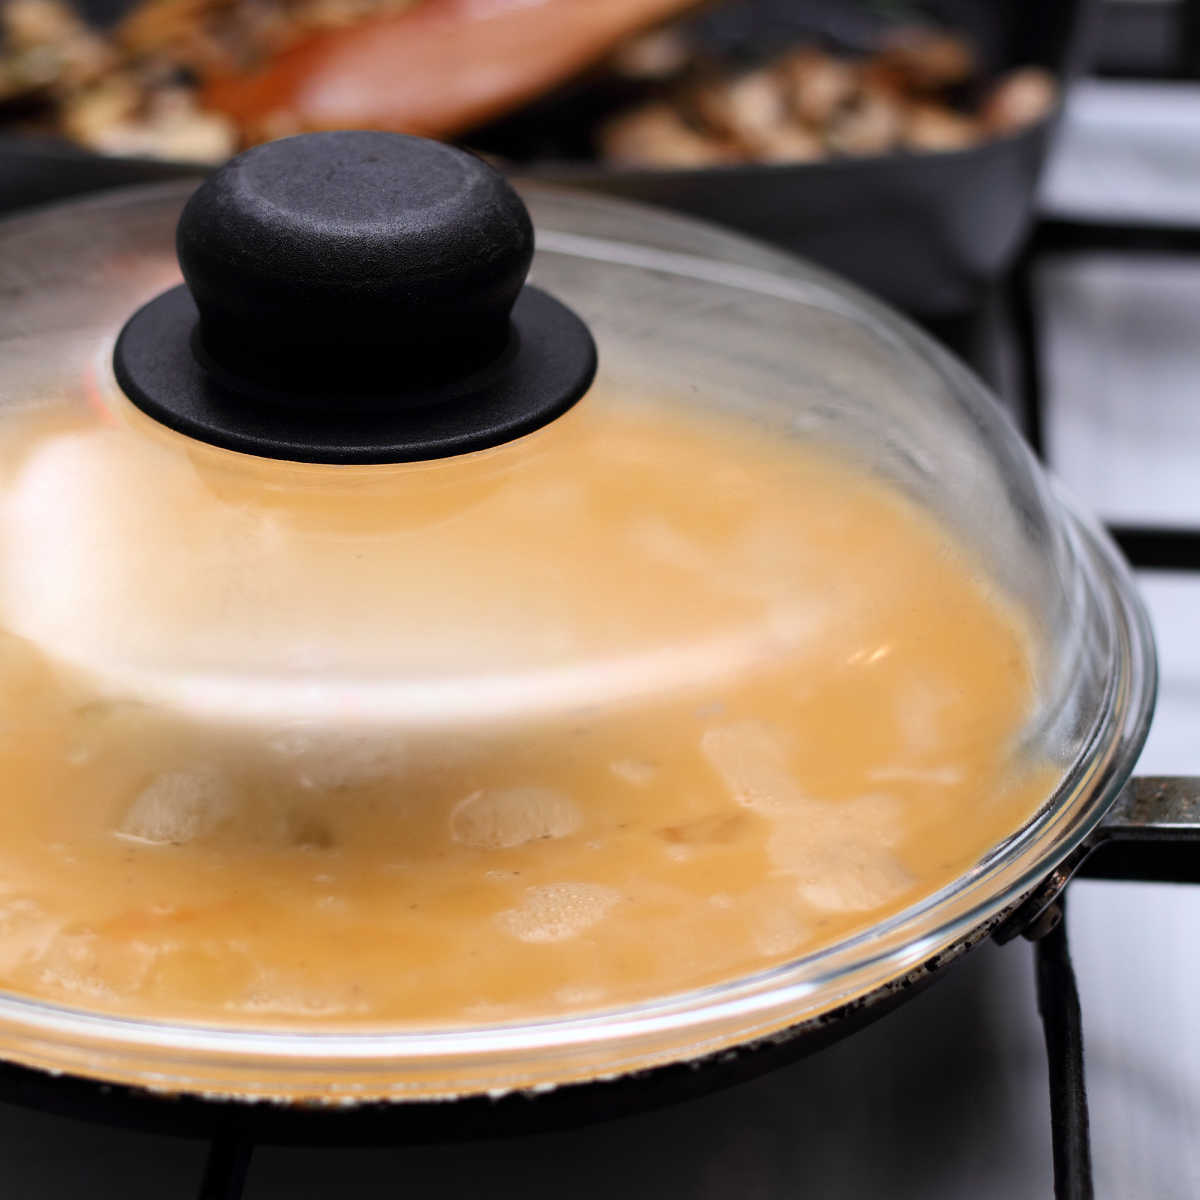
Should you cover an omelette when cooking?
Covering an omelette while cooking is not a common technique, but it can be used to help the top of the omelette cook more quickly and evenly.
To cook an omelette with a lid, heat a non-stick pan over medium heat and add a small amount of butter or oil. Once the pan is hot, pour in the whisked eggs and use a spatula to gently lift the edges of the omelette and allow the uncooked egg to flow underneath. When the eggs are mostly set but still slightly runny on top, cover the pan with a lid and reduce the heat to low. The lid will help to trap steam and heat in the pan, which will help the top of the omelette cook more quickly and evenly.
Keep in mind that covering an omelette is not necessary, and it may not be appropriate for all recipes or cooking styles. If you choose to cover your omelette, be sure to use a lid that fits snugly on the pan and watch the omelette carefully to prevent it from overcooking.
How long to cook omelette?
The cooking time for an omelette can vary depending on the heat of the pan and the thickness of the omelette. As a general rule, a standard 2-3 egg omelette should take approximately 2-3 minutes to cook over medium heat, without any fillings. I find that when I'm adding potatoes and other ingredients the omelette does take longer to make 3-4 minutes on each side.
To cook an omelette, heat a non-stick pan over medium heat and add a small amount of butter or oil. Once the pan is hot, pour in the whisked eggs and use a spatula to gently lift the edges of the omelette and allow the uncooked egg to flow underneath. When the eggs are mostly set but still slightly runny on top, add any desired fillings, then use a spatula to carefully fold the omelette in half. Continue cooking for another 30 seconds to 1 minute, or until the eggs are fully set and the cheese is melted (if using).
Keep in mind that the cooking time can vary depending on the thickness of the omelette and the desired level of doneness. If you prefer your omelette to be more well-done, you can cook it for an additional 1-2 minutes.
What's the trick to a perfect omelette?
The trick to making a perfect omelette includes the following:
- Use fresh eggs: Fresh eggs will have a firmer texture and hold together better, resulting in a perfect omelette.
- Use a non-stick pan: A non-stick pan will prevent the omelette from sticking and make it easier to flip.
- Add a splash of liquid: Adding a splash of liquid, such as milk or water, to the eggs before whisking them will make the omelette lighter and fluffier.
- Cook over low to medium heat: Cooking the omelette over low to medium heat will prevent it from browning too quickly and ensure that it cooks evenly.
- Use a spatula to lift the edges: Using a spatula to lift the edges of the omelette and allow the uncooked egg to flow underneath will help the omelette cook evenly and prevent it from sticking to the pan.
- Add filling before folding: Adding the filling to one side of the omelette before folding it over will ensure that the filling is evenly distributed and prevent the omelette from tearing.
- Practice makes perfect: Making a perfect omelette takes practice, so don't be discouraged if your first few attempts don't turn out perfectly. Keep trying and adjusting your technique until you find the right balance that works for you.
Should I cook omelette in butter or oil?
Whether to cook an omelette in butter or oil is a matter of personal preference.
Butter is a traditional choice for cooking omelettes, as it adds a rich, creamy flavor and helps the eggs to brown slightly. However, butter has a lower smoke point than oil, which means it can burn more easily if the pan is too hot. If you choose to cook your omelette in butter, it's important to use a low to medium heat and watch the pan carefully to prevent the butter from burning.
Oil is another option for cooking omelettes, and it has a higher smoke point than butter, which means it can tolerate higher cooking temperatures without burning. Some people prefer to use vegetable or canola oil, while others prefer to use olive oil for a slightly richer, more flavorful omelette.
Do you flip an omelette before adding cheese?
It depends on the recipe you are following and your personal preference. Some recipes recommend flipping the omelette before adding cheese, while others suggest adding the cheese before flipping.
If you prefer to flip the omelette before adding cheese, you can cook the omelette until the bottom is set, then use a spatula to carefully fold it in half. At this point, you can sprinkle the cheese over the top of the omelette, then continue cooking until the cheese is melted and the eggs are fully cooked.
If you prefer to add the cheese before flipping the omelette, you can sprinkle the cheese over the eggs while they are still slightly runny, then use a spatula to carefully fold the omelette in half. The cheese will melt as the eggs continue to cook, resulting in a delicious, cheesy omelette.
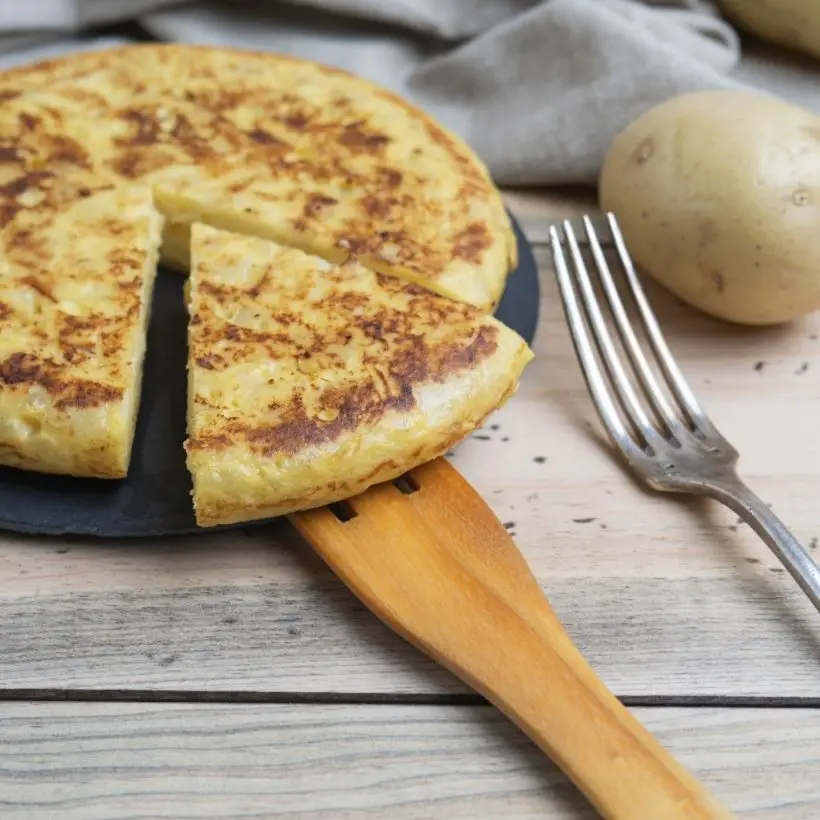
How to serve traditional Irish omelette
Traditionally you'd slice the omelette into 4 pieces and serve it with buttered toast or even a salad if it's for a lunch. You can also add kechup or other type of sauce (like a burger or brown sauce) if you like.
How to prevent omelette going too brown when frying it
To prevent an omelette from going too brown when frying it, you can try my favourite tips to get the perfect omelette first time round:
- Use a non-stick pan to prevent the omelette from sticking and burning.
- Cook the omelette over low to medium heat instead of high heat, which can cause the eggs to brown too quickly. This is similar to pancake cooking temperature which is also low to medium.
- Use a spatula to gently lift the edges of the omelette and allow the uncooked egg to flow underneath, which will help the omelette cook evenly without browning too much.
- Cover the pan with a lid or a plate to trap the heat and allow the omelette to cook more evenly without browning too much.
- Remove the omelette from the heat a little earlier than you think it is done, as it will continue to cook and set even after it is removed from the heat.
Why do my omelettes always turn into scrambled eggs?
There could be several reasons why your omelettes always turn into scrambled eggs:
- Overcooking: If you cook the eggs for too long, they will become dry and crumbly, resembling scrambled eggs rather than a tender omelette.
- High heat: Cooking the eggs on high heat can cause them to cook too quickly and become scrambled instead of forming into an omelette.
- Too much filling: Overloading the omelette with too much filling can make it difficult to fold and flip, resulting in a scrambled egg mess.
- Not enough liquid: If you don't add enough liquid (such as milk or water) to the eggs, they can become dry and scrambled instead of forming into a smooth omelette.
- Not using the right technique: Making an omelette requires a specific technique of gently folding (not stirring or mixing) the eggs over the filling, which can take some practice to master.
To avoid your omelettes turning into scrambled eggs, try adjusting your cooking time, heat, filling, and technique until you find the right balance that works for you.
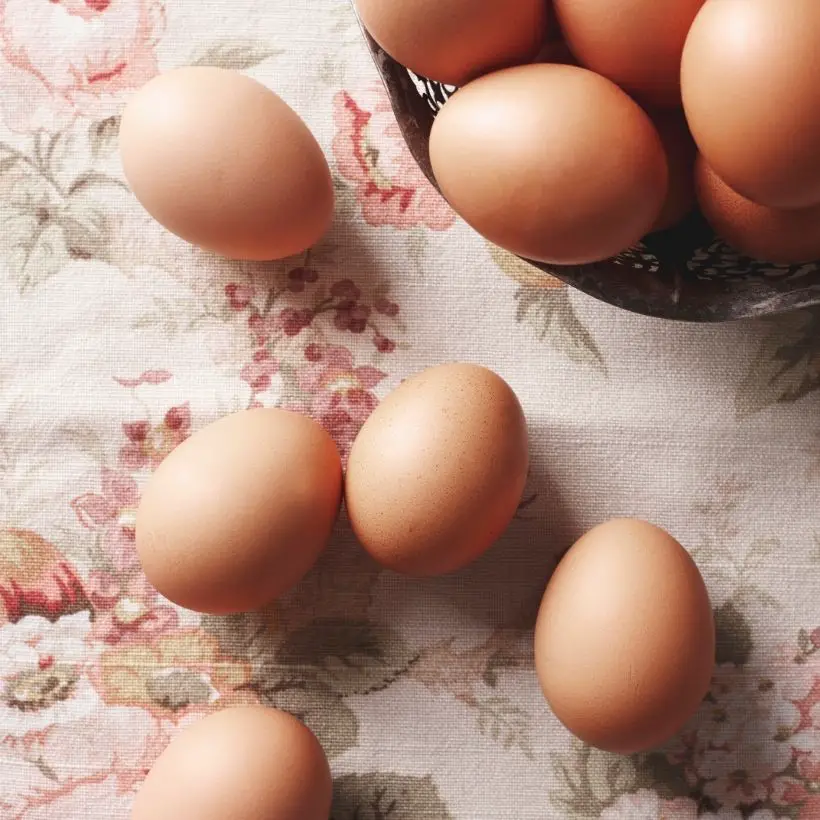
Should eggs be cold or warm for omelette?
It is recommended to use eggs at room temperature for making omelettes. Room temperature eggs will incorporate more air when whisked, resulting in a lighter and fluffier omelette. Cold eggs can also cause the omelette to cook unevenly, as they may take longer to reach the desired temperature in the pan.
To quickly bring cold eggs to room temperature, you can place them in a bowl of warm water for a few minutes before using them. This will help to ensure that the eggs are at the right temperature for making a perfect omelette.
Do you put flour in an omelette?
I don't normally use flour in my omelette recipes, because it can make the eggs dense and heavy, and it can also affect the texture and flavor of the finished omelette.
If you do see an omelette recipe that has flour in it's going to be a very small amount which is added to the eggs. This makes the omelette thicker and substantial.
If you prefer a lighter, fluffier omelette, I'd recommended to skip the flour and stick to traditional ingredients such as eggs, milk, salt, and pepper.
Should you put milk into omelette?
Whether or not to put milk into an omelette is a matter of personal preference. Some people prefer to add a splash of milk or cream to the eggs before whisking them, as it can make the omelette lighter and fluffier. Others prefer not to add milk, as it can make the eggs denser and more akin to scrambled eggs than a tender omelette.
If you do choose to add milk to your omelette, it's important not to add too much, as this can cause the eggs to become tough and rubbery. A good rule of thumb is to add no more than 1 tablespoon of milk or cream per egg.
Ultimately, whether or not to add milk to your omelette is a matter of personal preference, and you should experiment with different techniques to find the one that works best for you.

Traditional Irish Omelette with Potatoes & Chives
Equipment
- Skillet, frying pan or oven save baking tray
Ingredients
- 1 small potato cooked and mashed
- 2 eggs separate egg whites from egg yolks
- 1 tbsp fresh chives chopped
- 1 tbsp full fat milk optional - it can be dairy free if you like
- 1 tsp lemon juice
- pinch of salt & pepper to season
- pinch ground nutmeg
- 2 tsp melted butter
- butter or oil to fry the omelette
Instructions
- Mash the potato and add the egg yolks together with the milk, chopped up chives, butter, lemon juice and a pinch of salt and pepper.
- In a separate bowl, whisk the egg whites until they hold a stiff peaks.
- Gently fold the whisked egg whites into the potato mixture, making sure that you don't lose any air.
- Heat the pan on low heat, add extra butter or oil and pour the omelette mixture in.
- Cook for about 5 minutes and check when the bottom gets a nice brown colour.
- At that point either place it under low heat grill (if you have a suitable skillet or a baking tray) or very gently turn the omelette in the pan. If you use a long and wide utensil, you should be fine turning the omelette without knocking too much air out of it.
- Cook for another 5 minutes or until is very light brown on the top.
- Traditionally you'd slice the omelette into 4 pieces and serve it with buttered toast or even a salad if it's for a lunch.
Nutrition
This blog post was originally written on 7 September 2020 and last updated and the recipe tested on 24 July 2023


Leave a Reply