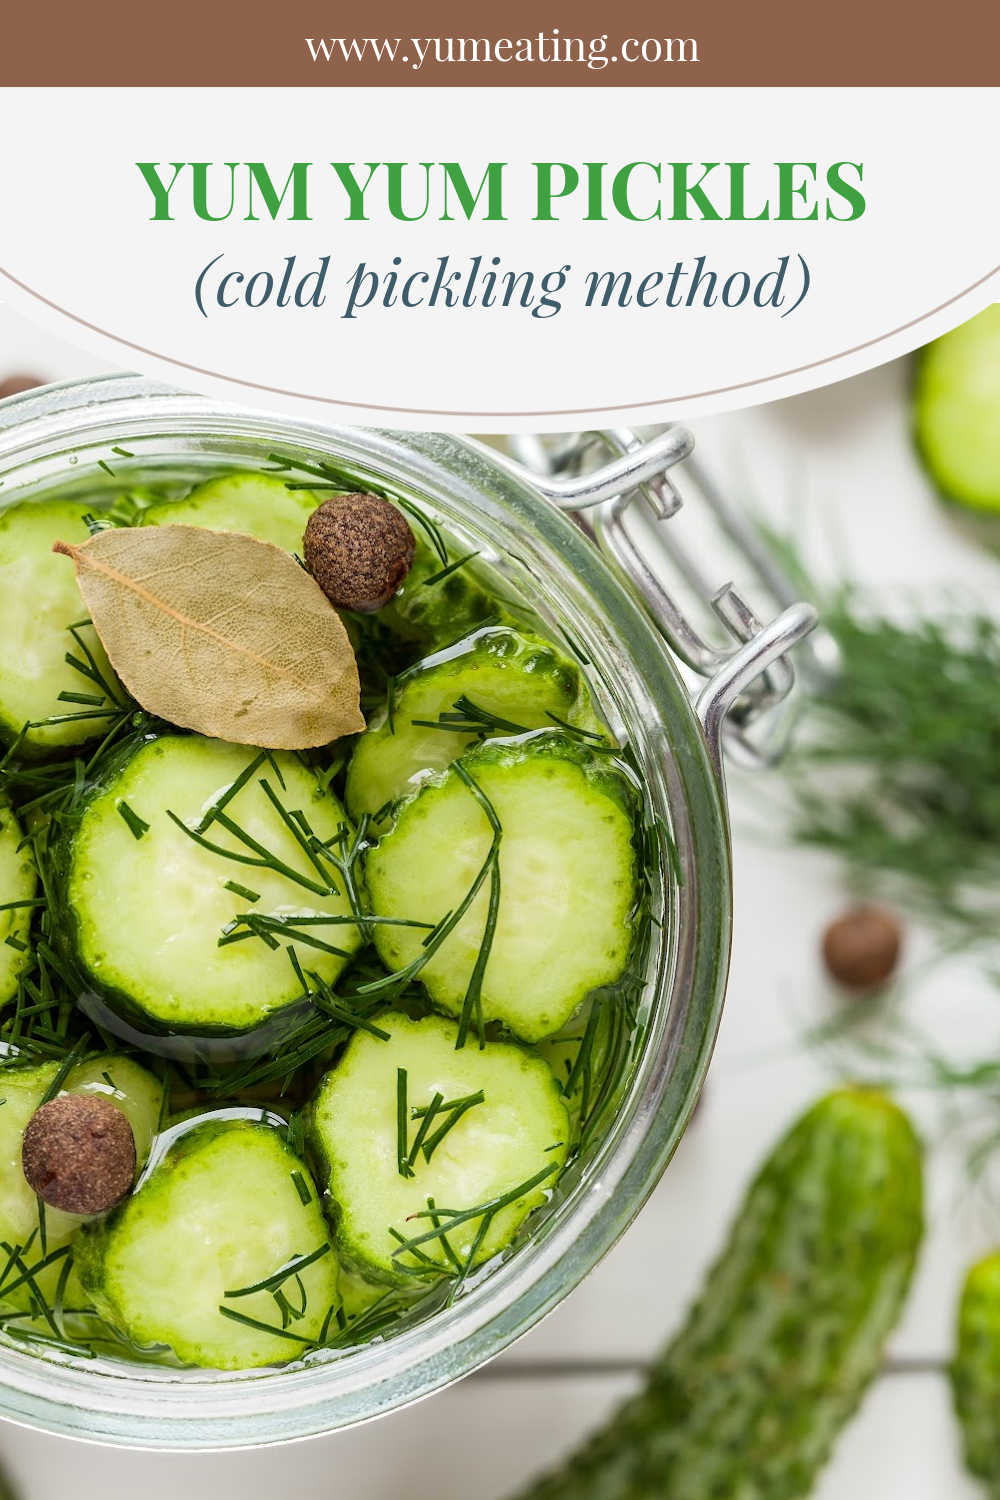
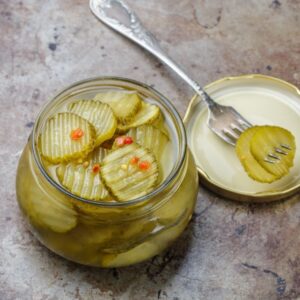
Quick and easy recipe for yum yum pickles with sweet dill pickle liquid. These delicious pickles are ready to eat straightaway, but they get even better with time.
There is no need for complicated preserving or canning process, although you can make a large batch, preserve them in a water bath and keep them for up to 12 months.
Perfect to make if you want a small batch or just something different as gift for your friends.
You can also add other ingredients in, such as small red peppers, peas or courgettes. I have quite often a lot of courgettes from my friend’s allotment, so it’s great to ad them in, instead of just freezing the courgettes all the time.
Because we will be using a cold pickling method for this recipe, the cucumbers will retain their wonderful crunch and the pickle will be nice and light.
PIN TO KEEP FOR LATER
MORE RECIPES TO INSPIRE YOU
- Pumpkin Butter made from fresh pumpkins >>
- Sweet Dill Gherkins Pickle (the cold pickling method) >>
- Homemade Applesauce >>
Why make this recipe?
- Super easy to make yum yum pickles recipe
- No need to can or boil the glass jars
- Small batch recipe – perfect as a gift for friends and family
- Ready to eat overnight
- Can be made with other vegetables

Few notes for making my yum yum pickles recipe
The pickling liquid recipe
Everyone has a different taste. I prefer sweet and sour taste with these cucumbers, but some people prefer them more salty.
My grandad would probably made the recipe a bit different every time, because it just depended on what he had at hand and also what type of cucumbers he used.
You can change the way the pickling liquid taste based on what type of pickling vinegar you use – for example malted vinegar will have a slightly earthy taste, whilst white wine vinegar will have a lighter flavour.
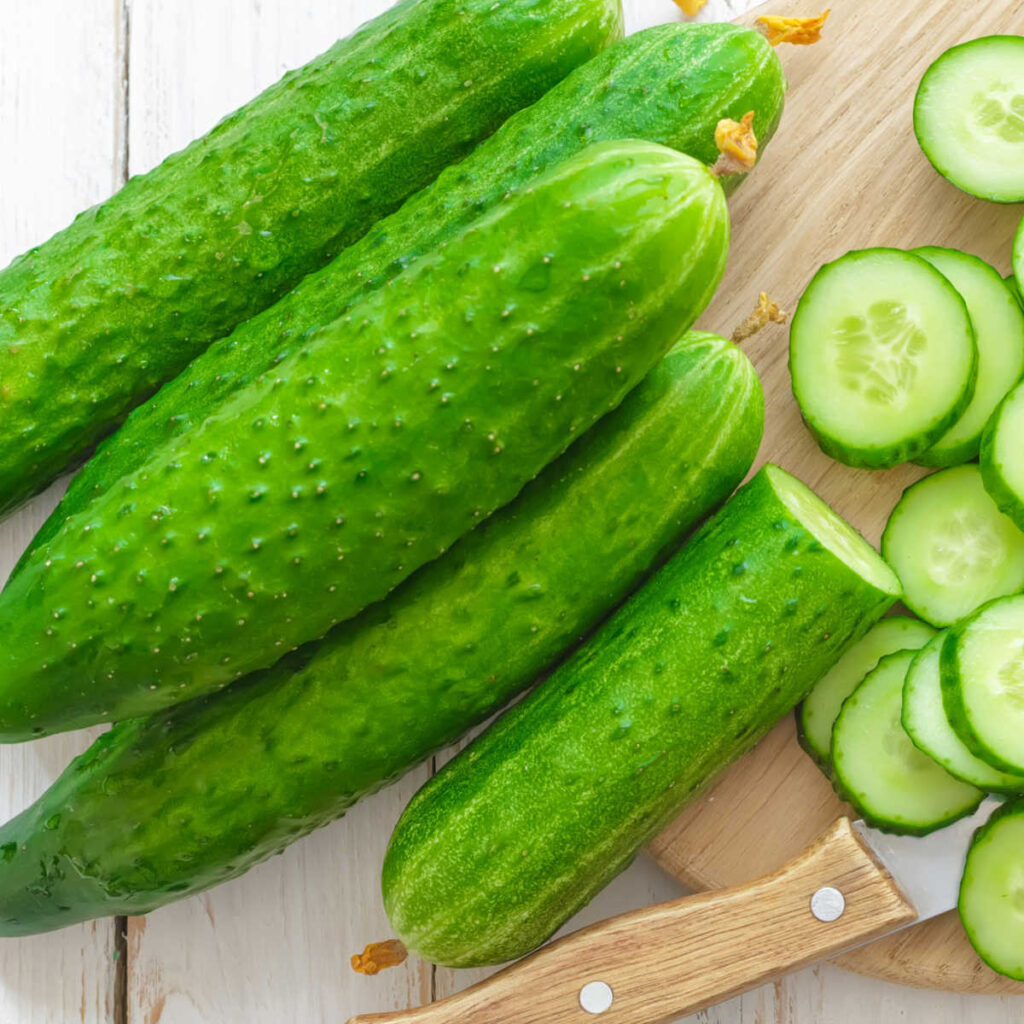
What type of cucumbers to use
Generally speaking you want to use small to medium cucumbers (that have less water in them) for this recipe. If you have small gherkins, it’s best to pickle them whole.
Recipe quantity
I’ve deliberately made this recipe a small quantity because we are using my homemade simple cold pickling method to make these yum yum pickles and they don’t last as long as if you make them in the traditional way.
This recipe will give you 1 large jar or 2-3 small ones. I sometimes prefer to make this recipe into 3 small jam jars, because once you open the jar you should eat the pickles within a week.
If you are thinking of making these as gifts or want to make a larger batch, simply double or triple all the recipe ingredients.
Preserving process
The beauty of this recipe is that you don’t need to preserve the yum yum pickles, unless you make a huge batch and you couldn’t use them within their normal shelf life (about 6 months).
I’ve used the cold preserving method in this recipe, but if you want to you could preserve them further in a hot water bath (or pressure cooker) and extend their shelf life to 1-2 years.
Sterilising jars
No matter what method you use, always make sure that your jars are clean and sterilised. This prevents bacteria from developing inside your pickles.
To sterilise your jars (and lids) wash them either in a dishwasher on a very hot cycle or wash them by hand and then put in the oven on 100 C for about 10 minutes. This is enough to kill any unwanted bacteria and sterilise your glass jars.
Any type of jam jar or traditional mason jar is suitable for yum yum pickles, but sometimes it’s easier to use a bigger jars for vegetable pickling. Having a bigger jar allows you to lay the pickles exactly how you want them.
If I’m making gifts for my friends and family, I’d often make the pickless in small jar jars and decorate them with pretty labels, ribbons and fabric covers.
MORE PRESERVING & PICKLING RECIPES
Yum yum pickles ingredients variations
The pickling liquid can be made with different spices, vegetables and different proportions of sugar and salt to give you slightly different flavour.
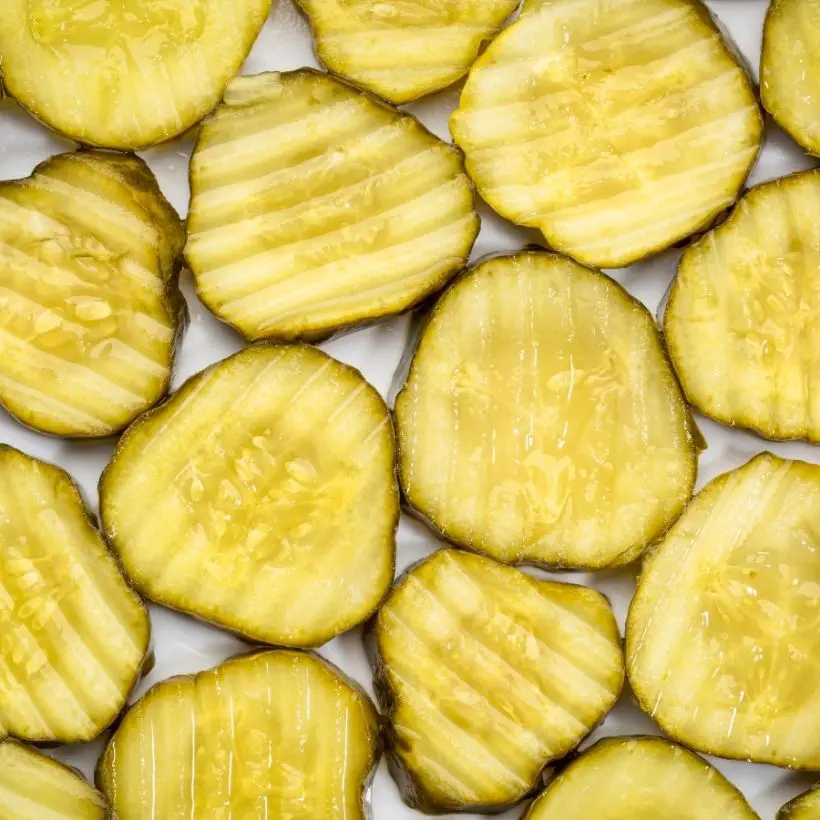
Turmeric
A pinch of turmeric will give the whole mixture extra yellow colour and a bit of spicy flavour.
Mustard Seeds
My grandad always added these, although you never actually eat them afterwards. Extra flavour!
Ground Cloves
A large pinch of ground cloves add a sweet spiciness to the pickling liquid.
Celery Seeds
1-3 teaspoons of celery seeds add extra vegetables and spice flavour. Be careful as some people are allergic to celery.
Green or red peppers
Extra vegetables, crunch and they also look pretty! If you have any red or green peppers, slice them thinly and add them to the cucumber mix. They will add a great colour and flavour to the pickles.
Black peppercorns: This is a classical option, which adds sharp and pungent taste. For slightly subtle flavour, try white peppercorns or add a style with a pink pepercorns, that have less of the strong flavour.
Coriander seeds: Offers a citrusy and slightly sweet flavor.
Dill seeds: Imparts a fresh, slightly bitter flavor reminiscent of dill weed.
Allspice berries: Adds a warm, sweet, and peppery flavor.
Bay leaves: Looks great in a jar and adds a subtle herbal flavour.
Crushed red pepper flakes: Add these for a bit of heat.
If you are short of time you can also buy ready-made pickling spices or liquids.

How to make yum yum pickles at home
Wash and clean the cucumbers first. Then slice them into 3-4 mm thickness (pound coin thickness) with a sharp knife or a vegetable slicer mandoline (to get the nice ridges).
Peel and slice the onion thinly.
In a plastic (or glass) bowl mix the cucumbers, onion, dill, mustard seeds and pepper.
If you want to, you can also add other vegetables, such as fresh courgettes, sweet peppers or peas. Make sure that these are fresh and haven’t been previously frozen.
In a measuring jug mix together the sugar, salt and the vinegar and stir until the sugar has dissolved.
Pour over the cucumber mix and leave for a minimum of 4 hrs (but better over night 10-12 hrs.)
When you are ready, pour everything into a large jar (or two smaller ones) and seal with lid.
The pickles are ready to be eaten straightaway, but their flavour will improve with time.
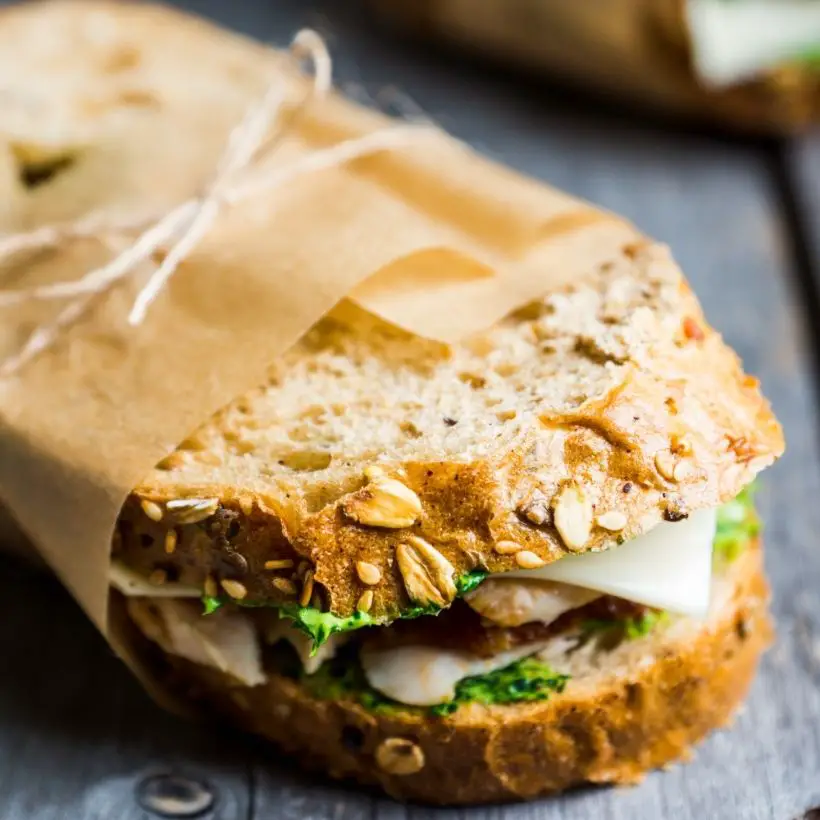
How to serve yum yum pickles
You can serve these homemade yum yum pickles with a ploughman’s lunch and freshly baked rye bread, sandwiches, cold meats, pates or homemade soft cottage cheese and buckwheat crackers.
How to store yum yum pickles
Store in the fridge in glass jars (with screw on or cellophane lids). Check once in a while for any mould developing. A slight foggy discolouration of water is usually fine, all you need to do is to shake the glass jar to disperse it.
How long will yum yum pickles last
I usually recommend to keep these yum yum pickles for about 2-4 weeks. They do have a shorter shelf live since we are not canning them in a hot bath and only using cold pickling method.
Once open, keep them in the fridge (with the lids firmly screwed back on) and make sure that you use the pickles within 7 days.
Over the years I’ve tested different recipes and kept the pickles for various amounts of time. I know that I can sometimes keep them for up to 6 weeks and they are absolutely fine (and their flavour improves much more with time).
Yum Yum Pickles Recipe
Ingredients
- 500 g cucumbers
- 1 red onion
- 1/2 teaspoon mustard seeds whole
- pinch ground pepper
- 1 tablespoon chopped up fresh dill
- 120 g white sugar
- 1 1/2 teaspoon salt
- 100 ml white vinegar
Instructions
- Wash and clean the cucumbers first. Then slice them into 3-4 mm thickness (pound coin thickness) with a sharp knife or a vegetable slicer mandoline (to get the nice ridges).
- Peel and slice the onion thinly.
- In a plastic (or glass) bowl mix the cucumbers, onion, dill, mustard seeds and pepper.
- In a measuring jug mix together the sugar, salt and the vinegar and stir until the sugar has dissolved. Pour over the cucumber mix and leave for a minimum of 4 hrs (but better over night 10-12 hrs.)
- When you are ready, pour everything into a large jar (or two smaller ones), seal with lid and store in the fridge for up to 2-3 weeks.
- The pickles are ready to be eaten straightaway, but their flavour will improve with time.
Nutrition
This recipe was originally written on 25 September 2020 and last tested and updated on 12 June 2024


Quick and easy recipe – perfect to make from leftover cucumbers! I’ve also added few chopped up pepper and some red onion – it worked great with the tangy flavour of the sweet pickle water mix.