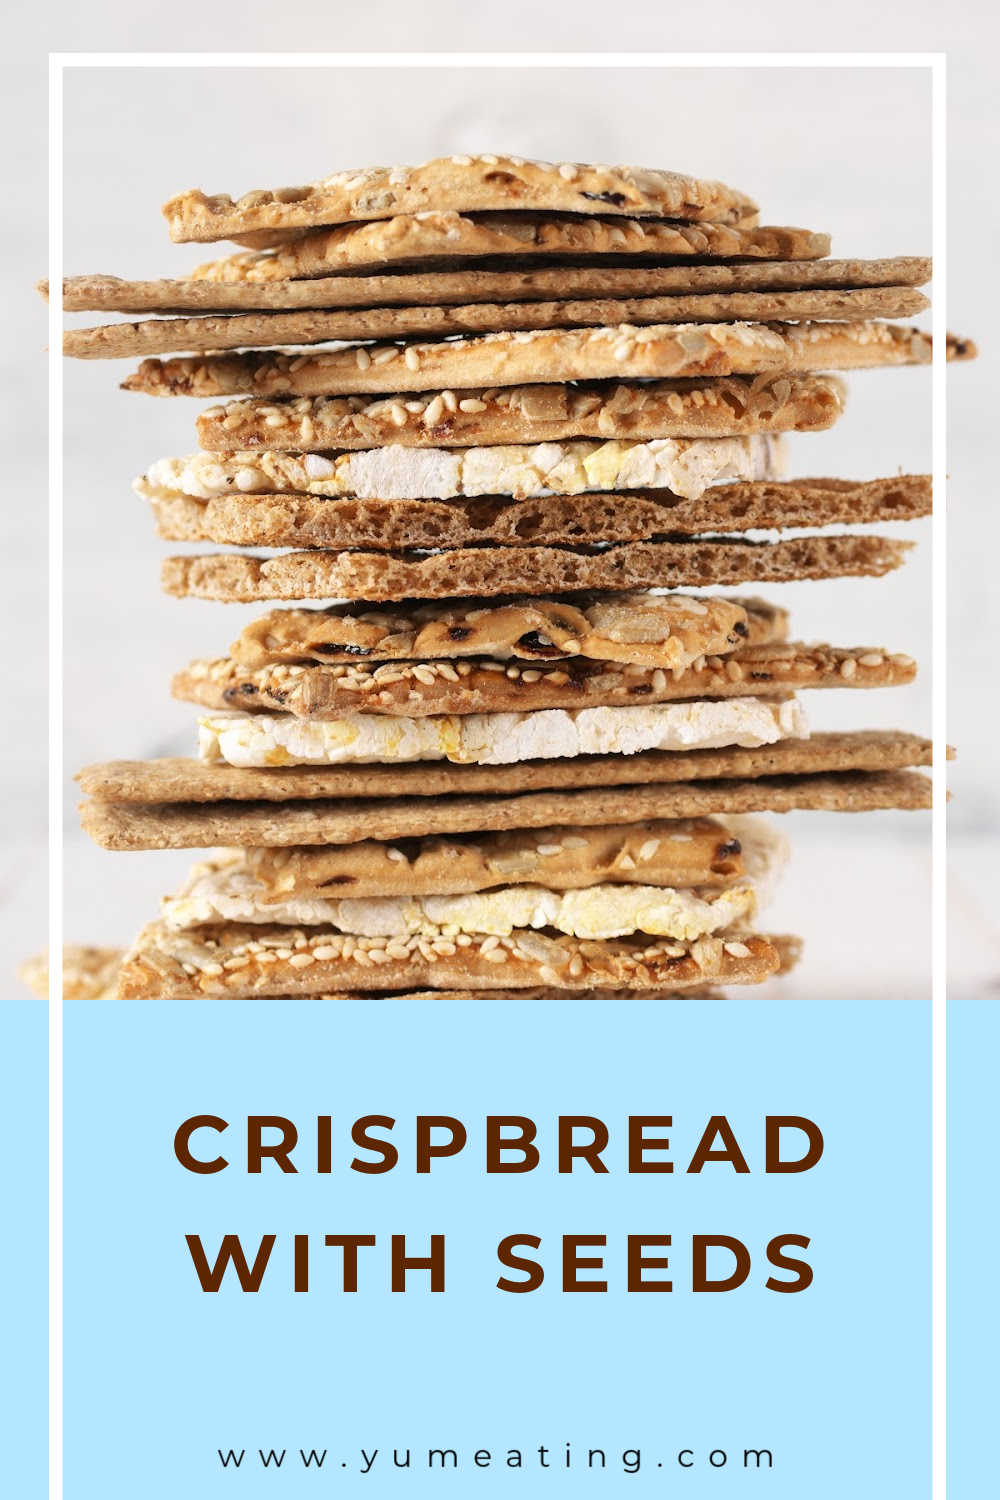
Seeded crispbread recipe packed with mixed seeds and softer texture than crackers. This seeded crispbread recipe is easy to make, very healthy and tastes great too! Perfect to serve with cheese, dips, soups or just on it’s own.
This crispbread keeps really well – up to 7 days stored in a jam jar. Using only a few ingredients, you can make your delicious crispbreads at home any time following my simple recipe.
Why make this recipe?
- Easy recipe to make
- Delicious to eat
- Healthy & filling
- Perfect as a snack, great for dips or with cheese
MORE QUICK BREADS RECIPES
What is crispbread?
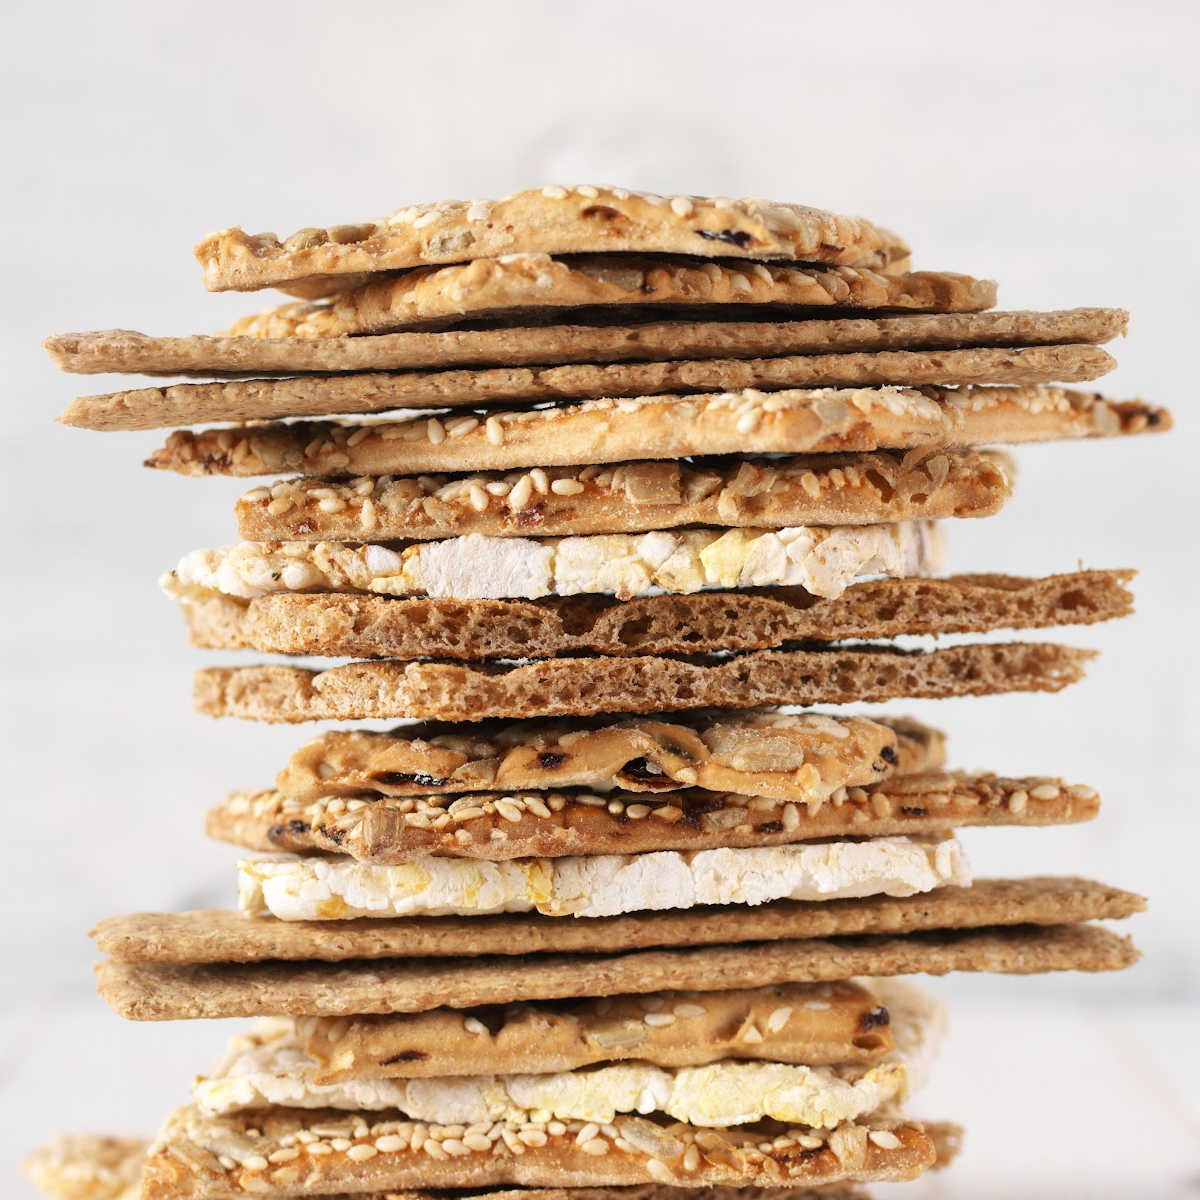
Crispbread is a thin and flat type of bread, which is very firm and fairly dry. I’d say that it’s not as dry as a crackers, which tend to be more like a savoury type of biscuits. They are very light and have a very good shelf life of 7-10 days.
Originally the crispbread recipe is baked using rye flour (as the recipe itself originates from Sweeden), but I’ve adapted the recipe to work with any low gluten or cake type of flour.
Most crispbread recipes include seeds, cheese or herbs.
Nutritional value of crispbread
A lot of people are choosing crispbread instead of regular bread to lower the amount of gluten and wheat in their diets.
In terms of calories, you’ll probably find that crispbreads (especially if they have seeds or cheese like my recipe) contain about the same amount of calories as regular bread. The difference is that you get a lot more fibre, good fat and more nutrition in crispbread then in a shop bought sliced bread.
100 grams of crispbread is about 300 calories.
If you wanted to control the amount of calories and lower them, you can use my recipe with minor adaptations. Use only 1/2 of the given amount of seeds, use water or low fat milk instead of buttermilk, use basic sunflower or vegetable oil instead of coconut oil and use wholemeal type of flour like buckwheat, lupin, spelt or rye flour to give you more nutrition.
MORE QUICK BREADS RECIPES
Ingredients & Possible Substitutions
Seeds
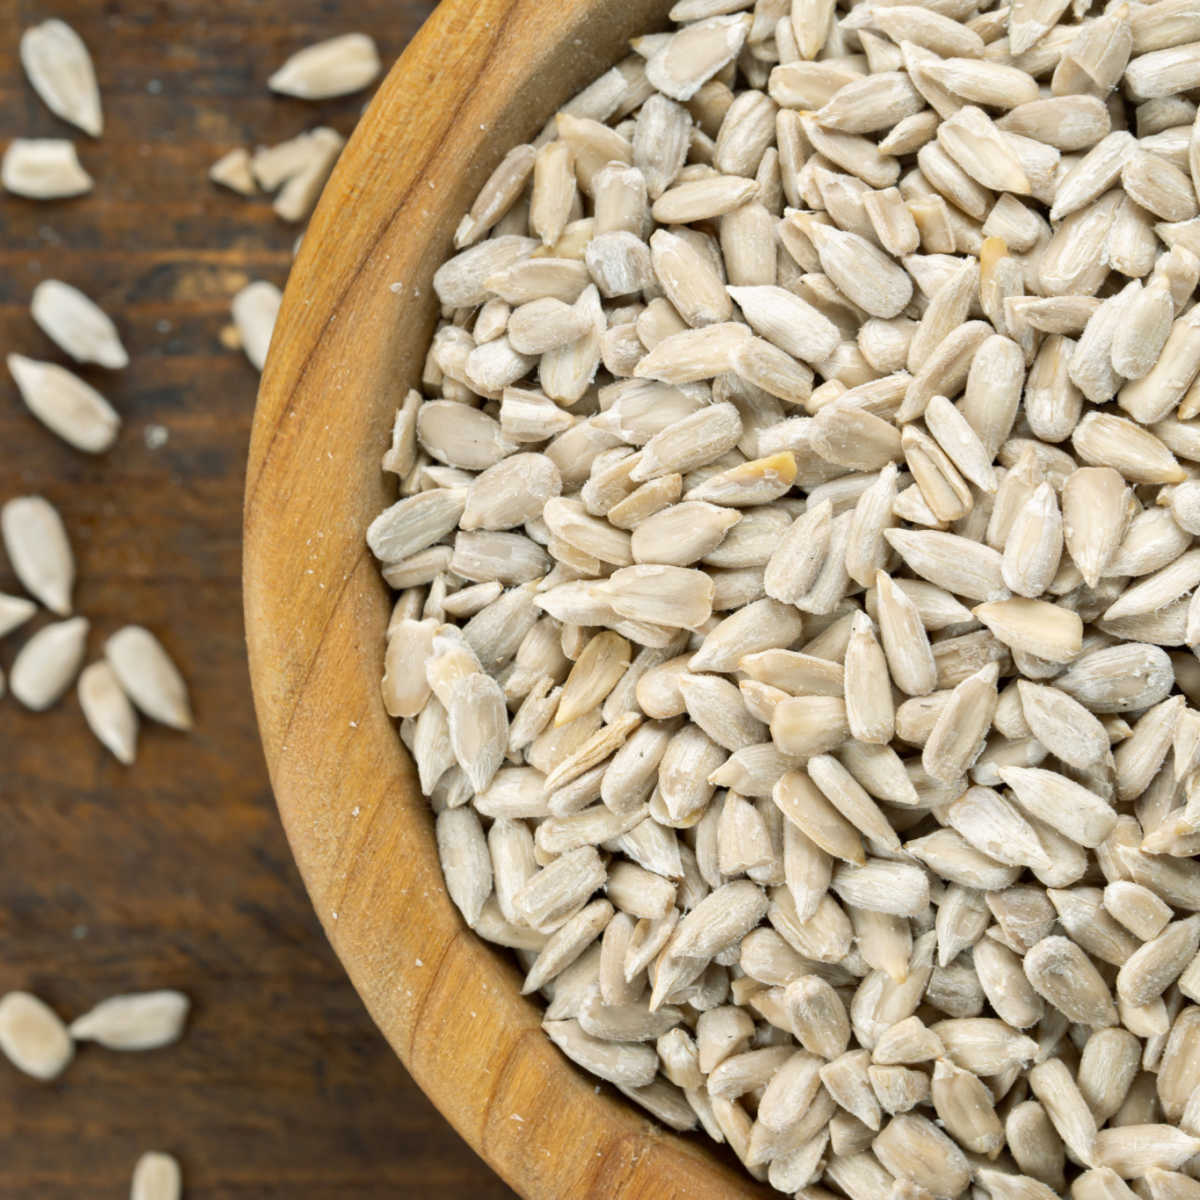
You are welcome to use any type of seeds you like, for example sesame, pumpkin, sunflower, chia seeds, poppy seeds, linseed or any other seeds.
This recipe has quite a lot of seeds for the amount of flour we are using, which can all add up cost wise. If you want to keep within a certain budget or you don’t have as many seeds as the recipe needs, just half the recipe measurements.
You will need 450 grams for the whole batch or 225 grams (or just 200 grams) for 1/2 of the batch.
Porridge oats
You are welcome to use any kind of oats in this recipe, including gluten-free oats. They add a great texture to the crispbread and complement the seeds really well flavour wise.
Baking powder
You only need a small amount of baking powder, just to lift the dough a bit, but not to make it rise too much.
Salt
Salt is super important in this recipe, as it adds an amazing flavour to your seeded crispbreads, but some people might find it too salty. I would recommend starting with 1/2 teaspoon for your first batch and then deciding if you need more or less for your next crispbread batch.
You are welcome to use regular cooking salt, but if you have any flavoured salts, they really make difference to the flavour. I often use sea salt, lemon salt, chilli-infused salt, charcoal black salt, smoked salt or salt with herbs.
Flour
The amazing thing about this seeded crispbread recipe is that you can use any plain, low gluten or gluten free flour that you have at home. You can also mix them together if you have leftovers or different flours.
I used special wheat free sprouted flour for mine, but wholemeal, spelt or rye flour will make this recipe extra healthy. You can also use any gluten free flours both bread or plain flours such as my homemade potato flour.
The only type of flour I really wouldn’t recommend to use with this recipe is a bread or strong flour. This would make the crispbread dough really tough and it just wouldn’t work.
Water
Water is perfectly fine to use with this recipe. If you want your crispbread to be extra delicious, you can also use dairy or regular milk or buttermilk or any dairy free milk alternative or regular yogurt mixed with water.
Oil
I used coconut oil, or sometimes also basic sunflower or vegetable oil for this recipe. You can also try some of the flavoured oils such as chilli flavoured oil or basil, rosemary or garlic flavoured oils.
Please bear in mind that strong flavoured oils will overpower all the other flavours so use them sparingly.
For example, I would add a tablespoon of garlic infused oil to the sunflower oil quantity to add a hint of garlic in to the dough. Using the whole 125 ml of garlic-infused oil would be way too much (unless you really, really like garlic!)
MORE QUICK BREADS RECIPES
- Quick Beer Bread (with self-raising flour) >>
- Buckwheat Tortila Wraps (GF) >>
- Cornbread (Sugar Free) >>
Making crispbread with sourdough starter
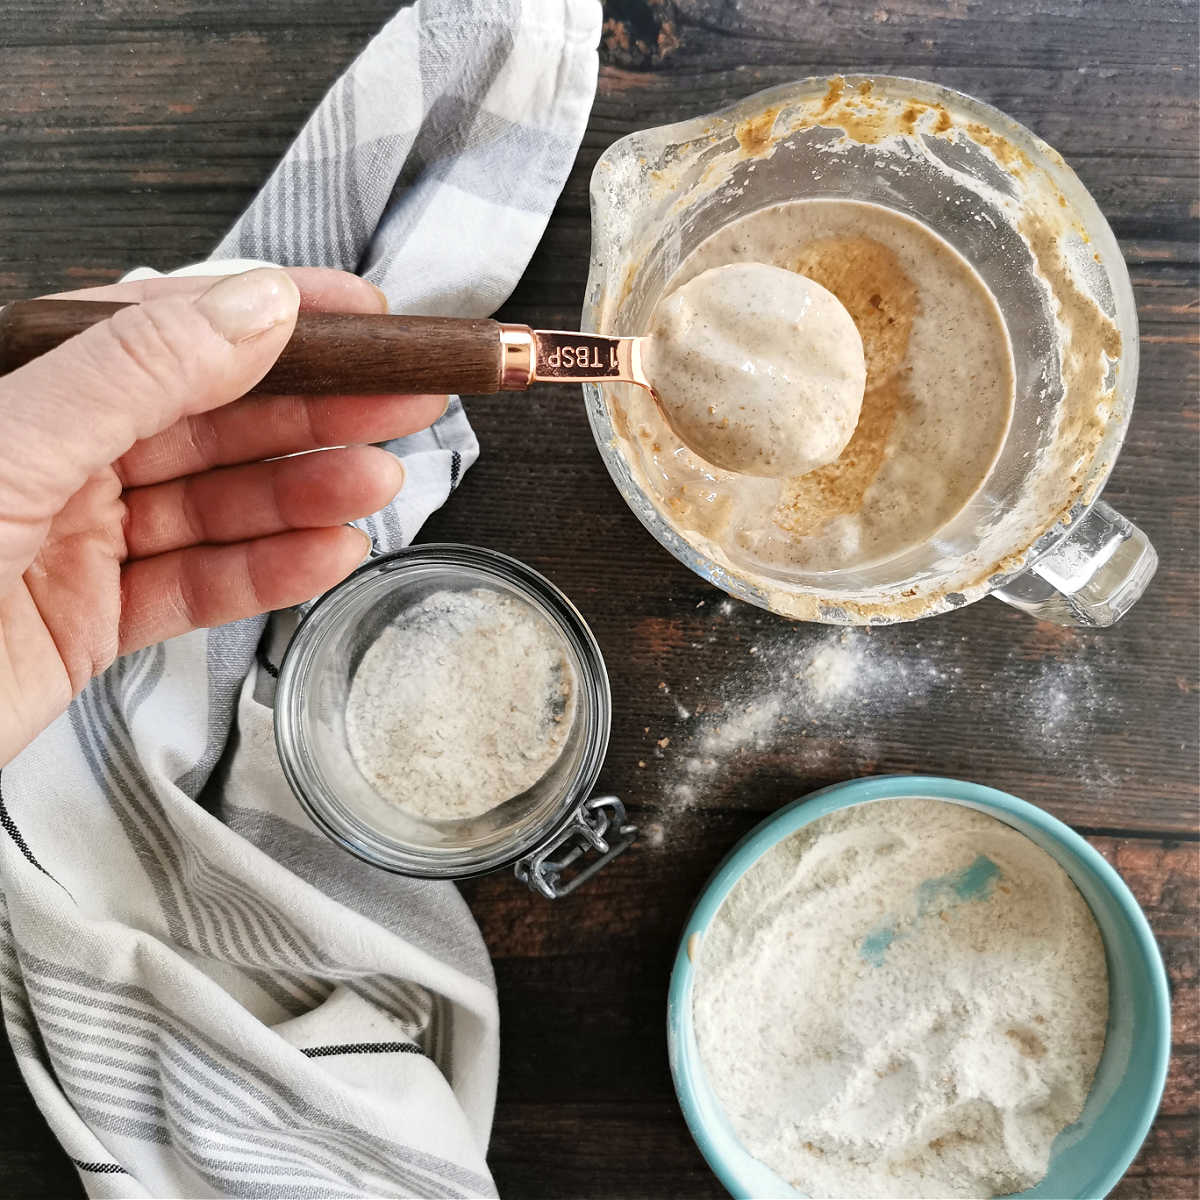
Using discarded sourdough bread starter is a great way to utilise what you already have and also add an extra flavour to your crispbread.
The amount of sourdough starter to use depends on how strong you want your crispbread flavour to be and how much sourdough starter you have to dispose of.
I’d normally add 4 tablespoons to the batch and leave out 2 tablespoons of water and 2 tablespoons of flour.
That’s on the understanding that your sourdough starter is made with 50% water and 50% flour. If you don’t get the measurements quite right, don’t worry, just make the dough into a firmer type of dough by adding more flour or more water (if the dough is too dense and can’t be easily rolled out).
How to make my seeded crispbread recipe
Mix all the dry ingredients first, then mix in all the wet ingredients. Yes, it really is that simple!
It will form fairly stiff dough, but that is exactly what you want. Don’t over mix it.
Divide into 2-4 parts and roll each piece of dough between 2 sheets of non-stick baking parchment. This is the easiest way to roll out the dough, without the parchment you will really struggle and the dough is going to stick everywhere. Don’t add any more flour, otherwise, the crispbread will be quite tough.
Roll out to about £1 coin (about 6 mm) or slightly thicker thickness and cut to shapes you like (squares or rectangles work well), leave the dough on the bottom baking parchment and prepare the rest of the dough in the same way.
Bake for about 20 minutes on 200C (or 180 fan, which is about 350 Fahrenheit) in a preheated oven. This might look initially too long, but it’s just about right! If you notice that your crispbread is browning too quickly lower the temperature a little.
Remove from the baking tray to cooling rack and enjoy when it’s cool enough to handle
How else you can make this recipe?
You can change the flavour by changing the type of flour you use, liquid or seeds. You can also grate some cheddar cheese on top to get a cheesy version of this recipe (swap about 1/3 of the seeds amount for cheese).
- Plain Crispbread – leave out the seeds and decrease the amount of water by 1/2
- Cheese Crispbread – leave out the seeds, decrease the amount of water by 1/2 and sprinkle with grated firm cheese before the crispbread goes into the oven
Allergies & dietary requirements
This recipe is vegan and dairy free (if using water or plant based milk)
If you’d like to make this recipe into a gluten free version – use gluten free flour mix, add 1 teaspoon of xantham gum and use gluten free version of oats. All other ingredients stay the same and baking time is the same as well.
My Buckwheat Crackers are very similar to this recipe and they are gluten free.
Recipe size
This crispbread recipe with seeds makes a very large batch of crispbread 2-3 large trays worth of crispbread. It’s perfect for a large family or if you are planning a picnic or dinner party for a large group of people.
Can I scale up or down this recipe?
This seeded crispbread recipe makes quite a large batch which is great for 4-5 people family, but if you cook or bake for 2-3, I would half the recipe.
This recipe is easily scalable up or down. You can double up the recipe without any problem, but make sure you divide the dough into 2-3 portions and use large baking trays to bake your crackers.
You can also make 1/2 portion of this recipe, just half all the ingredients.
Baking time will remain the same.
MORE QUICK BREADS RECIPES
My top tips on making this recipe successfully the first time round
Use the baking parchment to roll out your dough. It will save you the hassle of removing the rolled-out dough from your work counter and you can use the parchment to bake your seeded crispbread and to lift them from the baking tray.
Make sure you use xanthan gum for gluten free flours, as they will crumble and fall apart if you don’t.
Time the baking time exactly. It’s difficult to tell when the crackers are done, but 20 minutes is the perfect time to take them out. If you wait until the flour goes browner, it will be overdone.
Can crispbreads be made in advance?
Your seeded crispbreads should be fine for at least 3-4 days and we normally keep them for up to 7 days without any problem stored in an air tight container.
I’ve not tried to freeze them yet, but I suppose they could be frozen and kept for 1-2 months and then slowly defrosted when you need them.
What to serve with crispbread?
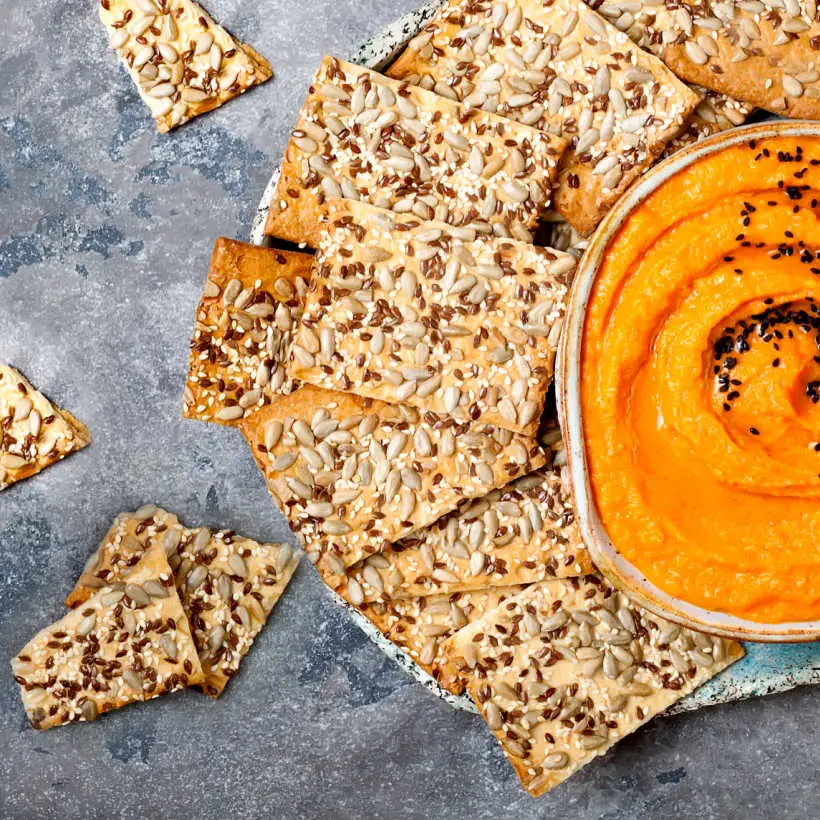
Crispbread is great replacement for bread to eat with soup or to serve with dips, cold meats, cheese or eat on it’s own. They are also great as an emergency snack to carry in your handbag if you are feeling peckish during the day (because of all the seeds, the crispbread is quite filling).
Here are my favourite recipes to go with seeded crispbread.
How to store crispbread
I normally use a large glass jar to store mine and they keep well for about a week. The flavour improves with 1-2 days and they go slightly softer, but not by much. I prefer them not to be too dry.
This recipe and me
Do you think that healthy food is boring? Not very interesting? Or even bland?
That’s what I thought and certainly back in the 80s when I was growing up, healthy food either wasn’t available or when it was, it tasted like dry cardboard.
A lot of things have changed since then, so when I recently had the opportunity to work on a Healthy Business Retreat with my friend Claire, I was very happy to be introduced to a whole range of tasty treats. And I’m glad to say that healthy food can indeed be very tasty!
There was only one thing that slightly worried me, when I helped Claire to unpack the food shopping delivery. There was no bread!
‘OK’, I thought, perhaps we will bake it later. ‘That’s fine, I have all the ingredients’ went through my mind as we were putting away all the cucumbers, salads and strangely sounding types of milk.
I think you have probably guessed it by now, it wasn’t the computer gremlins that amended the shopping order, nor it was the forgetful Sainsburys staff picking the order, the plan WAS not to have any bread!!!
But by the time I got my head around the brutal reality of not having any bread for the next 4 days, lunch was being served with something resembling ryvita. Only it was not ryvita, it was the best crispbread ever!
And by the end of the meal I was the No1 crispbread fan! You can easily buy very good crispbread in health shops (and that’s where ours came from), but it could be a little pricey.
That is why, once back at home, I baked a few batches of my own crispbread and the following recipe is my favourite one so far. And what’s best, this recipe is really quick, in fact it takes longer to bake than it takes to prepare the dough.
LIKE THIS RECIPE? SAVE IT FOR LATER
Easy Seeded Crispbread
Equipment
- 2 large baking trays oven wide or use 3-4 smaller baking trays
Ingredients
- 450 grams of mixed seeds sesame pumpkin, sunflower, linseed or any others that you fancy
- 280 grams flour Any plain cake flour or low gluten flour, such as wheat free sprouted flour wholemeal, spelt or rye flour
- 115 grams porridge oats use gluten free if you like
- 250 ml water or use milk or buttermilk or any dairy free milk
- 125 ml oil Coconut oil or sunflower or vegetable oil
- 1 teaspoon of baking powder
- 1 1/2 teaspoon of salt Start with 1 teaspoon for your first batch and then decide if you need more or less for the next one
Instructions
- Mix all the dry ingredients first, then mix in all the wet ingredients. Yes, it really is that simple!
- It will form fairly stiff dough, but that exactly what you want. Don’t over mix it.
- Divide into about three parts and roll each piece of dough between 2 sheets of non-stick baking parchment. This is the easiest way to roll out the dough, without the parchment you will really struggle and the dough is going to stick everywhere. Don’t add any more flour, otherwise the crispbread will be quite tough.
- Roll out to about £1 coin thickness (about 6 mm) and cut to shapes you like (squares or rectangles work well), leave the dough on the bottom baking parchment and prepare the rest of the dough in the same way.
- Bake for about 20 minutes on 200C (or 180 fan or 350 Fahrenheit) in preheated oven. This might look initially too long, but it's just about right! If you notice that your crispbread is browning too quickly lower the temperature a little.
- Remove from the baking tray to cooling rack and enjoy when it’s cool enough to handle.
Notes
Nutrition
This recipe was originally written on 4 April 2015 and last tested and updated on 14 November 2022


Leave a Reply